Best Tips for Snowboarding: From Equipment to Edge Control
This post contains affiliate links. As an Amazon Associate, we earn from qualifying purchases.
The best tips for snowboarding focus on three essential pillars: using protective equipment (which the AOSSM associates with a 43% decrease in head, neck, and face injuries), taking qualified lessons to build foundational skills, and rigorously following the National Ski Areas Association (NSAA) Responsibility Code for slope safety. Mastery comes from committing weight to your front foot, bending your knees more than you think necessary, and knowing when fatigue, most common after lunch, signals it’s time to rest.
That 43% injury reduction from protective equipment is a quantified outcome from the American Orthopaedic Society for Sports Medicine, and it hinges on gear that fits and functions correctly. A helmet that shifts on impact or bindings set too loose don’t just feel wrong, they fail at the moment they’re needed most.
What follows is a breakdown of the best tips for snowboarding that moves past generic advice. This section explains the mechanics behind each tip, the statistics that support them, and the on-mountain drills that turn theory into muscle memory. By the end, you’ll know which piece of gear offers the highest return on investment, how to structure your day to avoid the most common injury window, and what a single lesson can fix that weeks of solo practice cannot.
Key Takeaways
- A professionally fitted helmet is essential. The AOSSM notes only about 48% of U.S. Riders wear one routinely, yet their use is linked to a 43% decrease in head, neck, and face injuries.
- Commit your weight forward when initiating a turn. Leaning back to feel safe can cause you to catch an edge and fall.
- Fatigue is your biggest enemy. Most injuries occur after lunch and when fatigued. Plan to stop and rest every couple of hours, even if you feel you could keep going.
- Wrist guards are critical for snowboarders. Multiple sources, including the U.S. Army Combat Readiness Center, specifically recommend them to reduce the risk of wrist fractures.
- Your equipment needs a professional touch annually. Bindings should be set to your height, weight, and skier classification by a certified technician.
The #1 Rule Most Riders Break (and Its 43% Consequence)
This point is clear. The most powerful tip is about a piece of gear that sits on your head. The American Orthopaedic Society for Sports Medicine (AOSSM) states point-blank: the use of protective equipment like helmets is associated with a 43% decrease in the rate of head, neck, and face injuries. Yet the same source notes that only about 48% of U.S. Skiers and snowboarders routinely wear them.
A helmet must be sport-specific, meaning it’s designed for snow sports, not a bike or skateboard helmet. It should fit snugly without pressure points, and the chin strap must be tight enough that the helmet doesn’t shift if you shake your head. This fit is the difference between a glancing blow and a concussion.
This isn’t about resorts requiring it, as the AOSSM notes they do not universally require helmets. This is about the U.S. Army Combat Readiness Center calling it “the primary evidence-supported means to reduce the risk of severe head injuries.” That 43% stat is your mathematical probability of walking away from a crash unscathed. Ignoring it because “you’re just on the bunny hill” is like not wearing a seatbelt for a trip around the block. The risk isn’t in the terrain; it’s in the unpredictable, a slip on ice, a collision with another rider, a simple loss of balance.
Where this goes sideways: Relying on a helmet that’s old, damaged, or improperly fitted. A helmet that’s been in a prior impact has compromised foam, even if the shell looks fine. If it rattles on your head, it’s not doing its job. The consequence is a false sense of security that leads to riskier behavior, and the head injury happens anyway.
Your Gear Isn’t Just Stuff – It’s Your Injury Buffer
A snowboard, bindings, and boots are a system. When one part is off, the whole system fails, and your body becomes the shock absorber. The AOSSM states that equipment should be professionally serviced and adjusted annually.
| Gear Component | Professional Mandate | DIY Risk |
|---|---|---|
| Bindings | Should be set to skier classification, height, and weight by a certified technician. | Too loose = premature release and loss of control. Too tight = increased risk of knee and leg fractures. |
| Helmet | Professionally fitted for snow sports use. | Wrong fit transfers impact force directly to the skull; non-snowsport helmets lack appropriate insulation and impact zones. |
| Boots | Must be professionally fitted for snug heel hold and toe room. | Heel lift inside the boot destroys edge control and strains the Achilles; cramped toes cause numbness and loss of fine motor control. |
The annual service isn’t a sales pitch. The AOSSM tip sheet explicitly says, “Equipment should be professionally serviced and adjusted annually.” This check catches worn straps, loose screws, and degraded boot liners you might miss. It’s the difference between a binding releasing cleanly in a fall and one that twists your knee through an unnatural range of motion.
For your first board, focus on the right size and flex, not the top-shelf graphics. A softer, more forgiving beginner snowboard is designed to be more manageable while you learn.
The Wrist Guard Debate – Settled
While helmet use sees some disagreement on universality, sources are united on wrist guards for snowboarders. The U.S. Army Combat Readiness Center and a National Library of Medicine winter safety guide both explicitly recommend them to reduce wrist injury risk. When you fall, the instinct is to put your hands out. On a snowboard, that often means a hyperextended wrist absorbing your full weight. Wrist guards spread that impact across a hard plastic splint. The “feel” argument against them is the same one used against seatbelts fifty years ago. Get over it. Wear them.
The Instructor’s Edge: What You Can’t Learn on YouTube
You can watch a thousand videos on J-turns, but a certified instructor provides three things a screen cannot: real-time feedback, tailored progressions, and safety oversight. The National Library of Medicine winter safety guide is direct: “Children should take lessons from a qualified skiing or snowboarding instructor.” This applies doubly to adults.
An instructor sees your stance in real-time. Are your shoulders open? Is your weight centered? They’ll stop you from ingraining a bad habit that takes months to unlearn.
I’ve seen this common mistake more times than I can count: a student so focused on looking down the mountain they stiffen up. The standard tip is to look where you want to go, but for someone with intense vertigo or anxiety, that can be overwhelming. We had them focus on a spot on their own board until the dizziness passed, then shifted gaze to a fixed point just ten feet ahead. Small, manageable visual anchors rebuild confidence when the big picture is terrifying.
This is why learning from a proficient friend, instead of following the best tips for snowboarding, often ends in frustration. They can’t articulate the micro-adjustments they make automatically. Invest in at least one group lesson at the start. It shortcuts the “pain period” and builds a safe, correct foundation.
The Physics of Not Falling Over
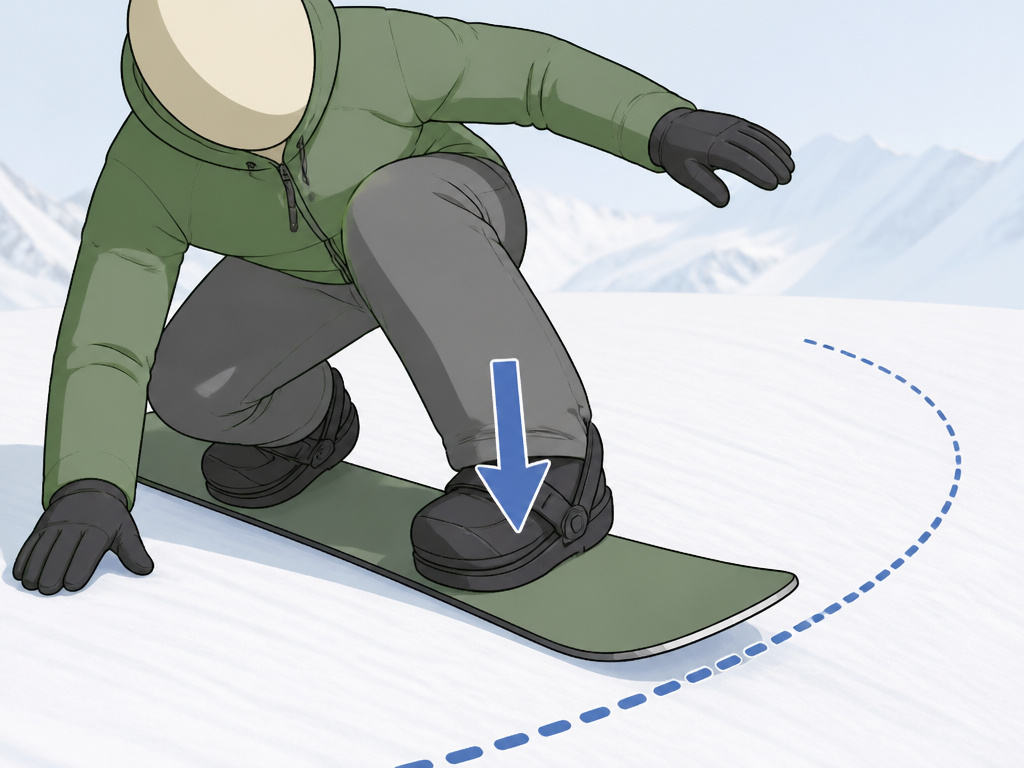
Snowboarding is a game of managing your center of mass over a narrow, slippery base. The fundamental stance is your home base. Get it wrong, and every move is a struggle.
Bend your knees. Now bend them more. This is the most repeated, least-followed tip. A straight leg has no shock absorption and no mechanical advantage to pressure an edge. A deep, athletic stance lowers your center of gravity and gives you a range of motion to react. Your knees should be over your toes, your back straight, and your arms out for balance. It feels awkward at first. It looks silly. It also works.
Commit weight to your front foot. When you initiate a turn, you must press down on your front foot. Your brain will scream to lean back to avoid the perceived cliff-edge. Leaning back guarantees you’ll catch your back edge and slam down. Drive your front knee in the direction of the turn. The board will follow.
Look where you want to go, not at your feet. Your body follows your head. If you stare at the tree, you’ll hit the tree. Pick a spot further down the trail, a sign, a lift pole, a patch of snow, and keep your gaze fixed there as you turn. Your shoulders and hips will naturally align.
A proper snowboard stance, including your binding angles, is foundational to making these movements possible. A neutral, balanced stance setting allows for natural knee bend and easy weight transfer from heel to toe.
The Mountain’s Rules Aren’t Optional
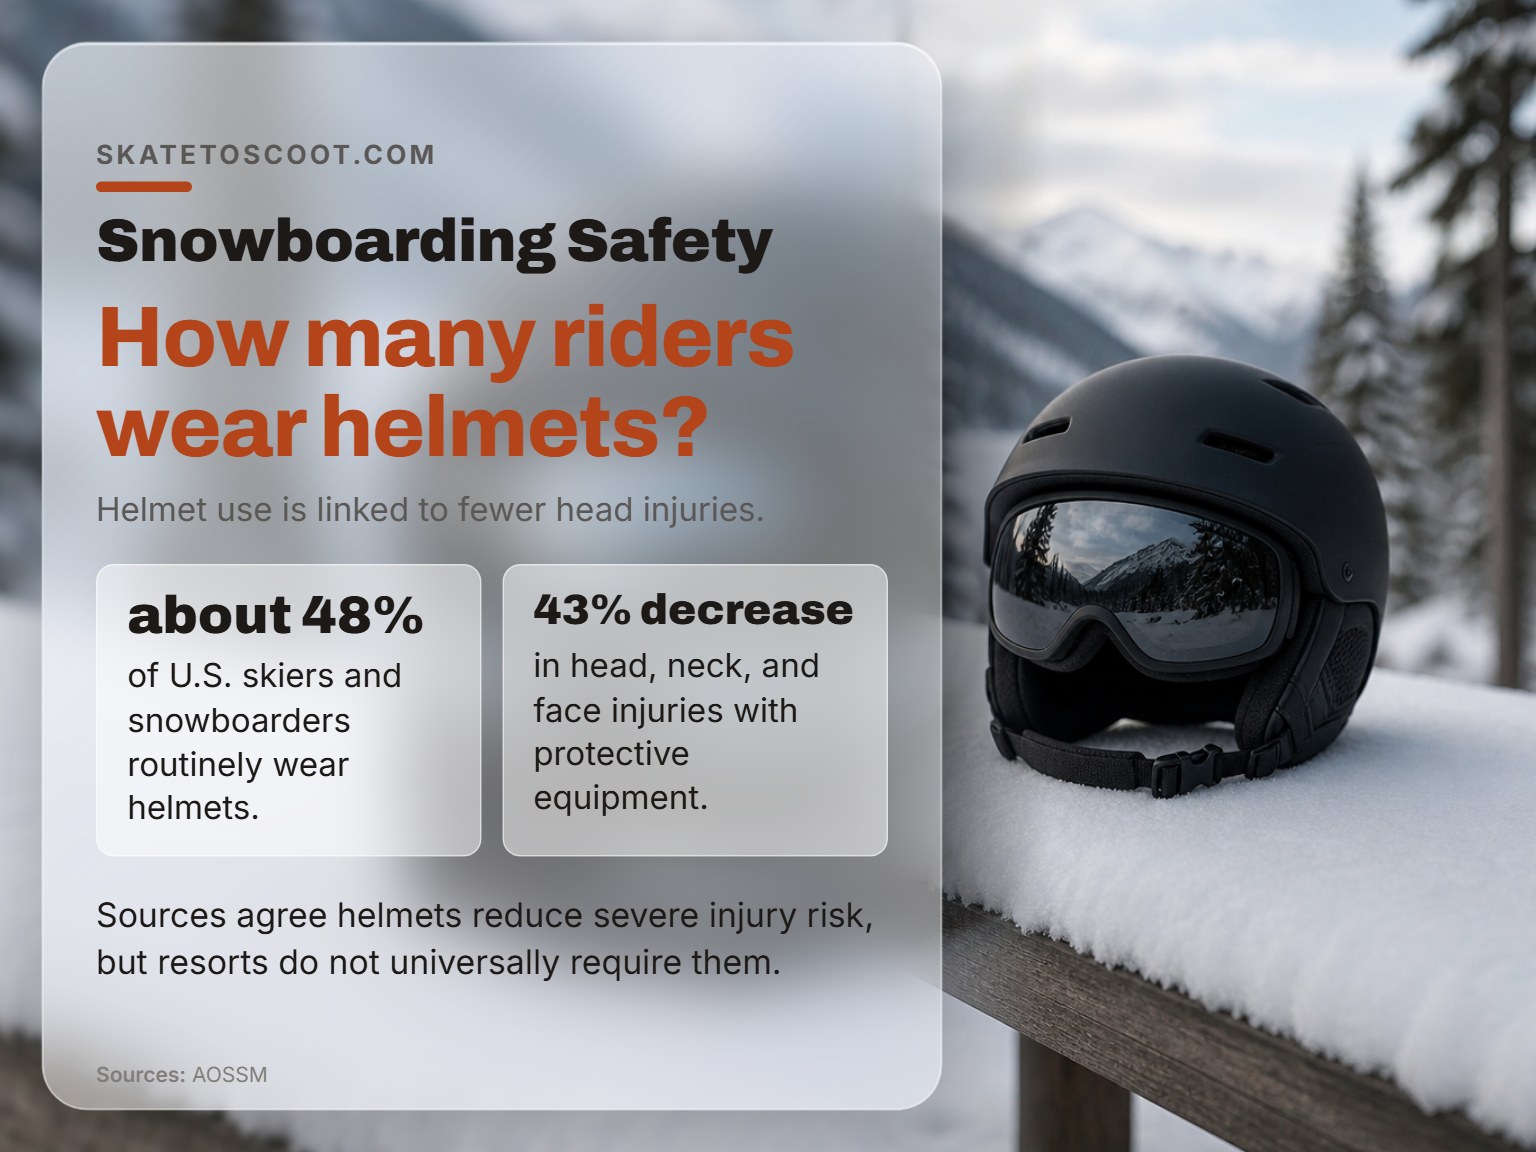
The NSAA Responsibility Code is the traffic law of the slopes, and violating it is how collisions happen. The key rules, as cited by the AOSSM, are non-negotiable for safety:
- Always stay in control. You must be able to stop or avoid other people or objects.
- People ahead of you have the right-of-way. You are responsible for avoiding them.
- Stop in a safe place for you and others. Never stop where you are obscured from above or block a trail.
- Whenever starting downhill or merging, look uphill and yield. This is where many collisions occur, a rider starting without looking.
- Observe signs and warnings, and keep off closed trails. These are closed for a reason: insufficient snow, hazards, or race preparation.
Snowboarders have a unique challenge here. As noted in a National Library of Medicine article by an instructor, “snowboarders ride at an angle… Essentially moving sideways. The sideways angle creates a partial blind side.” This built-in blind spot makes the rule of looking uphill doubly important. You must physically turn your head to see who is coming from behind your lead shoulder.
How to Structure Your Day to Avoid the Crash
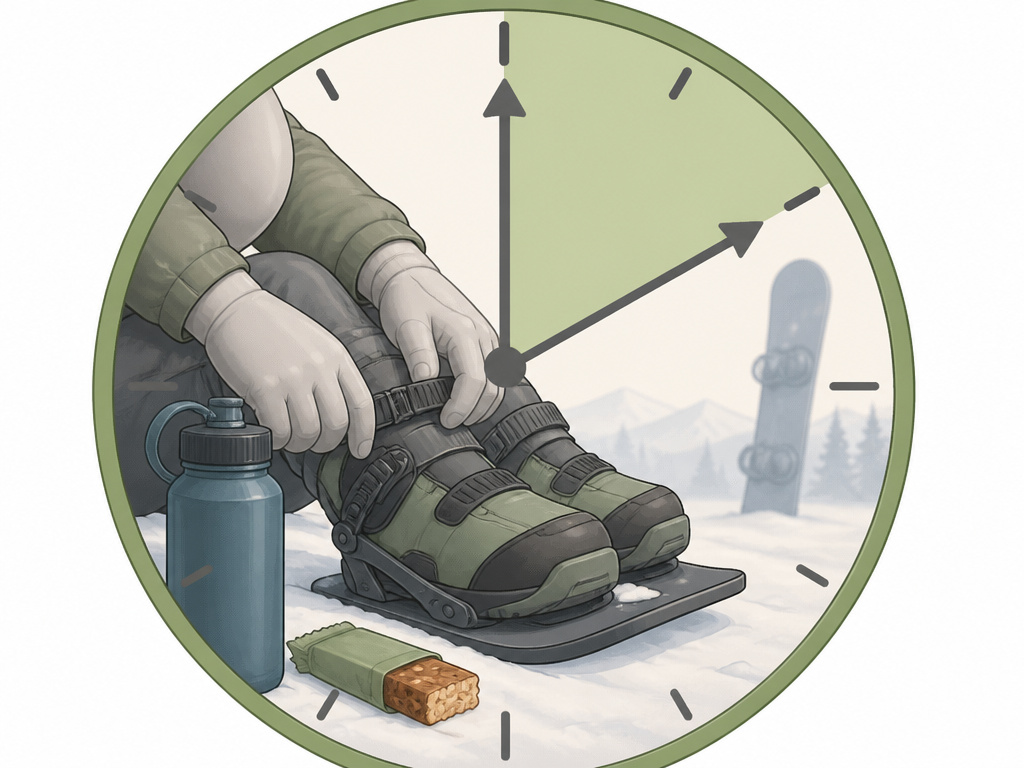
Fatigue is the number one predisposing factor for injury. The AOSSM is explicit: “Most injuries occur after lunch and when fatigued.” Your reaction time slows, your muscles lose their stabilizing power, and your judgment fades. The “one more run” mentality is a trap.
Common mistake: Pushing through leg burn to maximize a costly lift ticket. Fatigue turns minor errors into major crashes. The fix is simple: stop to rest every couple of hours, even if you don’t feel exhausted. Hydrate. Eat a snack. Get inside for fifteen minutes.
This is where knowing your limits is critical. If you’re struggling to link turns you mastered in the morning, that’s your body’s flag. Call it. The mountain will be there tomorrow. A day cut short by choice is better than a season ended by a preventable injury.
Pay extra attention in terrain parks. The AOSSM notes that terrain parks and jumps have become common and recommends incorporating AASI guides for safety in the park. These are different skills. If you’re tired, the park is a hard no. Start small and understand that park riding demands a separate level of control and awareness.
How do I stop and control my speed?
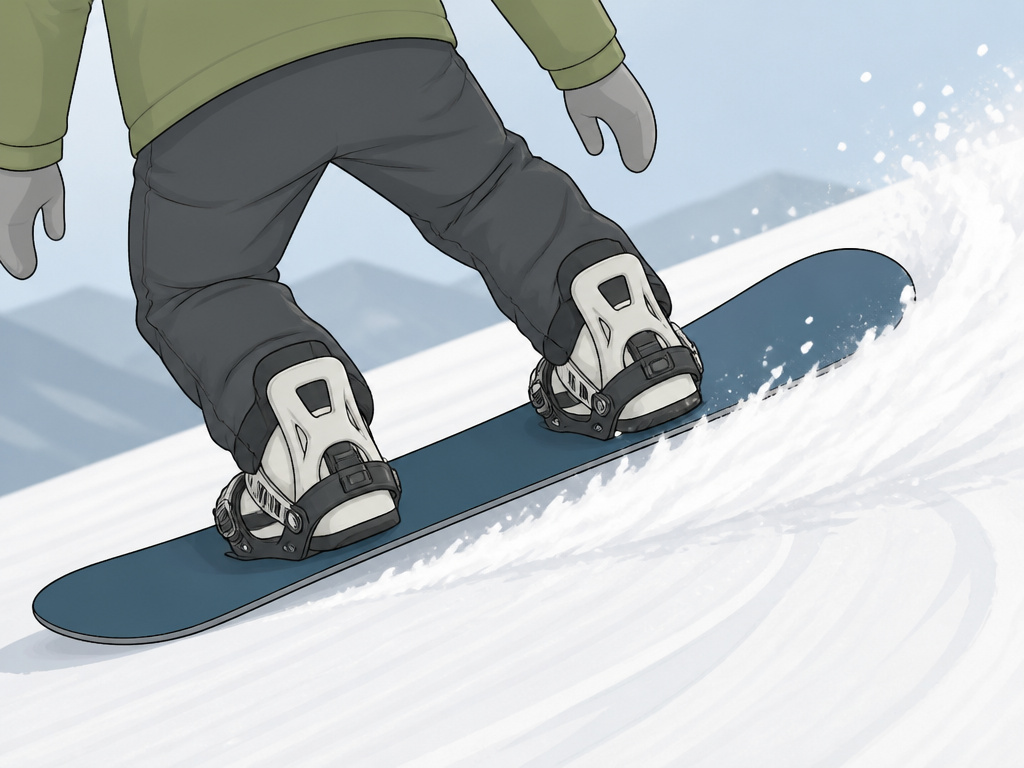
Controlling your speed is essential for staying in control and avoiding collisions. Practice stopping on both sides. Always stop in a safe place for you and others, never in the middle of a trail or where you are not visible from above. Remember, most injuries occur when fatigued, so if you feel tired, it’s a clear signal to take a break and rest, which helps maintain your stopping power.
What’s the difference between toeside and heelside?
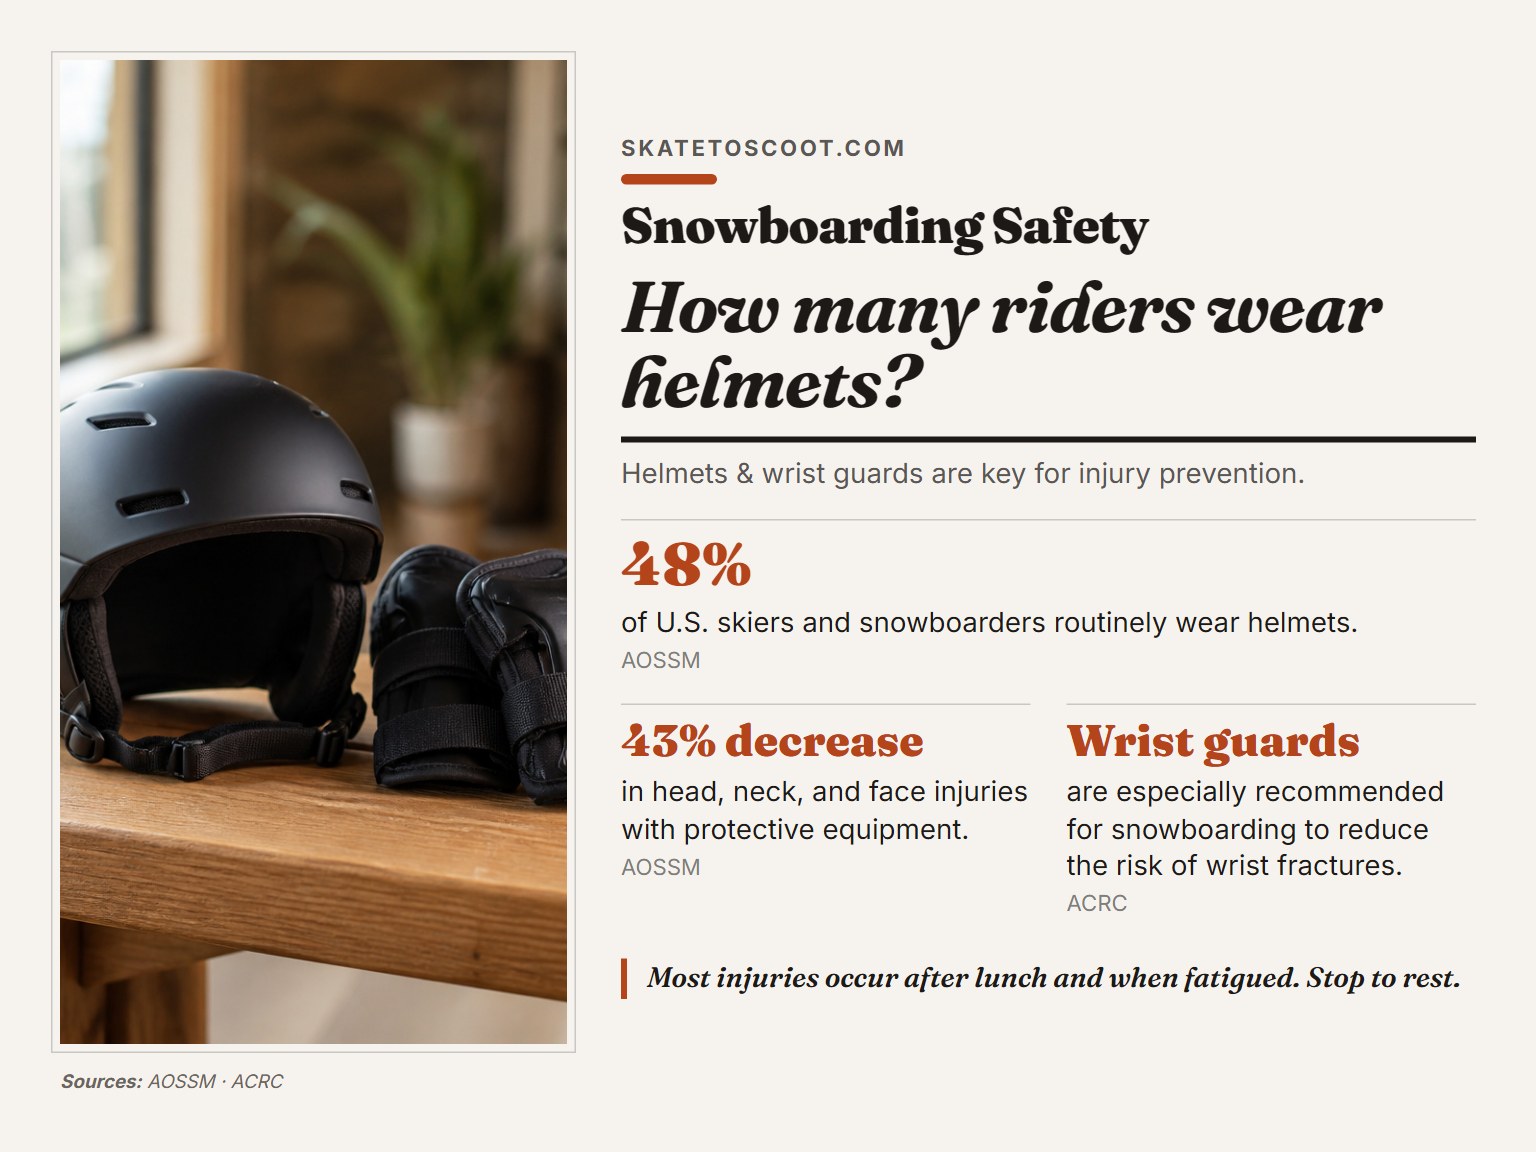
Your board’s edges are your brakes and steering. The heelside edge is controlled by leaning back onto your heels, while the toeside requires pressing down with your toes and shins. Because snowboarders ride sideways, each edge is controlled differently. Switching between them is the core of turning. Wrist guards are especially recommended for snowboarding to reduce the risk of injury as you learn to manage these edges, particularly when catching an edge and falling.
Frequently Asked Questions
What is the single most important tip for a first-time snowboarder?
Take a lesson. Full stop. A qualified instructor will teach you how to fall, how to get up, how to strap in, and how to make your first controlled slide. This foundation prevents fear, builds confidence, and ingrains safe habits from day one. Trying to learn from a friend or YouTube alone often leads to frustration and faster burnout.
Is 25 or 30 too old to start snowboarding?
No, but your approach matters. Adults often have more fear of falling and less time to dedicate than kids. The key is to manage expectations. You will be sore. You will fall. Commit to practice before deciding if it’s for you. Take lessons, use all the protective gear (helmet, wrist guards, impact shorts), and focus on the fundamentals of balance and edge control before anything flashy. Your maturity can be an advantage in learning patience and technique.
How can I practice snowboarding at home?
This prep makes the first day on snow less of a shock to your system.
What are the most common mistakes beginners make?
Beginners also often neglect the essential equipment like wrist guards or wear ill-fitting boots that kill control. Finally, not understanding right-of-way rules or stopping in unsafe spots puts everyone at risk.
How do I know if my gear is set up correctly?
If you have to ask, get a professional check. A shop technician will professionally service and adjust your equipment. They’ll ensure your boots are snug without pressure points. A proper snowboard setup is the single biggest factor in control after your own skill.
The Bottom Line
Snowboarding rewards preparation. The best tip isn’t a secret trick; it’s the disciplined application of proven, sourced fundamentals. Get your gear professionally fitted, that helmet and those bindings are your 43% shield. Take that lesson. Internalize the Responsibility Code as law. And listen to your body when it says to rest, especially after lunch.
If you take away one actionable step, make it this: ensure your equipment is professionally serviced and adjusted annually. It’s the highest-return investment you can make in your own safety and performance on the mountain. Everything else builds from a foundation that’s square, secure, and ready to respond.
