Cool Tricks to Do on a Hoverboard: The Pro’s Playbook
This post contains affiliate links. As an Amazon Associate, we earn from qualifying purchases.
Cool tricks on a hoverboard start with mastering three things: balance control, weight transfer, and a board you can trust. The 180 spin, squat spin, and one-footed circle are the foundational moves every rider should learn first, each building the core skills for more complex stunts.
That foundation is essential. A trick isn’t just a cool move; it’s a specific sequence of pressure and balance that the board’s gyroscopic system has to interpret correctly. Learning cool tricks to do on a hoverboard requires mastering this. Get the sequence wrong, and the board doesn’t just fail the trick, it can dump you. The gap between a smooth spin and a hard fall is about two inches of misplaced weight.
What follows is a coach’s playbook for cool tricks to do on a hoverboard. We’ll walk through the must-know tricks every ranking article covers, but we’ll dig into the how and why they work, or fail. You’ll get step-by-step breakdowns, the common mistakes I see all the time, and a hard look at how stunts affect your board’s mechanics and battery. By the end, you’ll know which tricks to try next and exactly what to practice to nail them.
Key Takeaways
- Start with the 180 spin and squat spin, these foundational moves teach precise weight transfer without requiring dangerous jumps or advanced balance.
- Never attempt tricks below 20% battery, the Swagtron T380 manual warns low power can disable the self-balancing system, turning a simple spin into a fall.
- Wear a skateboard helmet, wrist guards, and knee/elbow pads per the CPSC’s explicit recommendation; a head injury from a one-foot attempt isn’t worth the clip.
- Let the board cool for an hour after riding before charging, as the CPSC advises, to reduce fire risk, a warm lithium battery is a stressed battery.
- Trick difficulty is less about bravery and more about repetition; allocate the majority of your session to drilling the basics you think you’ve already mastered.
The 180 Spin: Your First Real Trick
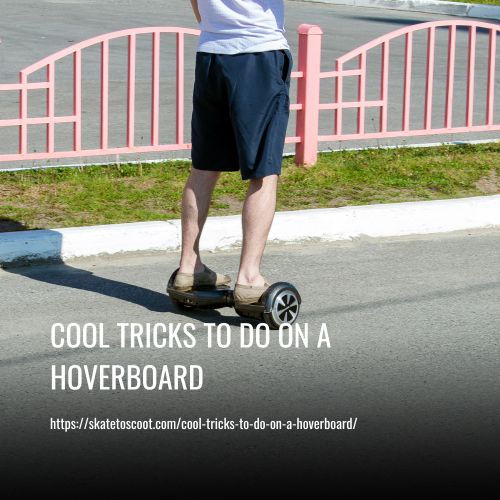
The 180 spin is where controlled trick riding begins. It’s not just turning around; it’s teaching your feet and the board’s sensors to communicate a full rotation without losing the center. Most riders learn to go forward and backward within a few minutes. The spin is what separates moving from maneuvering.
A 180-degree turn executed on a typical hoverboard involves shifting your weight to one foot to pivot the board, relying on two 350W motors (as documented in a 2017 reverse-engineering teardown) to provide the torque for a smooth rotation.
Here’s the step-by-step that works for my students:
- Find a flat, open area with ample clear space. Concrete or smooth asphalt is ideal.
- Come to a complete stop with your feet shoulder-width apart, knees slightly bent. Your weight should be centered.
- Look over your leading shoulder in the direction you want to spin. Your head and torso initiate the turn.
- Press down firmly with the toes of your front foot and lift the heel of your back foot slightly. This uneven pressure tells the board to rotate. Don’t jerk, think of rolling your ankle.
- Let the board pivot 90 degrees, then recenter your weight for a split second as you pass the halfway point.
- Complete the rotation by shifting pressure to the other foot to stop the spin, finishing squarely facing your new direction.
The part nobody mentions: If you lean your upper body too far over the board during the spin, your center of mass shifts outside the wheelbase. The board’s gyros will fight to correct, resulting in a wobbly, unstable rotation that often ends with you stepping off. Keep your torso stacked over your hips.
The Squat Spin (Sit-Spin)
Once you’re comfortable with the standing 180, the squat spin introduces a lower center of gravity and hand contact. It looks impressive, but it’s actually more stable for many riders. The key is using your hands for balance, not for power.
Common mistake: Gripping the board’s sides and trying to muscle it into a spin. Your hands are guides and stabilizers. The spin power still comes from the same toe/heel weight shift you learned in the 180.
- From a stop, lower yourself into a comfortable squat, keeping your back straight. Place one hand lightly on each side of the board’s central body.
- With your weight low, perform the same weight-shift as a 180 spin. The board will start to turn more easily due to your lowered mass.
- As you gain momentum, you can lift your hands slightly, the board should continue spinning. Grip again if you feel unstable.
- To stop, plant your hands firmly and evenly on the sides to halt the rotation, then stand up.
This trick is excellent for building confidence in directional control at low speeds. It’s also the gateway to more advanced floor work if you’re into freestyle routines.
One-Footed Tricks and Balance Limits
Riding on one foot is the ultimate test of your balance and your trust in the board’s self-balancing system. There’s a catch, straight from the manual: “When the SWAGTRON® is at low power, the hoverboard may be unable to properly self-balance.” Attempt this trick on a fading battery, and the board might simply tilt over instead of correcting.
Easy to miss: The board’s self-balancing software assumes two points of contact. With one foot, you’re asking one motor to do the work of two. It works, but the margin for error is thin.
The One-Foot Circle:
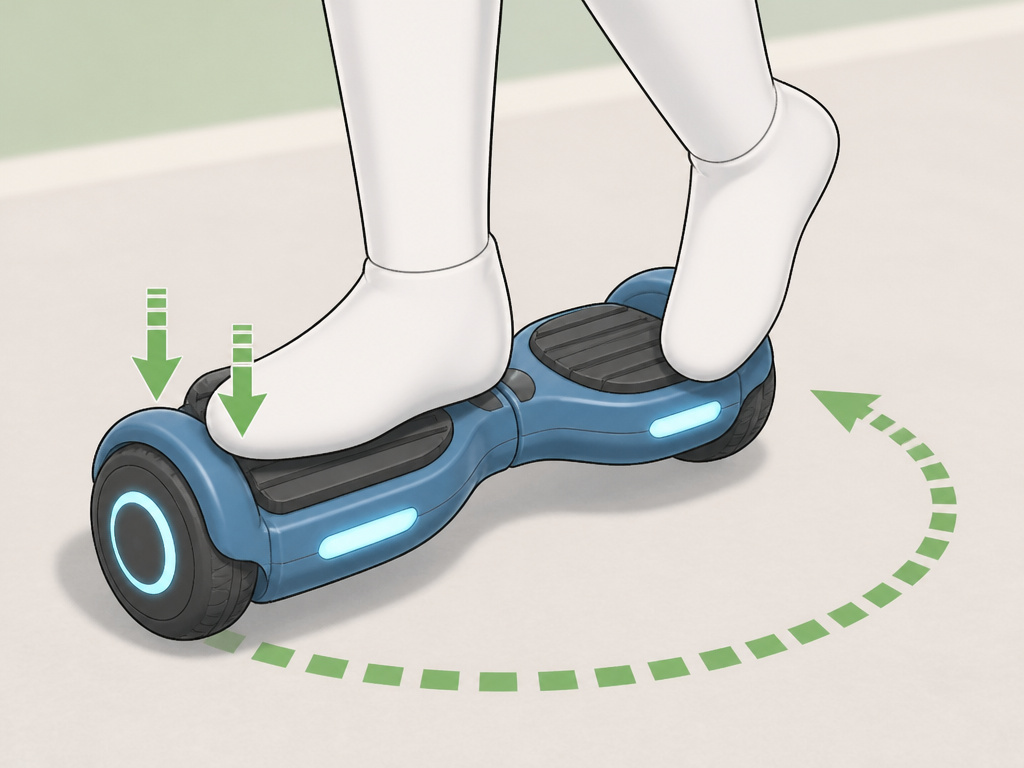
- Start on a smooth, level surface. Gain a tiny bit of forward momentum.
- Shift your weight entirely onto your dominant foot. Slowly lift your other foot an inch off the pad, keeping it close.
- To turn a circle, apply gentle toe pressure on your standing foot. The board will carve a wide, slow arc.
- Keep your arms out for balance like a tightrope walker. Look ahead, not down at your feet.
- The goal is maintaining that single-point balance for a full rotation.
I limit my serious attempts per session to avoid fatigue. The focus required is immense, and fatigue leads to sloppy form and hard falls. This is where wrist guards prove their worth, when you go down on one foot, you often can’t get your other foot down in time to catch yourself.
Hoverboard Safety: The Non-Negotiable Foundation
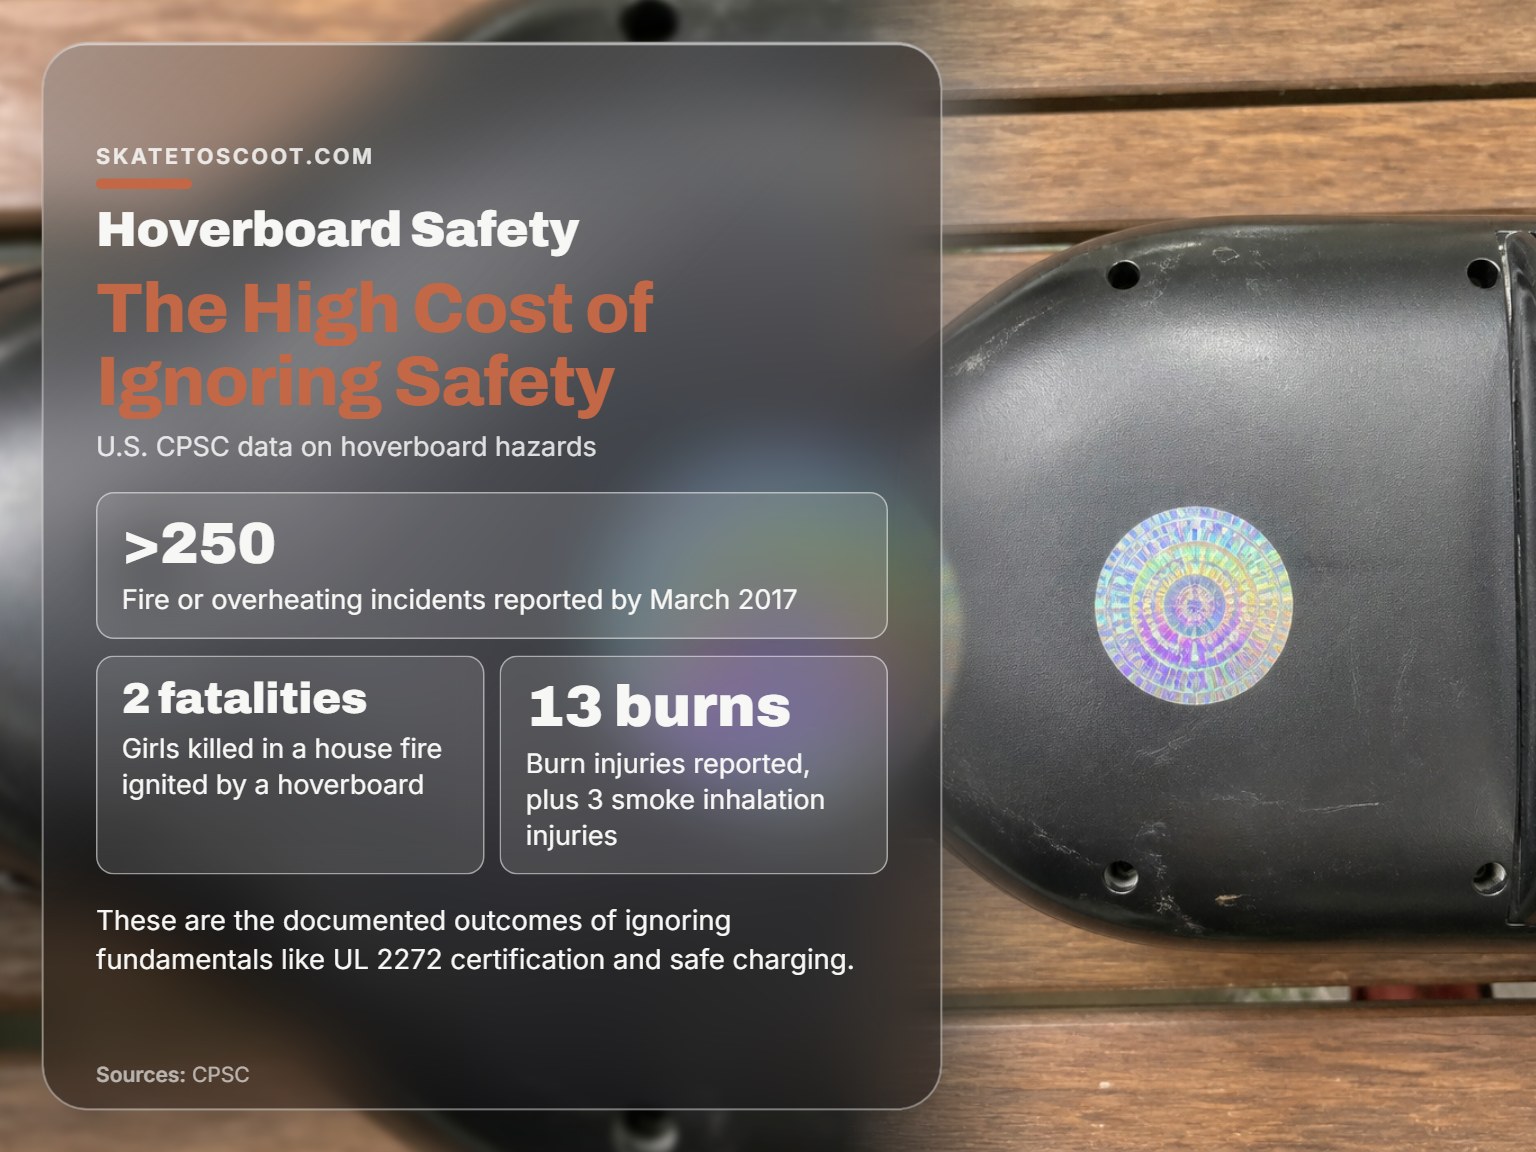
You can’t talk about tricks without a brutal focus on safety. The U.S. Consumer Product Safety Commission (CPSC) isn’t issuing guidelines for fun. Their official hoverboard hazard notice documents over 250 fire incidents, two fatalities, and millions in property damage. Tricks increase physical risk exponentially.
| Safety Gear | Purpose | Consequence If Skipped |
|---|---|---|
| Skateboard Helmet | Protects against traumatic head injury from backward falls. | A concussion or worse from impacting concrete during a failed one-foot attempt. |
| Wrist Guards | Prevents fractures and scaphoid injuries when putting hands out to break a fall. | A broken wrist that sidelines you from a simple sideways spill. |
| Knee & Elbow Pads | Prevents abrasions and impact injuries during low-speed practice and bails. | Bloodied, gravel-embedded skin that can become infected, slowing all practice. |
Before you start: Your hoverboard must be UL 2272 compliant. Check for a holographic certification label on the bottom. Boards purchased before January 29, 2016, are not compliant, per the CPSC. Even compliance doesn’t guarantee safety, but it’s the absolute baseline. Combine that with the CPSC’s charging rules: use only the supplied charger, never charge unattended or overnight, and let the board cool for an hour after riding before plugging it in.
This is the documented outcome of ignoring the fundamentals. Your first investment should be a certified helmet, not a new set of LED lights for customizing your hoverboard.
Jumping, Mounts, and Incline Tricks
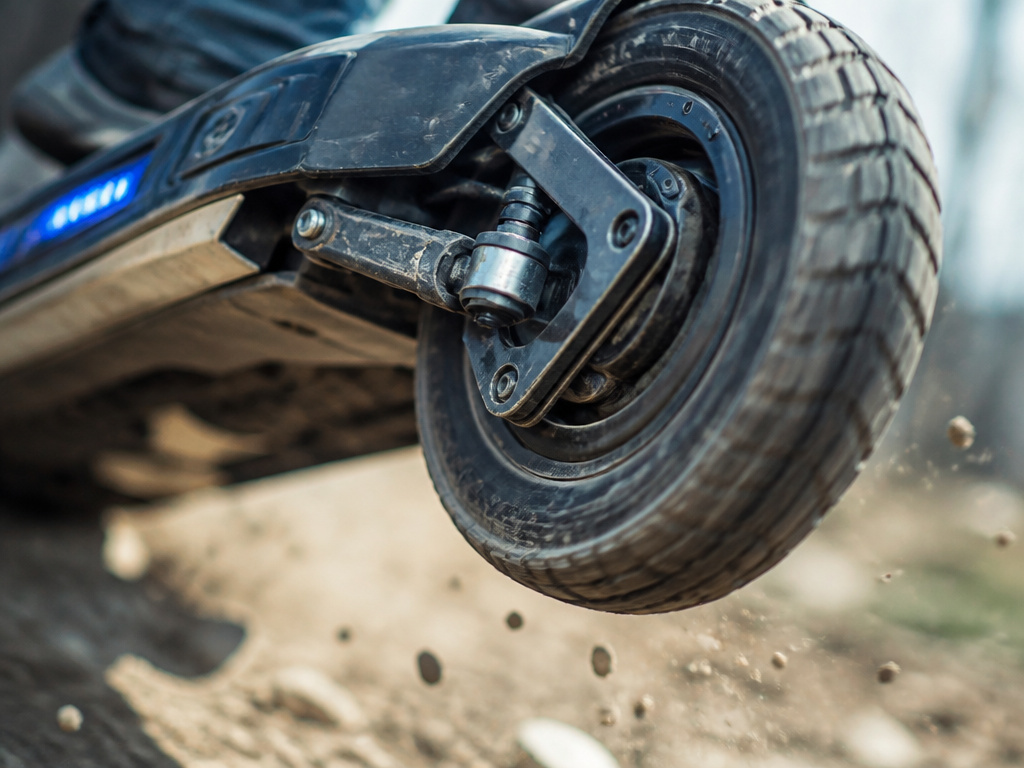
Adding air or terrain changes the game. These tricks apply significant mechanical stress to the board’s frame, motors, and battery connections. The reverse-engineering document notes the typical unit uses two 350W motors, they’re powerful, but they’re not designed for repeated impact.
The Basic Running Mount:
- Place the board stationary on a flat, non-slip surface.
- Take a few steps back, then a light jog forward.
- As your dominant foot lands on its corresponding pedal, immediately step your other foot onto its pedal. The key is fluidity, don’t pause with one foot on.
- The board will jerk if your landing isn’t simultaneous. Practice the foot placement without momentum first.
Where this goes sideways: Attempting to jump over an object before mastering the basic mount. The landing impact can crack the plastic housing around the wheel or, over time, loosen the internal wiring harnesses. A loose connection near a lithium battery is a primary failure mode cited in fire investigations.
Riding on mild inclines or ramps is a better way to build advanced control. It teaches you to manage speed and balance on a non-flat plane, which is crucial for any trick that involves variation in terrain. Start with a gentle slope.
Maintenance Impact of Doing Tricks
Trick riding accelerates wear. It’s physics. Spins grind down the outer edges of solid rubber tires. Jumping and hard landings stress the solder joints on the motherboard. Even aggressive carving for turns can heat up the motors beyond their normal operating range.
| Trick Type | Primary Wear Point | Sign of Excess Wear |
|---|---|---|
| Repeated Spins (180, 360) | Tire tread on outer edges. | The tire becomes visibly coned or flattened on one side, affecting straight-line stability. |
| Jumps & Hard Landings | Frame and internal solder joints. | New creaks or rattles when riding over small bumps, indicating cracked plastic or a loose component. |
| Aggressive Carving | Motor bearings and wheel axles. | A high-pitched whine from one wheel during acceleration, signaling bearing wear. |
The Swagtron T380 manual specifies a working temperature range of 5°F to 122°F (-15°C to 50°C). After a session of repeated hard tricks, feel the wheel hubs. If they’re too hot to keep your hand on comfortably, you’re pushing the motors hard. Let the board cool down completely before your next run or before charging.
This is why a clean, well-maintained board is a safer board. Dust and grit from trick practice can jam in the footpad sensors. A simple wipe-down with a dry cloth after each session isn’t just for looks; it prevents debris from interfering with the sensitive controls you rely on for tricks. Learning how to balance a hoverboard is the first skill; maintaining that balance through the board’s lifespan is the last.
How to Structure Your Practice Session
You have the cool tricks to do on a hoverboard. You have the safety gear. Now, how do you actually improve without burning out or getting hurt? Throwing yourself at the hardest stunt for an hour is a recipe for frustration and injury.
Here is a sample 45-minute practice structure that prioritizes progression:
- Warm-up: Basic forward/backward movement, gentle turns. This is for you and for the board’s systems to start up correctly.
- Foundation Drill: Pick ONE foundational trick from earlier (e.g., the 180 spin). Do slow repetitions. Focus on form, not speed.
- New Trick Introduction: Work on the next trick in the progression. For example, if you’ve mastered the 180, try the squat spin. Attempt it several times. If you don’t land it cleanly, stop. The mental blueprint is forming.
- Cool-down: Easy cruising. Let your focus relax and reinforce the feeling of simple, controlled riding.
TL;DR: Quality over quantity every time. Two clean, controlled attempts are worth twenty sloppy, frustrated ones. This mirrors the discipline needed for riding a hoverboard in the first place, patience with the process.
How to do a handstand on a hoverboard
Handstands push a hoverboard’s self-balancing system to its limit. These tricks require a full battery; a low-power board may be unable to properly self-balance. Start by practicing a static handstand on the ground, then progress to placing your hands on the stationary board while a spotter holds your legs. The key is shifting your weight slowly onto your hands while keeping your core tight to avoid a sudden shift that could overload the motors. Always wear wrist guards, knee and elbow pads, and a helmet. These stunts put unusual strain on the board’s components, so ensure your board is in top condition and ridden on a smooth, level surface to minimize risk.
Frequently Asked Questions
What are the easiest hoverboard tricks to start with?
The 180-degree spin and the squat spin are the easiest and most fundamental. They teach controlled weight transfer without requiring you to leave the board or balance on one foot. Both build the core skills for every trick that follows.
Is 7 mph fast for a hoverboard?
For trick riding, yes, 7 mph is often the upper limit of usable speed. Most boards, like the one detailed in a 2017 teardown, have a top speed between 8-10 mph. At 7 mph, you have enough momentum for fluid moves but retain enough control to bail safely if a trick goes wrong. For pure speed, you’d engage advanced mode on compatible boards.
Are hoverboards safe for 12 year olds?
With strict supervision and adherence to all safety rules, they can be. The CPSC explicitly recommends a skateboard helmet, knee and elbow pads, and wrist guards. The critical factor is maturity, a 12-year-old must understand and follow the battery charging safety rules (no overnight charging, cool-down period) to mitigate fire risks, and they must commit to wearing all protective gear every single time.
How long does it take to learn a basic hoverboard trick?
Basic trick like the 180 spin can be learned in a single focused session once you’re comfortable riding forward and backward. The variance is huge, though. It depends less on innate talent and more on how deliberately you practice the component steps. Breaking it down and drilling each micro-movement is faster than just trying to spin over and over.
Can doing tricks damage my hoverboard?
Yes, absolutely. Trick riding accelerates wear on tires, stresses the frame and motor mounts, and can loosen internal connections over time. This is why buying a board with a valid UL 2272 certification is crucial, it means the unit was tested as a complete system to withstand certain stresses. Always inspect your board for new sounds or visual damage after a trick session.
Before You Go
The real trick is managing risk. Every cool move exists on a spectrum between showmanship and system failure, your body’s and the board’s. The U.S. Regulator hoverboard warning exists because people treated these devices as toys, not as complex personal transport with a lithium battery at its heart.
So here’s your first action item: before your next session, check your board’s bottom for the UL hologram. If it’s not there, reconsider your plan. Then, review the essential hoverboard safety rules. Finally, pick one trick from this guide, just one, and dedicate your next 30 minutes of practice to its slow, perfect execution. That’s how you build a reel worth watching, without a trip to the ER.
