Hoverboard Safety Tips for Beginners: Step-by-Step
This post contains affiliate links. As an Amazon Associate, we earn from qualifying purchases.
Hoverboard safety for beginners starts with three essential rules: wear a certified skateboard helmet with knee and elbow pads and wrist guards, only charge the board when you are present and awake, and practice exclusively on a flat, open surface away from cars, water, and slopes. These rules address the two primary hazards documented by regulators: falls, which cause 92% of injuries, and fires, which have led to over 300 reported incidents and fatal house fires.
That gear mandate isn’t just a suggestion, it’s the direct finding from a clinical review of emergency room cases, where 20% of injured riders sustained closed head injuries and most had zero documented helmet use. The fire risk, meanwhile, is a systems-level electrical problem that can’t be seen until it’s too late, which is why your charging habits matter as much as your riding technique. These are core hoverboard safety tips for beginners.
What follows is a step-by-step plan that moves from the absolute basics you must buy and verify before you even power the board on, through your first wobbly minutes, to building enough control to handle gentle turns, all central to hoverboard safety tips for beginners. We’ll also cover the common mistakes that send beginners tumbling and the one practice drill that cuts your learning curve in half.
Key Takeaways
- Always wear a skateboard helmet, knee and elbow pads, and wrist guards. A study in the Journal of Emergency Medicine found 92% of hoverboard injuries were from falls, with 20% involving closed head injuries.
- Charge only when awake and present, and let the board cool for an hour first. The CPSC is aware of more than 300 hoverboard incidents related to fires or overheating and states supervised charging is mandatory to reduce risk.
- Start on a flat, dry, paved surface away from traffic. Manufacturer manuals like the one for the Glide model explicitly warn that wet conditions cause slips and damage electronics.
- Verify the board has a genuine UL 2272 mark on the unit itself. The CPSC warns that component certification does not equal full-unit compliance, and boards bought before January 29, 2016, are not compliant.
- Treat your first week as a balancing drill, not a riding session. Spend your initial practice time just mounting, dismounting, and finding your center of gravity before attempting to move.
The Non-Negotiable Gear Checklist
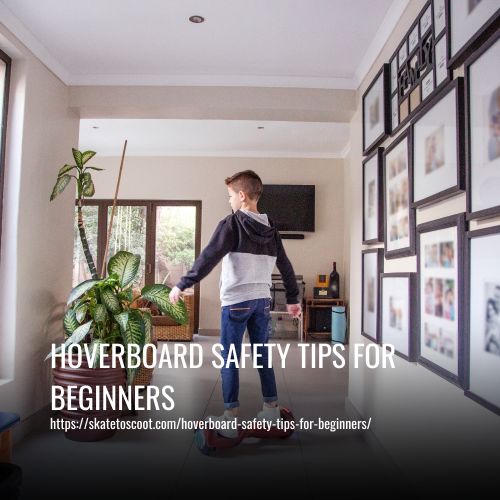
You need more than a helmet. I learned this the hard way coaching skaters, ankle braces masked weak muscles, and soft wheels hid poor technique. The wrong gear teaches the wrong lessons. For hoverboards, the documented injury patterns are too specific to ignore.
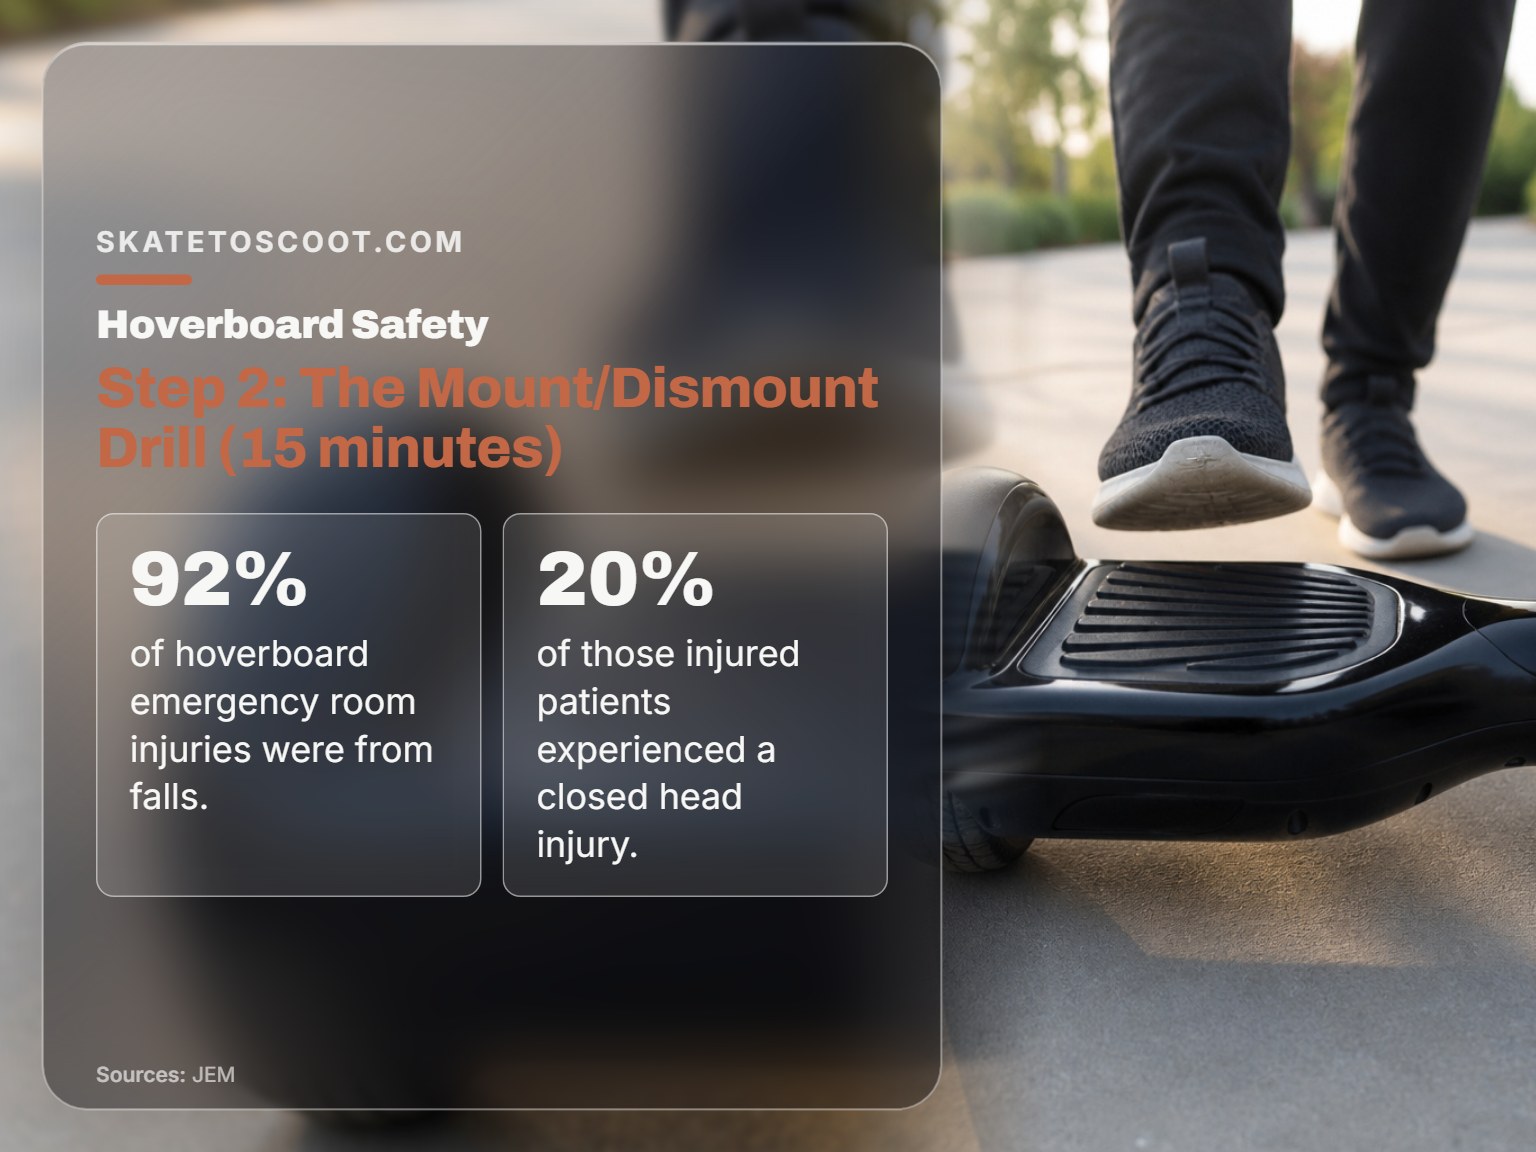
A 2017 study published in the Journal of Emergency Medicine analyzed 83 emergency department patients. It found that 92% of injuries were from falls, not collisions. The wrist was the most injured site, and documented helmet use was “extremely low.” This isn’t a guess; it’s what hospitals actually see.
The part nobody mentions: Skipping them because they feel awkward guarantees the most common hoverboard injury.
Here’s your mandatory shopping list, verified against the sources:
- Skateboard helmet (certified). Look for a CPSC, ASTM, or CE certification sticker inside. A bicycle helmet is not designed for backward falls.
- Knee and elbow pads. These should have a hard plastic cap and snug straps.
- Wrist guards. The rigid splint inside prevents hyperextension on impact.
The sound of plastic scraping pavement is a lot better than the sound of a wrist snapping. I speak from experience.
Buying Safe: The UL 2272 Decoder
The most important safety feature isn’t on you; it’s on the board. The U.S. Consumer Product Safety Commission (CPSC) is clear: hoverboards should be compliant with the UL 2272 safety standard. This isn’t a vague quality suggestion. Between December 1, 2015, and February 17, 2016, the CPSC received reports of 52 separate fires from hoverboards, causing over $2 million in property damage.
Here’s where beginners get tripped up. A seller might claim the “battery is UL certified.” That’s meaningless. UL 2272 covers the entire hoverboard unit, the battery, charger, wiring, and BMS as an integrated system. The official CPSC hoverboard safety alert PDF states that component certification does not equal UL 2272 compliance.
| What to Look For | Why It Matters | Red Flag |
|---|---|---|
| UL 2272 mark on the hoverboard itself (not just the box) | Proves the complete unit passed electrical, mechanical, and environmental safety tests. | Only a “UL” mark on the charger or battery pack. |
| Manufacturer name, model number, and date on label | Required by the standard for traceability. | Generic “Smart Balance Board” with no brand or model. |
| Purchase from a reputable retailer | Allows for returns and validates compliance documentation. | Buying from a mall kiosk, secondhand seller, or unknown online store. |
If you’re buying a board as a gift, the CPSC Chairman had specific advice: leave it in its partially charged state in the box. Do not fully charge it and re-wrap it. That overnight, unattended charge is precisely when many of the early fires happened.
One staggering data point from a 2018 Dutch market study: all 29 hoverboard models tested failed essential safety requirements. Twenty-eight of those 29 lacked a critical charge-cutoff circuit. This is why your vigilance at purchase is your first line of defense. For a deeper look at the specifics of these hoverboard dangers, the details matter.
Your First Ride: A 4-Step Progression Plan
Most guides throw you onto the board. That’s how you get hurt before you learn anything. Think of this like learning to carve on skates: you don’t start on a ramp. You start on flat ground, mastering your edges. Your hoverboard’s “edge” is its balance point.
Step 1: Find Your Stance (5 minutes)
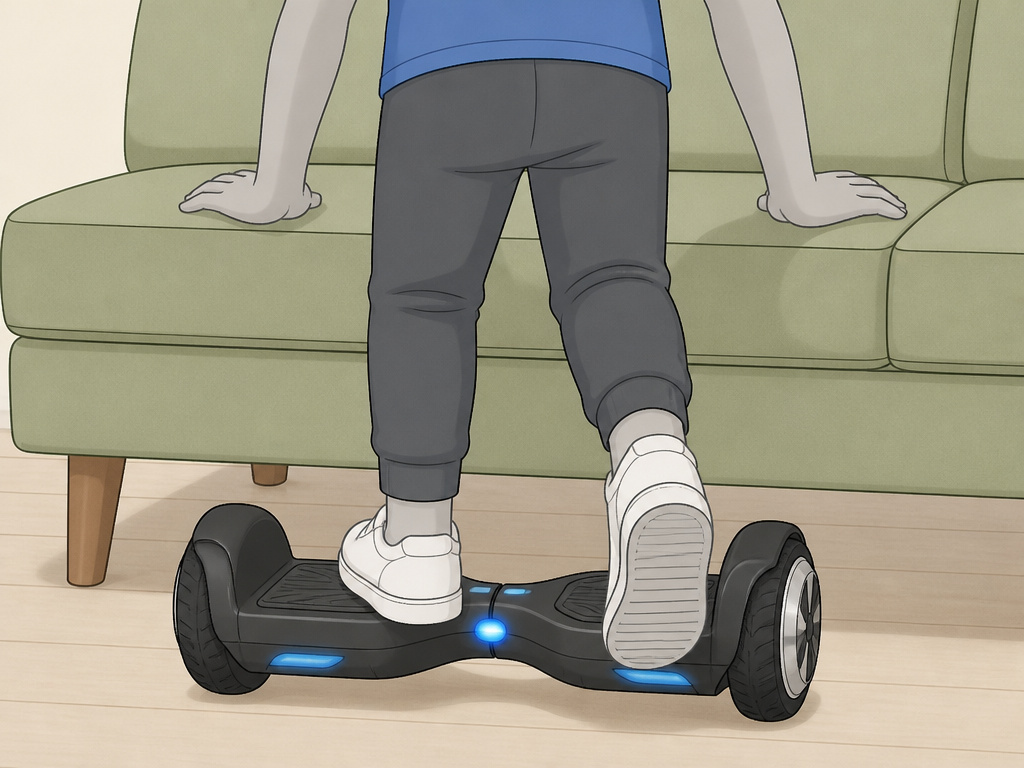
Power the board on (hold the button for 1 second, per the Glide manual). Place it against a wall, couch, or sturdy chair. Use the support to step on, one foot at a time, with your dominant foot usually going first. Stand still. Feel how the board tries to keep you upright. Look straight ahead, not down. Your goal here is to discover your neutral, relaxed posture.
Step 2: The Mount/Dismount Drill (15 minutes)
This is the single most important practice. Most falls happen getting on or off.
- With the board off, practice stepping on and off from the back. Never mount from the side.
- Turn the board on. Using support, mount, then dismount. Repeat 10 times.
- Now try without upper-body support, but have a spotter nearby. The goal is a smooth, confident step-off backwards.
Where this goes sideways: Trying to jump or step off sideways. The board can shoot out from under you. Always dismount by stepping backwards off the rear of the board.
Step 3: Micro-Movements (20 minutes)
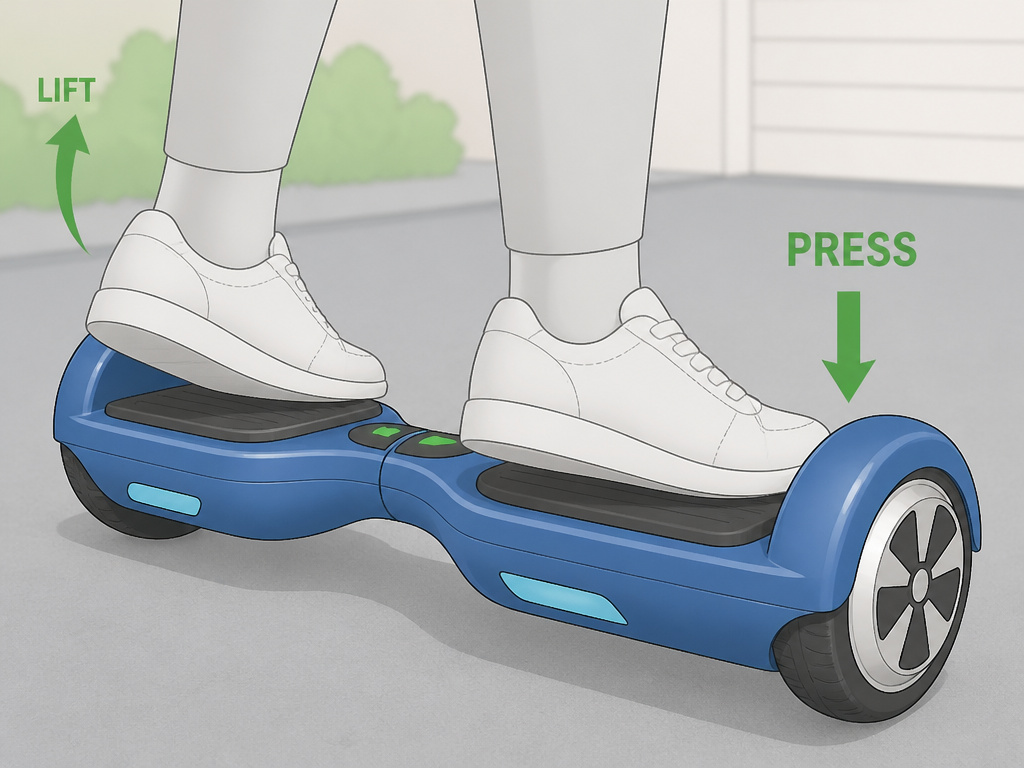
With a spotter, mount on a flat, smooth surface like a driveway or empty parking lot. Gently press down with your toes to go forward, lift your toes to go backward. Do not try to turn. Go one foot, stop. Go two feet, stop. You’re not riding yet; you’re teaching your ankles the pressure needed for control. If you feel the board start to wobble, step off backwards.
Step 4: Controlled Stopping and Gentle Turns (20 minutes)
Once moving forward feels steady, practice stopping by evenly releasing pressure to return to level. For a right turn, press your left toes down slightly. For a left turn, press your right toes. Keep these movements tiny. Your upper body should stay quiet; turning happens from the ankles down.
This entire first session should be no more than an hour. Fatigue leads to mistakes. For a detailed guide to riding a hoverboard, follow these foundational steps.
How to Fall Safely (Yes, It’s a Skill)
You will fall. The peer-reviewed hoverboard injury analysis shows it’s a matter of when, not if. The goal isn’t to never fall; it’s to fall in a way that turns a potential fracture into a slide.
When you feel yourself going:
- Get Low. Crouch down to reduce the distance to the ground.
- Roll, Don’t Stick. Try to turn a stumble into a shoulder roll, distributing the impact along your padded arm and back.
- Protect Your Head. Tuck your chin. Your helmet is your last line of defense, not your first.
- Relax. Tense muscles break more easily.
Practice this on a soft surface like grass or a gym mat without the hoverboard. Knowing how to fall removes the panic, and panic is what causes locked joints and hard impacts. This is why learning to balance a hoverboard confidently is less about not falling and more about managing the descent.
The Charging Routine That Prevents Fires
The battery is the most dangerous part of your hoverboard when you’re not riding it. The CPSC Chairman’s directive is unambiguous: “Do not charge a hoverboard overnight or when you are not able to observe the board.”
Here is the reason. Lithium-ion batteries can enter a state called “thermal runaway” if overcharged. The chemical reactions produce more heat, which causes more reactions, an unstoppable loop that ends in fire or explosion. The NVWA study found 28 out of 29 hoverboards had a critical failure where ‘charging does not stop when the battery is full.’
Your routine should be:
- Cool Down. After riding, wait one hour before plugging in. The CPSC Chairman specifically advises this to let internal components cool.
- Charge in the Open. Plug the board into a outlet in an open, dry area, away from couches, curtains, or bedding. Never on a carpet.
- Stay Present. Charge only when you are awake and in the room. Do not start a charge and go to sleep or leave the house.
- Disconnect. Once the charger light indicates full (often green), unplug both the board and the charger from the wall.
Treat your charger like a potential spark. That mindset is what separates a close call from a catastrophe. For more on how to protect your hoverboard from fire, adopt these habits as your best defense.
Where to Practice: Indoor vs. Outdoor
Your environment is a force multiplier, for good or for bad, a key consideration in hoverboard safety tips for beginners. The Glide hoverboard manual is explicit: “Do not ride under wet conditions. The hoverboard may slide from under your feet causing injury. Wet conditions may damage the electronics and void the warranty.”
| Environment | Best For | Risks & Limitations |
|---|---|---|
| Indoor (Long hallway, empty garage) | Initial balance drills, mount/dismount practice. Controlled, flat, and weather-proof. | Limited space for speed. Beware of walls and furniture. Hard floors offer less forgiveness on falls. |
| Outdoor (Flat driveway, empty tennis court) | Building speed, practicing wider turns. More realistic riding space. | Weather changes (wet, hot). Debris like gravel or sticks. Requires constant vigilance for slopes and cracks. |
| Never | Public roads, near traffic, on hills, near water (pools, lakes), on uneven terrain. | High risk of collision, loss of control, or water damage. The board’s motors are not designed for these conditions. |
Start indoors or in a completely controlled outdoor space. The moment you add variables like wind, slight slopes, or pavement cracks, you increase the difficulty tenfold. This is especially critical when teaching a child to ride a hoverboard, as their risk assessment is still developing.
Common Beginner Mistakes & How to Fix Them
I’ve watched this common mistake a hundred times: a rider feels a wobble and looks straight down at their feet. Your head is heavy. Looking down pulls your center of gravity forward, often right over the front edge of the board, guaranteeing a fall.
Mistake 1: The Death Grip Posture
- Sign: Stiff, locked knees and hunched shoulders. You look like you’re holding onto a cliff edge.
- Fix: Bend your knees slightly. Keep your back straight and look 10–15 feet ahead. Your body should be loose and reactive.
Mistake 2: Overcorrecting Every Wobble
- Sign: Making huge, jerky toe or heel movements to correct minor balance shifts.
- Fix: Small, subtle adjustments. The board’s gyroscopes are making thousands of corrections per second. Let them work. Your job is to provide a stable platform, not fight for control.
Mistake 3: Ignoring the Pre-Ride Checklist
- Sign: Jumping on without checking battery, tire pressure (if applicable), or the board’s alignment.
- Fix: Adopt a 30-second ritual:
- Visual inspection: No cracks or loose parts.
- Power on: Does it start smoothly? Any error lights?
- Quick test: On a safe surface, does it move forward and backward evenly when you gently press?
Skipping this is like not checking your skate axles, you might be fine for a while, but the one time something’s off, it will be at the worst possible moment. Consistent hoverboard maintenance begins with these simple checks.
How to Supervise a Child on a Hoverboard
Direct adult supervision is essential for young riders. A manufacturer’s manual states hoverboards are not for children under the age of 8. A study of emergency room visits found that 92% of hoverboard injuries were from falls, and 20% of patients in that study sustained closed head injuries, highlighting the need for protective gear and oversight. Beyond preventing falls, supervision is critical for charging safety. A safety agency advises that a hoverboard should only be charged when you are present and able to watch it, never overnight. Tragically, a house fire ignited by a hoverboard resulted in fatalities for two young children. An adult must manage the charging process in an open area away from anything flammable and ensure the board has cooled down after use before plugging it in.
What Are the Local Laws for Hoverboards?
Before buying or riding, you must check the specific rules for your area, as they vary widely. Some cities and campuses have outright bans. More than 20 colleges and universities across the U.S. Have implemented complete or partial bans on these devices. Public transit systems and airlines also frequently prohibit them; over 60 separate airlines ban hoverboards on flights. There is no universal legal age for riders, but a manufacturer’s manual specifies its product is not for children under 8. Your local municipality or state may have its own age restrictions, weight limits, or rules about where you can ride, such as prohibitions on public roads or sidewalks. Always verify these regulations first, as riding in a banned area can lead to fines or confiscation.
Frequently Asked Questions
Are hoverboards safe for a 9 year old?
Manufacturer manuals provide the clearest answer. The Glide hoverboard manual states the device “should never be used by children under the age of 8.” For a 9-year-old, the answer depends on maturity, supervision, and strict adherence to all safety rules, full protective gear, supervised charging, and practice in a safe, enclosed area. The clinical data shows pediatric patients are just as susceptible to injuries as adults.
What are some tips for beginners riding a hoverboard?
The three most practical tips are: 1) Master mounting and dismounting before you try to move, 2) Always look where you want to go, not at your feet, and 3) Charge the board only when you are awake and in the room, on a non-flammable surface. These address the most common causes of falls and the most severe risk of fire.
How to not fall off a hoverboard?
You cannot guarantee never falling, 92% of injuries in one study were from falls. The goal is to fall safely. However, to minimize falls, focus on maintaining a low center of gravity (bent knees), making smooth, tiny control inputs, and practicing your dismount until it’s automatic. Knowing how to get off a hoverboard safely is your most important skill.
Are hoverboards meant to be inside or outside?
They are designed for smooth, dry, paved outdoor surfaces like driveways and parking lots. However, indoors can be ideal for initial balance practice in a long hallway or empty garage, provided there’s ample space and hard flooring. Never ride on wet grass, gravel, or public roads. The hospital hoverboard safety tips from clinicians echo this, emphasizing controlled environments away from traffic.
The Bottom Line
Hoverboard safety is not a list of suggestions; it is a short list of essential protocols built on hospital injury data and regulator fire reports. Your helmet and pads are as essential as the board itself. Your charging routine needs the same respect you’d give a running power tool, supervised and deliberate.
If you take away one action from this guide, make it this: before your first ride, verify the UL 2272 mark is physically on your hoverboard. That single step filters out the most dangerously non-compliant models on the market. Everything else, the practiced dismounts, the supervised charges, the padded falls, builds from that foundation of having a board that’s least likely to fail catastrophically.
The fun of gliding is real, but it’s a reward for treating the device with the seriousness its engineering demands. Start slow, gear up, and charge smart.