How to Clean Roller Skates: Step-by-Step (Without Damage)
This post contains affiliate links. As an Amazon Associate, we earn from qualifying purchases.
To clean roller skates, you remove the wheels, wipe the boots with a damp cloth, clean the wheels with soapy water, and service the bearings with a compatible solvent and lubricant. The critical step is matching the cleaning agent to your skate’s specific parts and materials, as manufacturers disagree on what is safe to use.
That warning isn’t theoretical. The Riedell manual says no alcohol. Sure Grip says soak bearings in isopropyl alcohol. A community league guide recommends citrus degreasers. Following the wrong one for your skate can dissolve glue, soften plastic, or void a warranty. Your cleaning routine isn’t just about hygiene; it’s about preserving the specific materials your skates are built from. This is why understanding how to clean roller skates correctly is crucial.
What follows is a breakdown of the safe workflow for each component, wheels, bearings, boots, plates, pulled directly from OEM manuals and vetted community practices on how to clean roller skates. You’ll see where the advice conflicts and how to navigate it for your brand.
Key Takeaways
- Wipe boots with a damp cloth only per Riedell/Roller Derby manuals, while Sure Grip advises submerging wheels in warm, soapy water for a deeper clean; never soak suede or leather.
- Replace wheels and toe stops at 30% wear (Roller Derby standard) for safety and performance.
- Tighten axle nuts based on your skate’s manufacturer: Roller Derby says ‘until snug,’ while Riedell/Moxi/Antik warns against tightening too much to avoid damaging bearings.
- Store skates in a cool, dry place, never in a car, as extreme temperatures affect hardware tightness.
The Wheel Cleaning Workflow (With a Warning)
Start with the wheels. They collect rink gunk, hair, and street debris that grinds into the urethane and jams the axle. A quick post-session wipe keeps the mess manageable, but a monthly deep clean is essential for performance when you consider how to clean roller skates properly.
Here’s the manufacturer-backed process, with the one step that varies wildly.
Before you start: You will need a skate tool or socket wrench, a bowl of warm water, mild dish soap, a soft brush (an old toothbrush works), and a clean, dry towel. Never use industrial cleaners, solvents, alcohol, or ammonia-based products on the wheels themselves, this damages the urethane surface.
First, remove the wheels. Use your skate tool to loosen the axle nut and slide the wheel off the axle. If you’re doing a full bearing service, pop the bearings out now. If you’re just cleaning the wheel, leave them in.
For the actual cleaning, submerge the wheels in warm, soapy water. Scrub each one with a soft brush, paying attention to the grooves where gunk hides. Rinse them thoroughly with clean water. This is the standard method endorsed by Sure Grip.
Now, the critical drying step. Pat the wheels dry with a towel, then let them air-dry completely for at least an hour. Any residual moisture inside the bearing seat will mix with new lubricant and create a grinding paste. You’ll feel it as a gritty, slow spin.
Common mistake: Using rubbing alcohol or a magic eraser on the wheel surface while the wheel is still on the skate. Alcohol can dry out and crack the urethane over time, and moisture from the eraser can seep into the bearing housing. Always remove the wheel first.
| Cleaning Step | Tool/Method | Risk If Skipped |
|---|---|---|
| Removal | Skate tool / socket wrench | Stripped axle nuts, damaged tool |
| Washing | Warm water + mild dish soap | Gunk remains in grooves, affecting grip |
| Drying | Air-dry completely (1+ hour) | Moisture mixes with lube, creates abrasive paste |
| Reassembly | Hand-tighten axle nut, then snug with tool | Wheel wobble or seized bearing |
Once dry, re-mount the wheels. Hand-tighten the axle nut first, then give it a final snug turn with your tool. The wheel should spin freely for about 10 seconds when you flick it, with no side-to-side play. If it jiggles laterally, tighten a quarter-turn more. Stop before you feel strong resistance.
The Bearing Cleaning Contradiction
This is where most guides fall apart. Ask five sources how to clean bearings, and you’ll get five different answers on solvents. In fact, there is no universal rule. Your method depends on your bearing type and, critically, your skate manufacturer’s warranty.
Here is a clarification. A bearing that spins quietly and smoothly is clean. One that sounds gritty or raspy needs service. One that howls or grinds needs replacement, immediately, per Roller Derby’s safety warning.
Where this goes sideways: Assuming all bearings are serviceable. Bont’s guide states you should “remove a shield only if the bearing manufacturer identifies it as removable and provides a method.” Pouring solvent into a sealed, non-serviceable bearing just traps liquid inside, accelerating corrosion.
If your bearings have removable shields, pop them off with a pin. This exposes the ball cage and races for cleaning. Now, choose your solvent based on your skate’s manual.
Here is the direct conflict, presented as the manufacturers state it:
| Brand / Source | Recommended Bearing Cleaner | Explicit Warning |
|---|---|---|
| Riedell / Moxi / Antik | No alcohol, alcohol-based, or ammonia-based cleaners. | These may damage or dissolve components. |
| Sure Grip | Soak in a solution of isopropyl alcohol or specialized bearing cleaner. | Implied safe use. |
| Gippsland Ranges Roller Derby | Orange Power Sticky Spot and Goo Remover or WD-40 Citrus Degreaser. | Community practice; may void OEM warranty. |
See the problem? If you own Riedell skates and follow a popular tutorial using isopropyl alcohol, you’re directly contradicting your warranty booklet. The manual’s warning is specific: such cleaners “may damage or dissolve some components or soften the material.”
For a beginner, the safest path is to use a dedicated, brand-agnostic bearing cleaner like the Bones Bearings Cleaner system. It’s designed for 608 and 688 bearings and avoids the chemical compatibility gamble.
The process if you choose a solvent:
- Soak the bearings in your chosen cleaner in a small, sealed container.
- Agitate them for a few minutes. A dedicated shaking bottle is ideal.
- Remove the bearings and let them dry completely on a lint-free cloth. This can take several hours.
- Apply one or two drops of a high-quality bearing lubricant per bearing. Spin the bearing between your fingers to work the oil in.
- Reinstall the shields (if removable) and press the bearings back into your clean wheels.
Over-lubricating is as bad as under-lubricating. Excess oil attracts more dirt, creating a grinding compound that wears out bearings faster. A couple of drops is the sweet spot.
How to Clean Your Skate Boots (Material Matters)
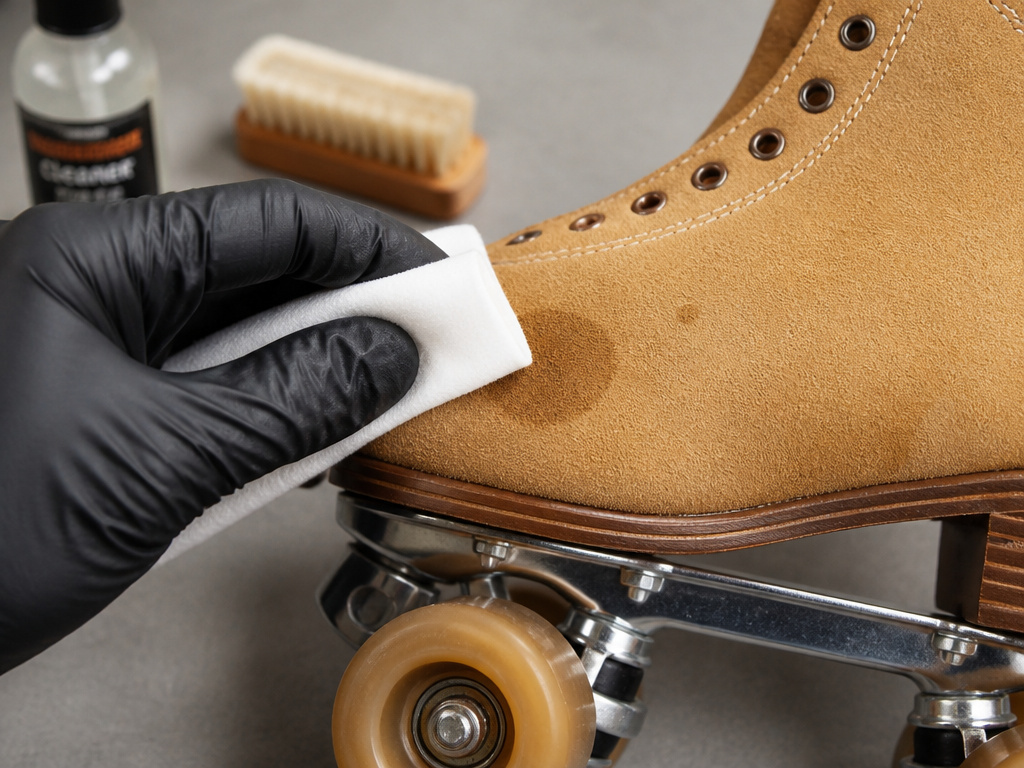
The boot takes the most abuse but needs the gentlest care. Sweat, dirt, and the occasional unfortunate accident, like a pet mishap, require a material-specific approach. The universal rule from every manual: use a dry or damp cloth only.
Easy to miss: Suede and leather are porous. Rubbing a stain instead of blotting it pushes the liquid deeper, setting the mark and potentially rotting the material from the inside.
For general grime, wipe the entire boot down with a cloth dampened with water. Focus on the sole, the stitching, and around the eyelets. Let the boot air-dry naturally, away from direct heat sources.
For synthetic boots or vegan leather, you can sometimes use a mild soap solution on the cloth. Test it on an inconspicuous area first. Rinse the cloth and wipe away any soap residue.
If suede gets wet, the Sure Grip blog offers the definitive method: blot gently with a clean, dry cloth, never rub. Let it air dry completely, which may take a full day. Then, use a suede brush to restore the nap. The brush raises the dried, matted fibers, bringing the texture back.
For odors or deeper sanitization, especially with used skates, a spray may be used. Avoid soaking the material. Spray it lightly inside the boot and on the liner, then let it dry thoroughly before wearing. Avoid soaking the material.
What about non-removable liners? You can’t dunk them, so your tools are a damp cloth, a soft brush, and time. Use the cloth to wipe the interior, then stuff the boot with absorbent material to help it hold its shape as it dries. Replace the absorbent material until the inside is completely dry.
The Often-Forgotten Parts: Plates, Trucks, and Hardware
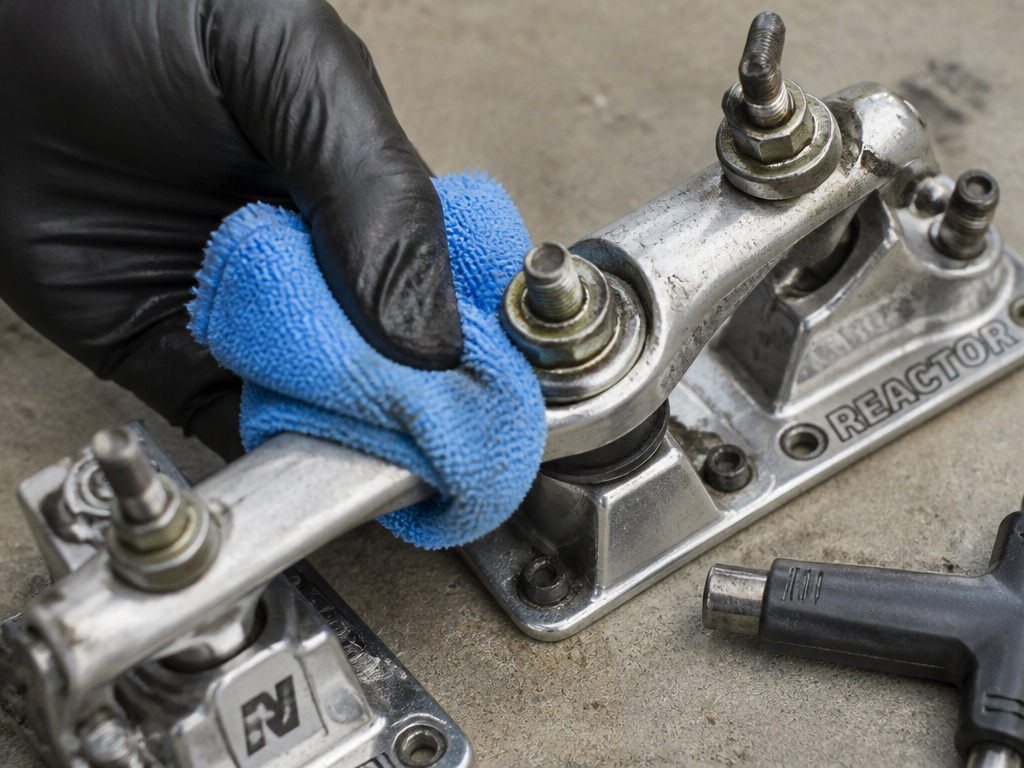
The metal and nylon parts need love too. Dirt and grit in the pivot cups or on the kingpin increase wear and make your turns feel crunchy. A quick wipe-down after every outdoor session prevents this.
Inspect the plate and trucks while the wheels are off. Look for cracks, especially in nylon plates. Check that all kingpin and pivot cup bolts are snug. If your skates have adjustable trucks, ensure the locking nuts are secure.
Wipe down the entire plate and trucks with a dry cloth. For stubborn dirt, use a cloth dampened with water. The Roller Derby manual is absolute: “do not use special cleaning agents!” This means no all-purpose cleaners, degreasers, or polishes.
Pay special attention to the cushions (bushings). If they look cracked, deformed, or are covered in grime, they should be replaced. Clean ones ensure smooth, responsive turning.
Finally, check the toe stops. Roller Derby says to replace them if they show more than 30% wear. You shouldn’t be able to wiggle them with your hand. If you can, tighten the retaining nut with your skate tool until it’s snug.
Putting It All Back Together (The Right Way)
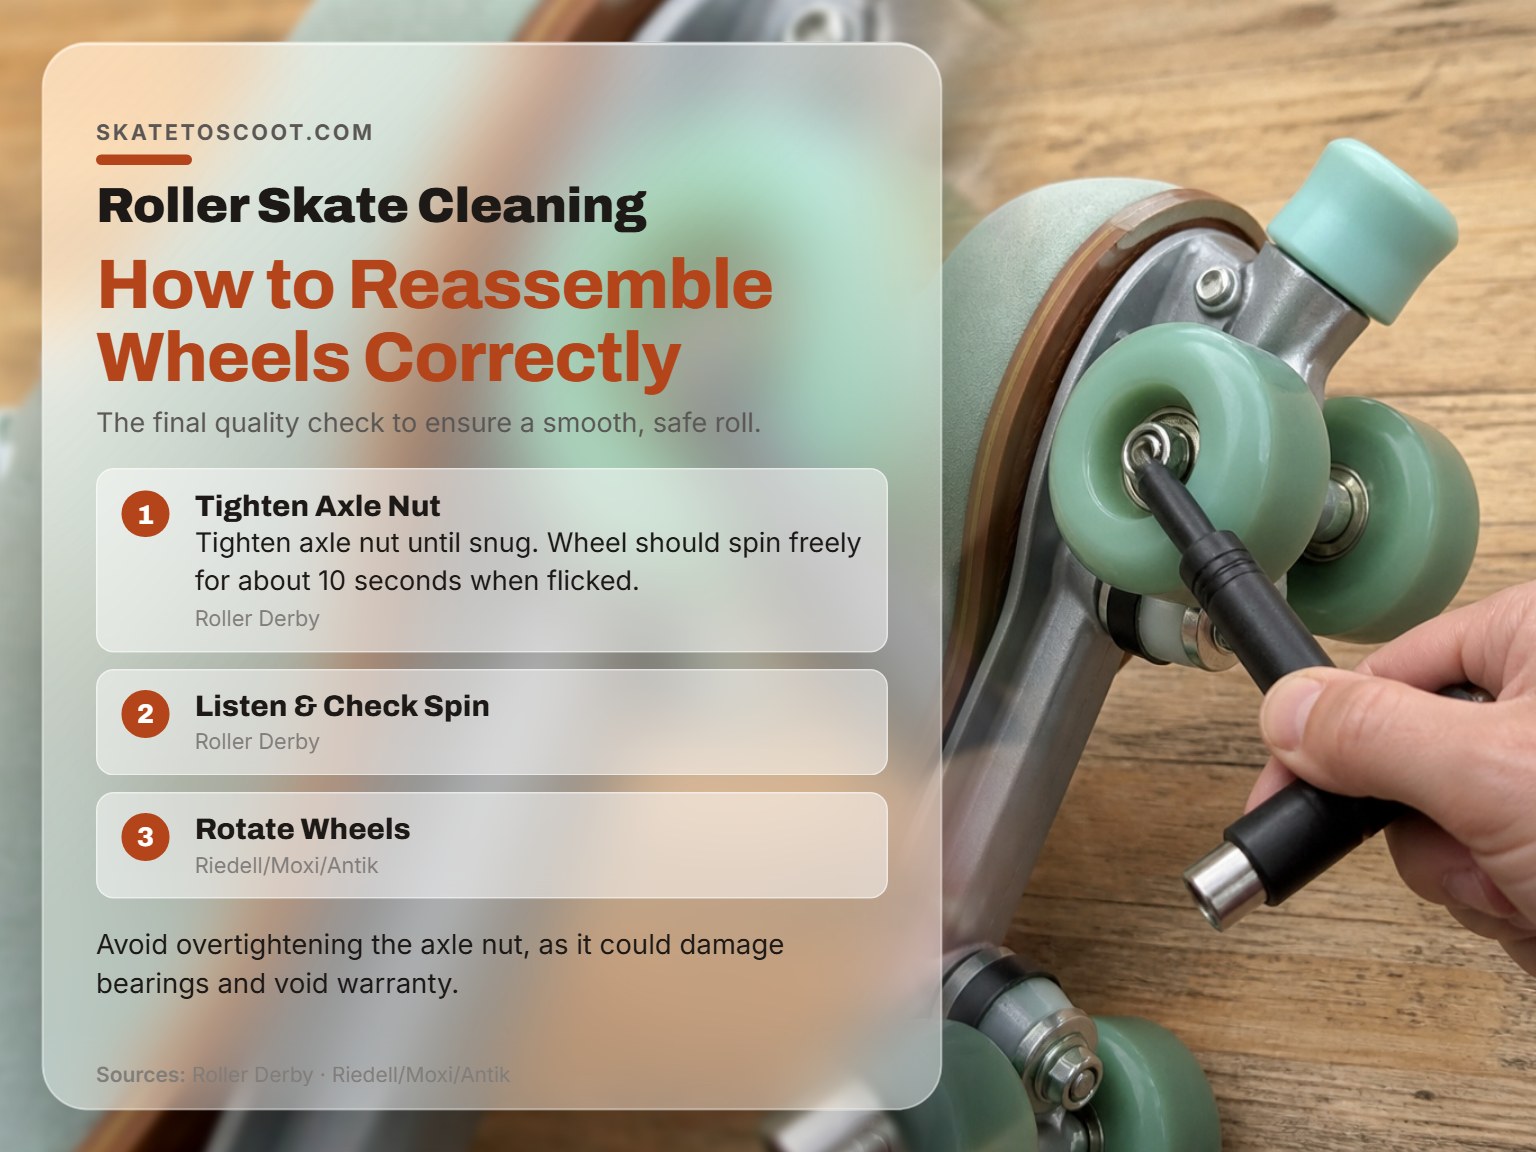
Reassembly is not the reverse of disassembly. It’s the final quality check. A mistake here undoes all your careful cleaning.
Follow this sequence:
- Insert bearings into clean, dry wheels. Use a bearing press or the axle of your skate to press them in evenly.
- Slide wheels onto the axles. Make sure any directional arrows on the wheels point the correct way.
- Thread the axle nut on by hand until it’s finger-tight.
- Use your skate tool to tighten the axle nut until it’s snug. The wheel should spin freely for about 10 seconds when flicked, with no lateral play.
- Spin each wheel. Listen for any grinding or rasping. A quiet, smooth, long spin means you’ve nailed it.
The part nobody mentions: Wheel rotation. The Riedell manual specifies a diagonal pattern: on the right skate, swap the front left wheel with the back right wheel on the left skate. This evens out wear from your natural stance and weight distribution. Do this every few months, or whenever you do a deep clean.
Once everything is tight and spinning, give your boots a final wipe and lace them up. They should look, feel, and sound like new.
Storage: The Final Guard Against Damage
How you store your skates determines how long your cleaning work lasts. The unanimous advice from Sure Grip and the Gippsland Ranges guide: store your skates in a cool, dry place. Do not store skates in your car.
Extreme heat in a car can warp plates, melt glue, and deform cushions. Cold makes plastics brittle. Both extremes cause metal to expand and contract, which can loosen nuts and screws over time.
Ideally, keep them in a dedicated skate bag or on a shelf, away from damp basements or hot attics. Don’t leave them in a gym bag with wet gear. Moisture is the enemy of bearings and leather.
If you’ve just cleaned your skates and they’re slightly damp, stuff them with paper towels and let them air-dry fully before putting them away. This prevents mildew and odors from taking hold.
DIY/household cleaning solutions (soap, alcohol, vinegar)
Manufacturer advice on cleaning solutions varies significantly, so your safest bet is to follow your skate’s specific guidance. Many brands explicitly warn against using alcohol, ammonia-based cleaners, or industrial solvents on skate components, as these can damage or soften materials. For a general exterior clean, a simple damp cloth is widely recommended. For a deeper clean on items like wheels, some sources suggest warm, soapy water. Always check your skate’s manual first, as using the wrong cleaner could void warranties or cause permanent damage.
Removing bearings (with/without a tool)
Before removing bearings, inspect them by spinning the wheel. If they are noisy or don’t spin freely, a clean might be needed. You can pop bearings out using a skate tool with a bearing press or by carefully pushing them out from the opposite side with a blunt object like a screwdriver handle. Avoid applying force directly to the bearing’s inner race or shield if possible. Be aware that some bearing shields are not designed to be removed; only take them off if the manufacturer specifies they are removable and provides a method. After cleaning, a couple of drops of bearing oil can help.
Frequently Asked Questions
How often should I clean my roller skate bearings?
For casual skaters, a full bearing clean periodically is sufficient. If you skate outdoors frequently, or in dusty or wet conditions, clean them more often. The real indicator is sound and feel, clean them when they start to sound gritty or don’t spin freely.
Can I use vinegar to clean my roller skates?
Vinegar is a mild acid and is not recommended by any manufacturer in the provided sources. While it might disinfect, it could also degrade glues and certain materials over time. Stick to the approved methods: a damp cloth for boots, soapy water for wheels, and manufacturer-approved solvents for bearings.
How do I get rid of smelly skates?
First, ensure they are completely dry after each use. Use an antibacterial spray designed for shoes on the interior liner. For persistent odors, use an absorbent material inside the boots, let it sit, and then remove it. For non-removable liners, this is often the most effective method.
Is it okay to pressure wash my roller skates?
Absolutely not. High-pressure water will force itself into bearing seals, behind the plates, and into every seam of the boot. It will destroy the bearings, ruin the bushings, and likely delaminate the sole from the boot. Always use gentle, manual cleaning methods.
The Bottom Line
Cleaning roller skates isn’t complicated, but it is precise. The wrong solvent on the wrong part can cost you a warranty or ruin a component. Your single most important move is to check your specific skate’s owner’s manual first. If you’ve lost it, a quick search for “[Your Brand] roller skate owner’s manual PDF” will usually find it.
For the majority of skaters, this routine works: a post-session wipe-down of boots and wheels, a monthly wheel wash with soapy water, and a bearing service every season with a dedicated cleaner and lubricant. That keeps your gear safe, fast, and ready for the next session without over-maintaining.
If your bearings start making a consistent gritty sound even after cleaning, replace them. I learned that after a bearing seized mid-roll during a fast downhill. The maintenance you do off your feet guarantees the control you have on them.
