How to Break in New Ice Skates: Step-by-Step
This post contains affiliate links. As an Amazon Associate, we earn from qualifying purchases.
To break in new ice skates, you have two main paths: professional heat molding (165°F/75°C for 4-7 minutes) followed by gradual on-ice sessions, or a patient, multi-day process of short skating sessions with correct lacing. The goal is to mold the stiff leather or microfiber to your foot’s shape without causing blisters or injury.
Skipping this step means the break-in burden shifts entirely to your skating sessions, which skate technician Scott Cooke says should take between two and eight days, while Riedell states the period varies from skater to skater. The most common question we get is how to break in new ice skates correctly.
What follows is a breakdown of both the dealer-assisted heat molding process and the at-home, on-ice methods for how to break in new ice skates. We’ll resolve the conflicting advice on lacing tightness and top hooks, cover what to do if your skates are the wrong material for baking, and give you a realistic timeline so you know when to push through stiffness and when to stop because of pain.
Key Takeaways
- Professional heat molding at 165°F (75°C) for 4-7 minutes is Riedell’s recommended method for leather boots, but is not authorized for their Elara and Vega microfiber models.
- The break-in timeline is 2-8 days of on-ice skating, according to a professional skate technician, heat molding accelerates this but doesn’t replace it.
- Lace with even tension, slightly tighter at the ankle (per skate technician Scott Cooke), and consider skipping the top hook initially if bending is difficult, sources disagree, so test what works.
- Never skate through blistering or sharp pain; persistent hotspots mean you need a professional punch-out, not more break-in.
- Wear thin socks or tights to ensure a precise fit and prevent your foot from sliding, which creates friction and blisters.
The Official Heat Molding Process (Step-by-Step)
This is the method Riedell publishes for their dealers. It’s not a DIY hair dryer hack; it’s a controlled procedure with specific temperatures and timings pulled directly from their fitting guide. If your boots are leather, this is the fastest way to reduce the overall break-in time.
The process starts with a skate oven preheated to 165°F (75°C). Medium-stiffness boots go in for 4-6 minutes; firm or extra-firm boots need 5-7 minutes. You then have a short window to get the boot on your foot, lace it firmly from toe to top, and stand in it for about 10 minutes. After that, you take them off for a 5-minute cooldown before lacing them up again at normal pressure.
The Riedell heat molding specs are exact: 165°F (75°C) oven temperature, 4-7 minute heating time based on boot stiffness, 10 minutes forming time on-foot, and a 5-minute rest period before re-lacing. This sequence allows the leather’s internal reinforcements to soften and re-set around the contours of your foot.
Where this gets specific is with boot materials. Riedell states that all their leather boots are heat moldable. However, their Elara and Vega microfiber boots are pre-molded and pre-formed. The company does not authorize the use of a skate oven for these models. For them, only localized heat application by a specialist with a heat gun is permitted. This is a critical edge case, applying the standard baking process to the wrong boot type can damage the material.
| Boot Type | Heat Oven Authorized? | Heating Duration | Key Consideration |
|---|---|---|---|
| Riedell Leather Boots | Yes | 4-7 minutes (based on stiffness) | Follow the 10-min on-foot, 5-min rest sequence precisely. |
| Riedell Elara/Vega Microfiber | No | N/A | Only localized heat from a professional is recommended. |
| Other Brands (Check OEM Guide) | Varies | Consult manufacturer specs | Never assume the Riedell temps/times apply. |
After a professional heat molding, you’re not done. The boot is now pre-shaped, but the final break-in happens on the ice. Think of it like pre-bending a piece of hardwood before you carve it, the initial resistance is gone, but the detailed shaping comes from use.
Lacing: The Make-or-Break Step
You can have the perfect heat-molded boot and still wreck your break-in with bad lacing. This is where most owner advice and official manuals diverge, and the disagreement is worth understanding.
Riedell’s official stance is to use a couple of cross twists at the top of the eyelets before lacing the hooks with medium tension. This aims to lock your heel in place while allowing ankle flex. Skate technician Scott Cooke, writing in Skating Magazine, advises even tightness from bottom to top, slightly tighter near the ankle, with a test: you should not be able to slide your fingers under the laces. If you can, they’re too loose.
So who’s right? Both, for different points in the process. Riedell’s “medium tension” on the hooks is likely intended for after the boot is broken in. Cooke’s “no finger space” rule is for the initial break-in sessions, where any heel lift creates blister-causing friction. Start with Cooke’s method, and if the top hook makes bending your knee aggressively difficult, do what he and the Purchasing Skates PDF suggest: skip lacing the top hook for the first several sessions.
Here’s the physical mechanism: a new boot is stiff vertically. If you lace the top hook at full tension, you’re creating a pivot point that fights your forward knee bend. A loose top lace allows the boot to flex more naturally at the ankle. Once the boot softens after a few hours of skating, you can start using that top hook.
A related, often-missed detail is lace length. Riedell provides a specific lace chart because laces that are too long create a tripping hazard. If you’re constantly stepping on your own laces, you’re also yanking on the eyelets and distorting the boot’s closure during your break-in strides.
The On-Ice Break-In Schedule
Heat molding is a head start, but the real work happens with blade on ice. Scott Cooke’s timeline of two to eight days is the most concrete figure from an authoritative source. Riedell’s guide is vaguer, stating the period “will vary from skater to skater.”
Your goal in the first few sessions is not to practice your double axel; it’s to gently persuade the boot to flex where your foot needs it to, a core part of how to break in new ice skates. Start with short sessions focusing on basic edges, stroking, and moves in the field. The constant knee bending and weight transfer are what gradually soften the ankle and forefoot.
After each session, note any pressure points. A general stiffness is normal. A sharp, pinpoint pain or a hot spot that turns red is a problem that won’t resolve with more skating. This is when you return to your fitter for a “punch out”, a localized stretching of the boot’s shell with a specialized tool. Trying to skate through it only guarantees a blister that will sideline you.
What to Do If You Can’t Heat Mold

Maybe you bought online, or your local shop doesn’t have an oven. The community tips hosted on the Riedell blog fill this gap, but they come with caveats. These are owner workarounds, not manufacturer endorsements.
The most cited method is wearing the skates at home with blade guards on. Sit, walk, and watch TV in them for periods of time. This applies body heat and gentle pressure. Some owners suggest using a hair dryer on low heat to warm the boot first, but the Riedell guide warns to keep a heat gun 3-4 inches away from the skate to avoid scorching; a hair dryer doesn’t offer that precision, so it’s risky.
Another anecdotal tip involves weight. Some skaters place a 15 or 25-pound weight on the skate’s arch for three days to gently stretch it. This is a passive, long-duration method that mimics the constant pressure of your foot. It’s less about heat and more about mechanical persuasion.
Whichever path you choose, the principle is the same: apply gradual, controlled stress. Never soak the boots, never force them with tools not designed for skates, and never assume a method that works for hockey skates is safe for figure skates, the construction and stiffness profiles are different.
Troubleshooting Persistent Pain
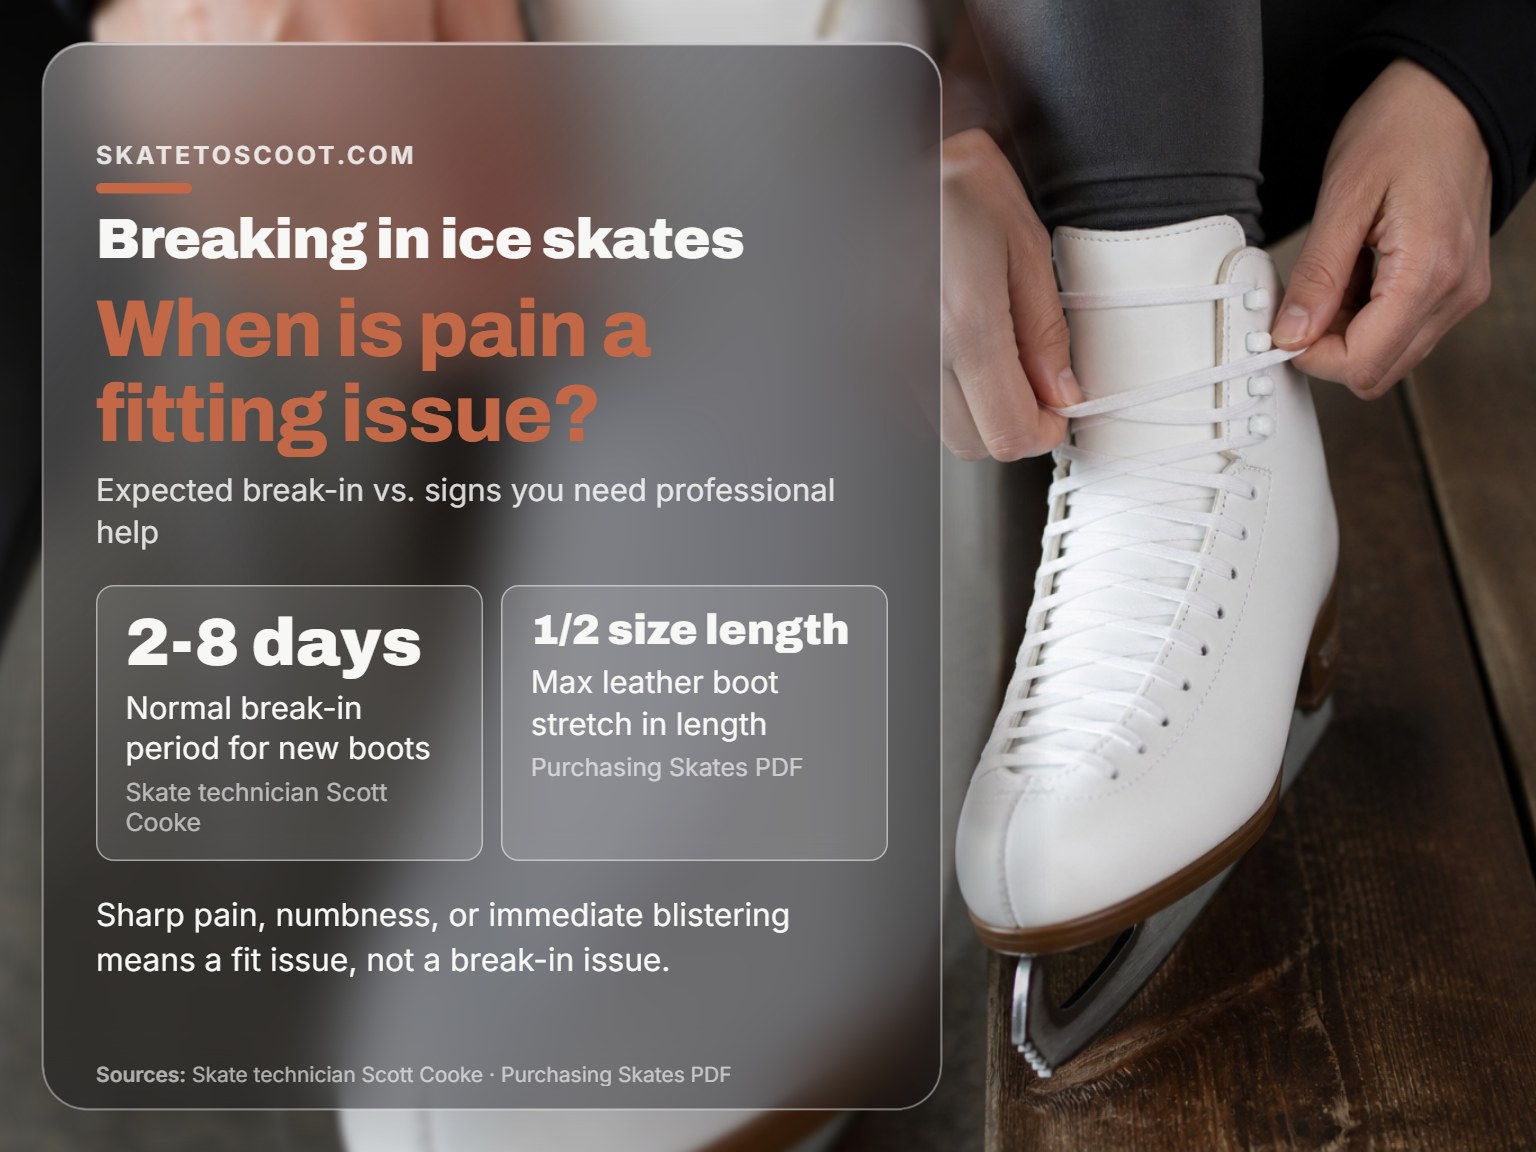
Break-in pain is a spectrum. General ankle soreness from new stiffness is expected. Sharp pain, numbness, or immediate blistering is a sign of a fit issue, not a break-in issue. Here’s a quick diagnostic table.
| Symptom | Likely Cause | Action Required |
|---|---|---|
| General ankle stiffness | New boot resistance | Continue short sessions, ensure proper lacing. |
| Numbness or tingling in toes | Laces too tight over instep | Re-lace with even tension, avoid over-tightening the middle hooks. |
| Sharp pain on ankle bone | Pressure point from boot seam | Professional punch-out needed; skating will not fix this. |
| Blister on heel | Heel lift inside boot | Check your lace tightness at the ankle; consider a heel pad or different lacing pattern. |
| Pain across ball of foot | Boot too narrow or arch mismatch | May require professional stretching; this is a fundamental issue with foot pain. |
If pain persists after adjusting your lacing and giving it a session or two, stop. The old mantra of “skate through it” leads to injuries that keep you off the ice longer than a simple fitting adjustment would. A qualified tech can punch out a small area in minutes.
How to flex new skate boots with your knees and ankles

Stiff new boots need to be flexed at the ankle to become skateable. Start by lacing your skates with even tightness from the bottom, getting slightly tighter near the ankle. If you can’t bend your knees comfortably, skip lacing the top hook for your first few sessions. This gives your ankle the room it needs to push forward. Wear thin socks or tights to maximize your foot’s contact and control inside the boot. The goal is to create a deep knee bend without your heel lifting. Never skate through pain or blisters; stiffness is normal, but sharp pain means you should stop and reassess.
How to use padding or moleskin for skate hotspots
A hotspot is a warning sign. If you feel a specific area of pressure or rubbing, stop skating immediately. Continuing can turn a hotspot into a blister, which will set back your break-in process. Before your next session, apply a small piece of moleskin or a specialized gel pad directly to the hot spot on your foot, not the skate. This creates a protective barrier. If the pain persists even with padding, the boot may need professional adjustment. Never ignore persistent pressure points.
Frequently Asked Questions
How long does it take to break in new ice skates?
According to skate technician Scott Cooke in a Skating Magazine article, boots should take between two and eight days to properly break in with regular skating. This assumes proper initial fitting and lacing. Heat molding can shorten the initial stiffness period but doesn’t eliminate the on-ice molding time.
Do you really have to wait 24 hours after baking skates?
Riedell’s official heat molding guide does not specify a 24-hour wait. Their process involves a 10-minute forming period on the foot, a 5-minute rest, then re-lacing.
How can I break in new skates faster?
The fastest method is a combination of professional heat molding (if your boots are eligible) followed by short, frequent on-ice sessions focusing on deep knee bends and edges. Avoid jumping or spinning until the boot flexes comfortably.
Should I wear thick socks to break in skates?
No. Both the Purchasing Skates PDF and Scott Cooke recommend thin socks or tights. Thick socks create a false fit, allowing your foot to slide and shift, which generates friction and blisters. A snug fit with thin material ensures the boot molds to your actual foot shape.
The Bottom Line
Break-in is a negotiation between your foot and a stiff shell. You have two proven tools: controlled heat and patient, deliberate skating. The Riedell data gives you the exact numbers, 165°F, 4-7 minutes, 10 minutes on foot, if you go the professional molding route. If you’re doing it yourself on the ice, Scott Cooke’s 2-8 day timeline is the benchmark to measure against.
One threshold decides everything: pain versus stiffness. Stiffness is a dull ache that fades as the boot warms up. Pain is sharp, localized, and gets worse. If you hit pain, your next step isn’t more skating; it’s a trip back to the fitter. This advice only works if the boot was the correct size and model for your foot from the start. If it wasn’t, breaking it in won’t help. Start there.
For more on the initial fitting that makes break-in possible, see our guides on choosing the right beginner ice skates and maintaining your gear with proper skate sharpening frequency.
