How to Learn to Ride a Longboard: Step-by-Step Guide
This post contains affiliate links. As an Amazon Associate, we earn from qualifying purchases.
To learn to ride a longboard, you need a structured, safe progression that builds balance before speed and stopping before hills. Start with a stable board on flat, smooth ground, wear certified protective gear, and follow a 7-day plan focused on static balance, controlled pushing, and confident footbraking.
That progression isn’t just a nice idea. It’s the difference between a sprained ankle that sidelines you for weeks and building a skill you’ll enjoy for years. The guides that tell you to “just go for it” miss the mechanical truth: longboarding is a series of small, learnable physical adjustments, not a leap of faith. This is the core of how to learn to ride a longboard.
What follows breaks down those adjustments. This section details the essential safety specifications from medical and government sources, a practical day-by-day practice schedule, and how to handle the genuine disagreements among experts on learning to ride a longboard. You’ll know exactly what to do in your first three sessions, and what to avoid until much later.
Key Takeaways
- Your first longboard should be a stable, lower-to-the-ground model like a drop-through or drop-down deck; these designs make balancing and footbraking easier from day one.
- A skateboarding-specific helmet certified to ASTM F1492 or Snell N-94 is absolutely required; the U.S. Consumer Product Safety Commission (CPSC) notes a proper fit means it’s level on your head with the chin strap snug.
- Master front-leg balance and footbraking on flat ground before adding any speed; the Longboard Bible identifies this as the most important beginner skill, and it’s the foundation of the “never ride faster than you can stop” rule.
- If speed wobbles start, a rapid side-to-side shimmy defined by the CPSC, crouch low, shift weight forward, and slow down; the fix is always more control, not just tighter trucks.
- Authorities disagree on age limits: the American Academy of Pediatrics (AAP) says supervise children ages 5-10, while the CPSC advises close supervision under age 8.
Safety Gear Is Your Foundation
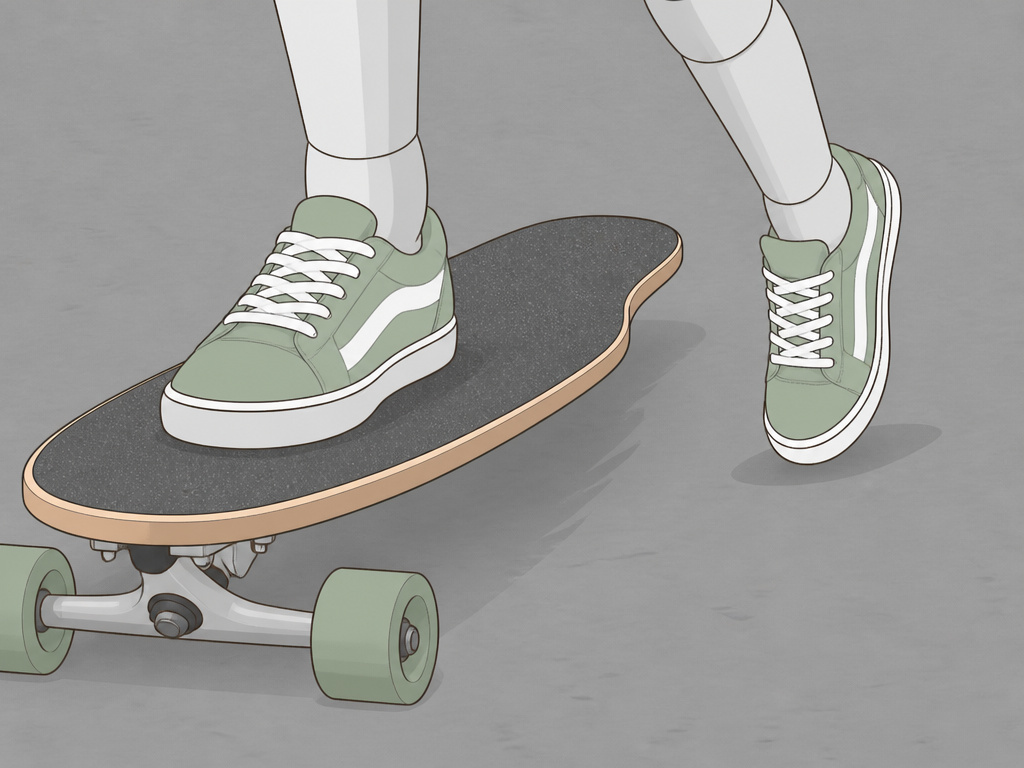
I’ve watched students skip the gear talk because it feels obvious. Then they instinctively throw out a hand during a simple stumble and we’re talking about wrist braces for six weeks. The right gear isn’t about looking professional; it’s about staying in the game.
The American Academy of Pediatrics (AAP) is specific: helmets for skateboarding and longboarding should be certified to ASTM F1492 or Snell N-94 standards. These are different from bicycle helmet standards and are designed for the multiple impacts common in skating falls. The U.S. Consumer Product Safety Commission (CPSC) states the helmet should fit snugly with the chin strap fastened and be level with the head, not tilted back.
Before you start: A loose helmet flies off on first contact. A wrist guard worn over a glove instead of directly against the skin slides on impact and transfers force up the arm. Get the fit right in your living room, not the parking lot.
For beginners figuring out how to learn to ride a longboard, knee and elbow pads are less about avoiding scrapes and more about fear reduction. If you’re not terrified of the ground, you’ll relax your knees and learn faster. That’s not a theory, it’s what happens when people stop bracing for pain.
Choosing Your First Longboard
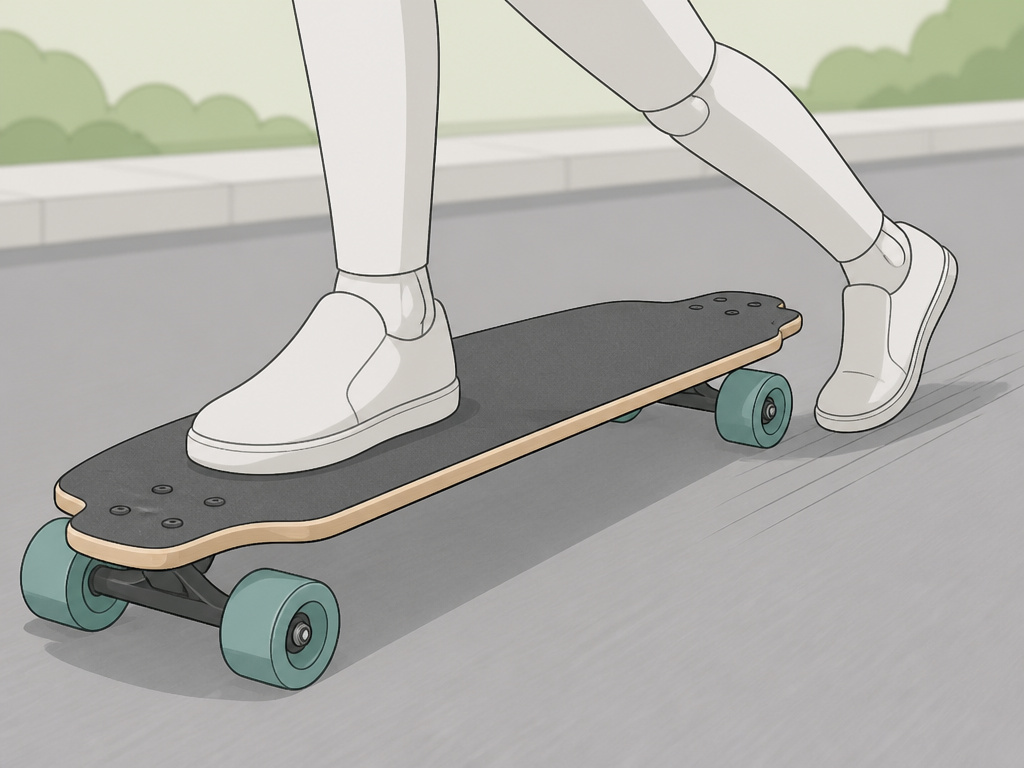
You don’t need the best board. You need the right board for learning. The specs that matter most aren’t the brand name on the deck; they’re the geometry that keeps you stable.
The Longboard Bible breaks down deck mounts clearly: drop-through mounts (where the trucks pass through the deck) and drop-down decks (where the deck itself dips between the trucks) place you closer to the ground. This lower center of gravity makes balancing easier and, crucially, makes footbraking less of a high-wire act. A top-mount deck is more responsive for advanced riders, but that responsiveness feels like twitchiness when you’re still learning where your feet should be.
Truck type matters too. RKP (Reverse Kingpin) trucks are standard on most longboards and are designed for stable, smooth turning at speed. TKP (Traditional Kingpin) trucks, common on street skateboards, offer snappier turns but feel less stable for cruising, a trait you don’t want when you’re working on one-foot balance. For wheels, bigger (70mm+) and softer options roll over pavement cracks and pebbles more smoothly, which means fewer unexpected jolts that break your concentration.
| Board Feature | Beginner-Friendly Choice | Why It Helps |
|---|---|---|
| Deck Mount | Drop-through or Drop-down | Lower center of gravity for easier balance and braking. |
| Trucks | Reverse Kingpin (RKP) | Provides stable, predictable turning at low speeds. |
| Wheel Size | 70mm and larger | Rolls over rough pavement smoothly, maintaining control. |
| Wheel Hardness | Softer (78A-83A) | More grip and comfort, less “chatter” on cracks. |
A quick pre-ride check is mandatory. Make sure wheels spin freely without rubbing, all bolts are tight, and there’s no wheelbite (where the wheel touches the deck when you turn). The CPSC’s general advice to “check for excessive play and any broken or cracked parts” before every session applies double to beginners, you need the board to behave predictably.
Find Your Stance and Master Static Balance
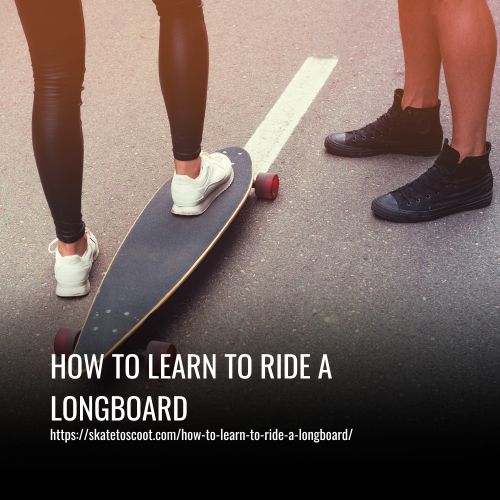
Where should you practice? Here’s the first major disagreement in the sources. Decathlon’s beginner guide suggests starting on “carpet, grass or on the sand” for stability. The Longboard Bible’s progression plan and the CPSC’s advice to inspect for debris imply a smooth, paved surface is the real goal. Grass has a clear drawback: it stops the board dead, which is useful for the very first “standing on the board” drills, but it teaches you nothing about how the board moves. After five minutes on the carpet, move to a smooth, empty parking lot or tennis court.
Your first drill is static balance. Place the board on a stable surface. Step on with your feet near the truck bolts, roughly shoulder-width apart. Bend your knees slightly. Look ahead, not at your feet. The goal isn’t to be a statue; it’s to feel what it’s like when the board isn’t moving. Which foot feels natural in front? If your left foot is forward, you ride “regular.” Right foot forward is “goofy.” Don’t overthink it, your body usually knows before your brain does.
The real secret weapon is one-foot balance. Stand on the board with only your front foot. Hover your back foot beside the board, keep your core tight and knees soft, and try to hold for 10 seconds. This single drill is the cheat code for pushing and braking, because both skills require your front leg to be a stable pillar while your back foot does work. If you can’t do this on stationary ground, you definitely can’t do it while rolling.
Your First Three Practice Sessions
A structured start prevents overwhelm. This three-session plan assumes you’re on a smooth, flat, traffic-free area. Each session builds directly on the last, and you only move on when you feel in control of the previous step. The Longboard Bible outlines a similar 7-day progression; these first three sessions are the critical foundation.
The 7-day progression plan involves 15–30 minute sessions. Day 1: Stance + static balance + stepping on/off. Day 2: One-foot balance + slow rolling. Day 3: Pushing basics + controlled resets.
Session 1: Control at Walking Speed
- Drill 1: Static stance and stepping off. Get on, find your stance, step off. Repeat until you don’t need to grab anything.
- Drill 2: One-foot balance. Master the front-foot-only balance described above.
- Drill 3: One push and coast. Place your front foot at a slight angle near the front bolts. Shift your weight onto it, give one gentle push with your back foot, then place that foot on the board and coast in a straight line as long as you can.
- Move on when: You can step on and off without grabbing anything, and you can coast straight for 20-30 feet after one push.
Session 2: Link the Skills
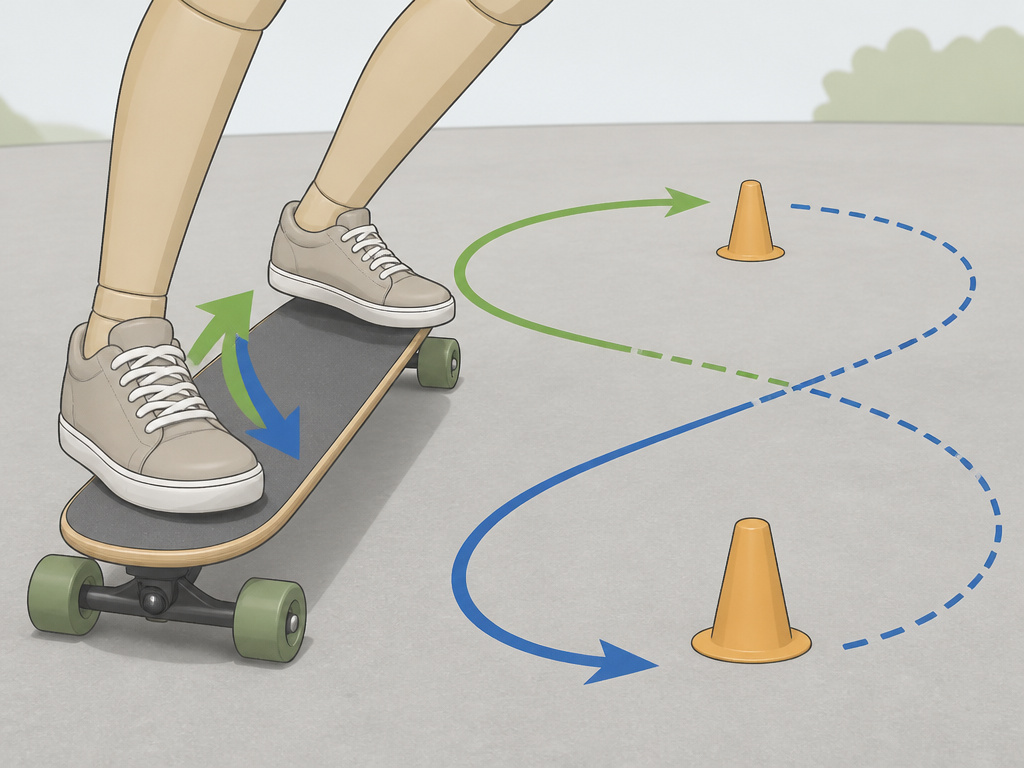
- Drill 1: Two or three pushes. String together multiple pushes to build a bit more momentum, then get both feet on the board in your riding stance.
- Drill 2: Wide turns. While coasting, practice gentle heelside and toeside turns by leaning your weight slightly. Don’t twist your shoulders.
- Drill 3: Figure-eight turns around two markers placed a comfortable distance apart. Focus on looking where you want to go, not at your feet.
- Move on when: You can ride the figure eight looking ahead, not down, and you feel your turns are initiated by weight shift, not upper-body twisting.
Session 3: Route Awareness and Command Stopping
- Drill 1: Start, turn, and stop on command in a large flat area. Pick a point 50 feet away, push to it, make a wide turn, and come to a complete stop using your new footbraking skill (covered next).
- Drill 2: Scan for surface hazards. As you ride, practice identifying cracks or pebbles ahead and gently steering around them.
- Drill 3: Step off at jogging speed. Practice the “run-out” bail: when you feel unstable at low speed, step off the board smoothly and run a few steps. This is your emergency exit.
- Move on when: You can stop on command every time before you feel physically tired, and you’re consistently looking well ahead of your board.
Learn to Stop Before Adding Any Speed
This is the most important part of the material. Everything you learn is useless if you can’t stop yourself. And here, the sources give conflicting advice you need to understand.
The Longboard Bible is adamant: “Footbraking is the most important beginner stopping method.” It explicitly warns that slides are advanced and should not replace basic footbraking. The technique: while rolling, shift almost all your weight onto your front leg. Keep that knee bent. Hover your back foot beside the board, then gently skim the sole of your shoe on the pavement. Increase pressure gradually to slow down. Don’t stomp. The goal is a controlled, gradual deceleration you can maintain for several seconds.
In contrast, Lush Longboards, a manufacturer, suggests “‘hands down’ or ‘glove down’ slides are a lot safer for beginners.” This introduces a slide, getting the wheels sideways, as an early stopping method.
So who’s right? For a true beginner, the footbrake. Here’s why: a hands-down slide requires a set of slide gloves, a specific weight-shift technique to break traction, and the confidence to commit your hands to the pavement. It’s a more complex motor skill. Footbraking uses a movement you already know, putting a foot down, and scales it with pressure. It’s the direct, mechanical translation of the “never ride faster than you can stop” rule. Learn to footbrake confidently on flat ground first. Slides are a fantastic next step, but they are not day one.
Where this goes sideways: Practicing slides before you can reliably footbrake. You’ll rely on the slide as a crutch, often catching an edge and high-siding (falling backwards) because you never learned the finer pressure control of a footbrake. Stick with the footbrake until it’s automatic.
Turning, Carving, and Managing Speed Wobbles
Turning is simply steering. Carving is linking turns in S-shaped patterns, and it’s your first real tool for speed control on a gentle slope, as each turn scrubs off a little momentum. To turn, you lean, you don’t twist. For a heelside turn, lean pressure onto your heels; for a toeside turn, pressure onto your toes. Your trucks are designed to pivot from this weight shift. Look where you want to go, your head leads, your shoulders follow, your hips follow, and the board follows.
Now, speed wobbles. The CPSC defines it clearly: “Speed wobble happens when a skateboard begins to shimmy from side to side unexpectedly.” It’s a violent, rapid oscillation that can throw you in seconds. It’s not a skill issue; it’s a mechanical instability.
If wobbles start while you’re riding, the instinct is to lean back and stiffen up. That’s exactly wrong. You need to crouch lower, shift your weight slightly forward, and try to slow down with controlled footbraking. Tightening your trucks a quarter-turn can help, but the real fix is not outriding your skill level. If you’re getting wobbles, you’re going too fast for your current level of control.
| Symptom | Likely Cause | Immediate Fix |
|---|---|---|
| Board feels twitchy | Trucks too loose for your skill level. | Tighten trucks a quarter-turn and re-test. |
| Board won’t turn easily | Trucks too tight, or you’re not leaning. | Loosen trucks slightly, focus on weight shift. |
| Violent speed wobbles | Speed too high, weight too far back, stiff legs. | Crouch low, shift weight forward, slow down. |
| Wheel makes scraping sound | Wheelbite (wheel touches deck during turn). | Tighten trucks or add riser pads to increase clearance. |
When Are You Ready for a Gentle Slope?
The rule is simple: you are ready for a very mild, traffic-free incline only when you can footbrake to a complete stop, on command, on flat ground. Not “sort of slow down.” Stop. Every time.
Walk the hill first. Check for debris, cracks, and where the run-out at the bottom leads. Start from a point below the very top so you don’t build excessive speed. Your first hill session isn’t about going down; it’s about managing a slight increase in momentum with your existing skills. If you find yourself wanting to jump off or ride into the grass to stop, you’ve gone too far, too fast. Go back to the flat lot and drill footbraking for another session.
What is mongo pushing?
Your pushing stance refers to which foot you use to propel yourself forward. In a regular stance, you push with your back foot while your front foot stays on the board. A mongo pusher does the opposite, pushing with their front foot while their back foot remains planted. Most riders find a regular stance offers better balance and control when returning your pushing foot to the board, as your weight is centered over your front, steering foot. While you can learn to ride either way, starting with a regular pushing habit from the beginning builds a more stable foundation for learning everything else.
What are the different longboarding styles?
Longboarding isn’t one thing; your setup and practice focus will change based on the style you want to pursue. Cruising is about relaxed, comfortable riding on flat ground or gentle hills, often using boards that are lower to the ground for easier pushing and braking. Downhill involves higher speeds and requires a focus on stability; longer boards and specific truck designs help manage this. For any faster discipline, always remember the rule: never ride faster than you can stop. Your initial practice should always be on flat, smooth ground to master fundamental control before considering any style that adds speed or technical demands.
Frequently Asked Questions
Can a beginner use a longboard?
Absolutely. A beginner-specific longboard with a drop-through or drop-down deck, stable RKP trucks, and larger soft wheels is often easier to learn on than a standard skateboard due to its increased stability and smoother ride.
Where should I practice longboarding?
Start on a smooth, flat, and traffic-free surface like an empty parking lot, a basketball court, or a wide bike path. Avoid hills, rough pavement, and areas with gravel or pedestrians until you have full control over stopping and turning.
Is it easier to ride a longboard or a skateboard?
For basic cruising and learning to push and balance, a stable longboard is generally easier due to its longer wheelbase, lower deck, and softer wheels. Skateboards are designed for tricks and quick maneuvers, which can feel twitchy to a newcomer.
What’s the best way for a beginner to stop?
Sources disagree: the Longboard Bible states footbraking is the most important beginner stopping method, while Lush Longboards suggests ‘hands down’ or ‘glove down’ slides are a lot safer for beginners. It’s the most fundamental skill. While some manufacturers suggest beginner slides, footbraking requires less specialized gear and builds essential pressure control that every other stopping method relies on.
How long does it take to learn the basics?
With focused 15-30 minute practice sessions, most people can learn to push, cruise, and make basic turns within a week. Developing confident, reliable footbraking often takes additional consistent practice beyond the initial basics. The key is short, frequent sessions over one marathon weekend.
Before You Go
One threshold decides everything: if you can’t footbrake to a full stop on flat ground without thinking about it, every other skill is on hold. That’s not a limitation; it’s your freedom point. Once stopping is automatic, the fear of speed disappears and you can actually learn to ride.
Your first step this week isn’t to buy better bearings or watch trick tutorials. It’s to find a smooth, empty stretch of pavement and spend 20 minutes on one-foot balance drills and light foot pressure touches. That’s the single fastest path to control. Everything else, the carves, the gentle slopes, the flow, builds from that mechanical foundation. Trust the process, not just the trick.
