How to Powerslide on a Longboard: Step-by-Step
This post contains affiliate links. As an Amazon Associate, we earn from qualifying purchases.
To powerslide on a longboard, you break the wheels’ traction in a controlled, four-wheel slide to scrub speed or stop. It’s an intermediate skill requiring reliable carving, foot braking, and a low stance. The core move involves a pre-carve, shifting weight to unload the wheels, a sharp upper-body rotation to initiate the slide, and managing the slide angle before hooking up.
That “managing the slide” part is where most guides stop and where riders actually get stuck. It’s not just kicking the board out; it’s a balance between committing to the rotation and keeping enough weight over the deck to steer the slide, not just spin out. A key principle of how to powerslide on a longboard is maintaining that precise balance.
What follows is a breakdown of the body mechanics most videos gloss over, the gear specs that actually matter (not just durometer), and how to troubleshoot when your board stubbornly refuses to break traction. We’ll also clear up the conflicting advice you’ll find online about leaning back versus staying compact.
Key Takeaways
- A powerslide is not a beginner move or an emergency brake. Master pushing, carving in both directions, and foot braking first.
- Heelside slides are easier than toeside for most riders because you face forward and push with your heels, a more natural motion.
- Sources disagree on the effect of speed: Ridingboards.com states sliding is much easier the more speed you have, while Concrete Waves notes a small contact patch will create minimal friction and require less speed to slide out.
- Sources disagree on what makes wheels slide easier: Concrete Waves states the smaller and harder the wheel, the easier it’ll be, while Longboard Bible emphasizes that durometer alone does not determine sliding behavior and that urethane formula, contact patch, and other factors are key.
- Never practice without a skateboard helmet, slide gloves, and pads. The U.S. Consumer Product Safety Commission (CPSC) emphasizes helmet use for all skateboarding.
Prerequisites: Are You Ready to Slide?
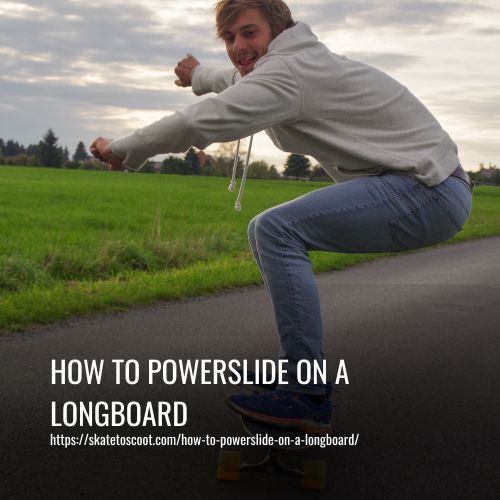
Before you even think about breaking traction, your fundamentals for how to powerslide on a longboard need to be automatic. According to the Longboard Bible, the skill level required for powersliding is intermediate. You should be able to push, carve in both directions, foot brake reliably, and stay balanced in a low stance. If you’re still thinking about which way to lean on a heel-side turn, you’re not ready.
A powerslide is not a substitute for learning basic braking. Trying to slide before you can control speed by simpler methods creates unnecessary risk. If you can’t reliably slow down without sliding, go back and drill your stopping techniques first.
Before you start: This activity involves high-speed balance loss on hard pavement. A head impact without a helmet is often fatal. Road rash without pads removes skin. A bare hand on asphalt at speed grinds to bone. Wear a properly fitted skateboard helmet, knee/elbow pads, and slide gloves every single session.
The Gear That Makes or Breaks Your Slide
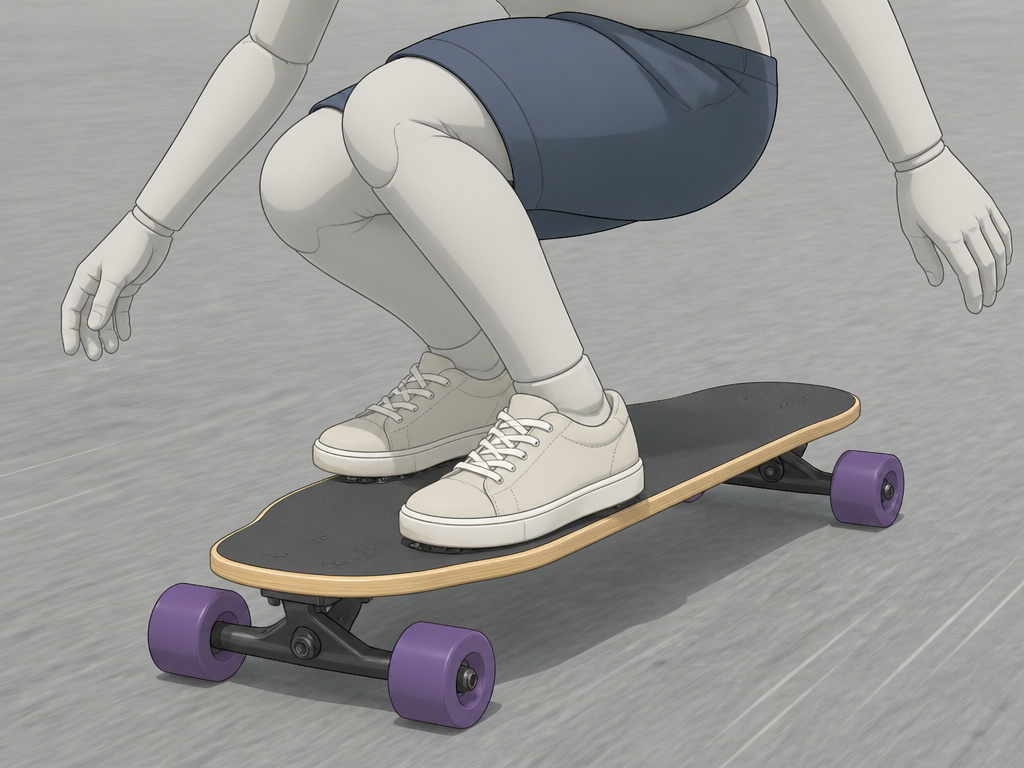
You can force a slide on almost any setup, but the right gear for how to powerslide on a longboard makes the learning curve less steep and the slides more predictable. Don’t modify a board into an unstable configuration simply to force an easier slide. Start with a mechanically sound longboard where all hardware is tight.
The most common point of confusion is wheels. Durometer alone does not determine a wheel’s sliding behavior. Urethane formula, contact patch, lip shape, surface finish, wear, and pavement all affect how a wheel releases. A smaller, harder wheel with a small contact patch will create minimal friction and require less speed to slide out, as noted by Concrete Waves. Rounded lips won’t grip as much as sharp lips, and a stone-ground contact patch is pre-worn so you can start sliding right away.
| Gear Component | Ideal for Learning Slides | Why It Helps |
|---|---|---|
| Wheels | Smaller, sideset wheels with a small contact patch, rounded lips, and a stone-ground finish. | Smaller contact patch reduces friction; rounded lips release easier; stone-ground is pre-worn. |
| Deck | Stable, reasonably stiff deck with secure concave. Avoid pintails with no concave for your first slides. | Concave locks your feet in place so you can focus on rotation, not foot placement. |
| Trucks | Trucks that turn smoothly without excessive looseness. Very turny trucks like Gullwing Sidewinders can make initiation easier. | Predictable turning helps you set up the pre-carve; overly loose trucks can feel unstable. |
| Protection | Skateboard helmet, slide gloves, knee pads, elbow pads. Mandatory. | Slide gloves allow you to safely progress to hands-down slides like Colemans. |
Longboards with a higher center of gravity, like symmetrical topmounts, can give you more torque over the wheels, requiring less carve to initiate. However, pintails are not ideal for beginners learning to slide because they typically have no concave, making foot placement less secure. Beginners should start with a board with more concave.
The 5-Step Progression for a Heelside Stand-Up Powerslide
This is the bread-and-butter slide. We’ll focus on the heelside stand-up version because heelside slides are generally easier than toeside. The goal here is a controlled, partial slide to scrub speed, not necessarily a full 180.
Step 1: Gain Speed and Set Your Stance.
Find a wide, clean, traffic-free practice area with predictable pavement and plenty of runoff. Get into a low, athletic stance: knees bent, weight centered, feet positioned over or just inside the truck bolts.
Step 2: The Pre-Carve.
Carve slightly toeside (away from the direction you plan to slide). This isn’t a hard turn; it’s about creating space and loading the wheels for the next move. Think of it as winding up a spring.
Step 3: Initiate the Heelside Turn and Unload.
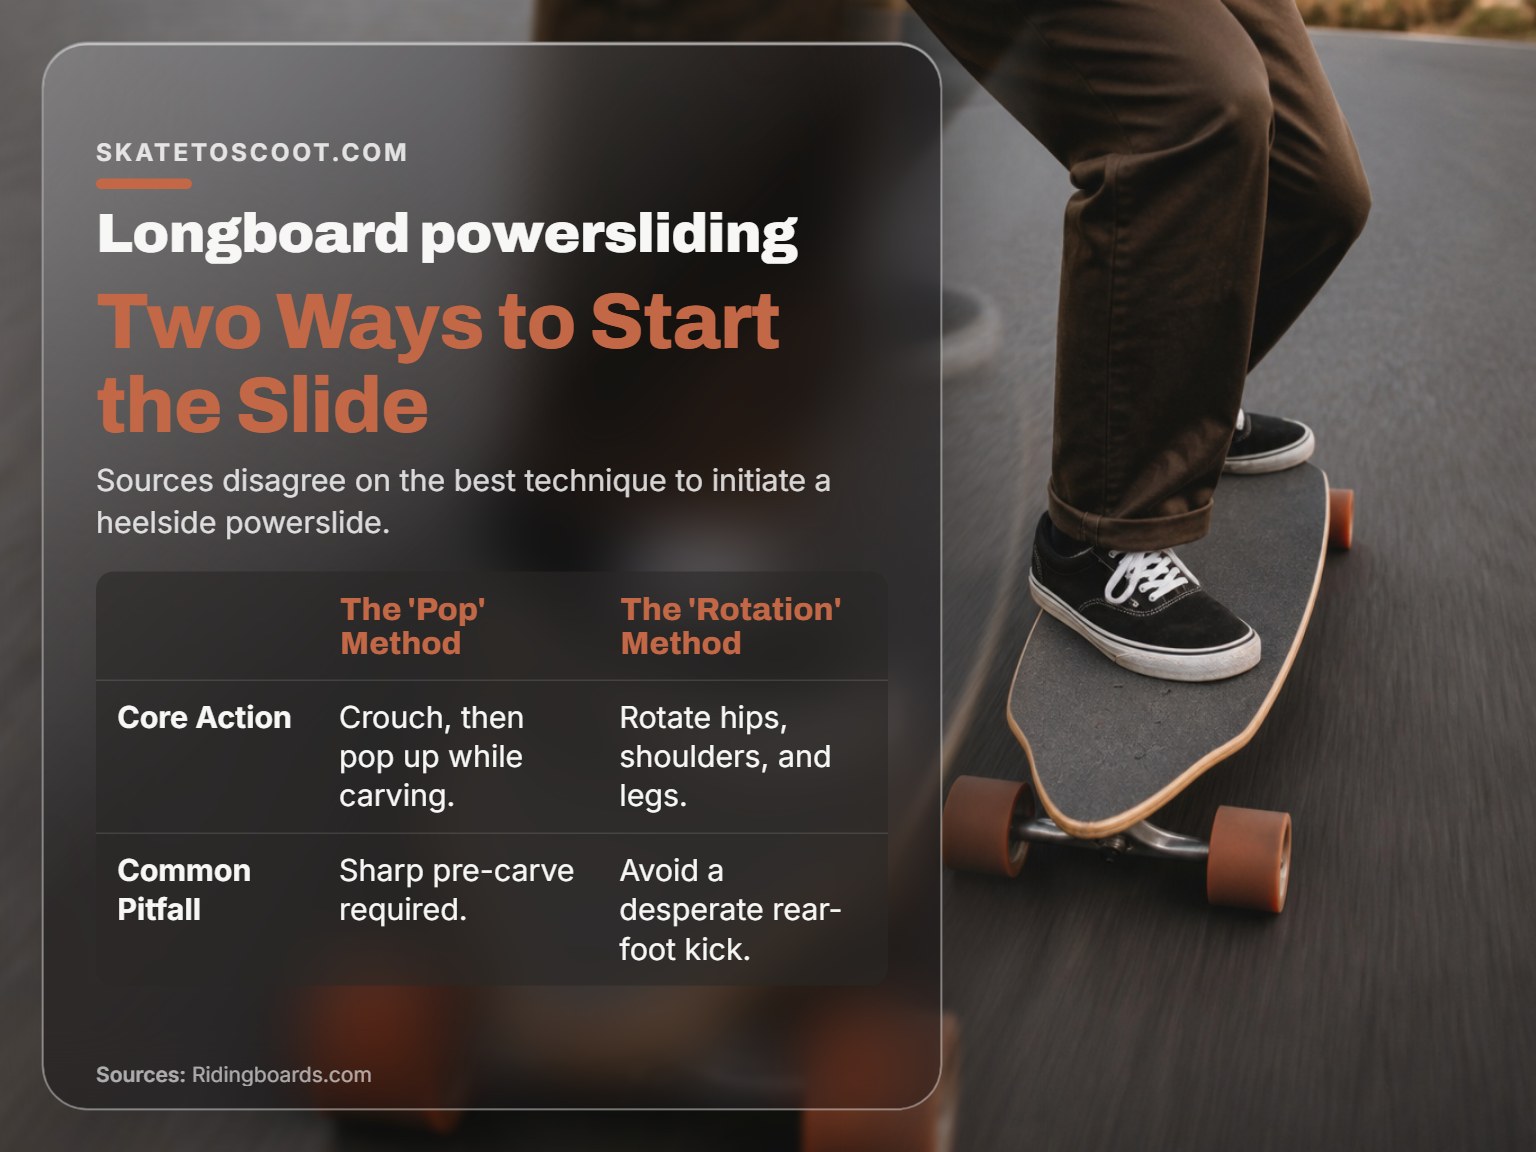
Here’s where sources disagree on the fine details, and it’s the root of many failed slides.
- The “Pop” Method (Ridingboards.com): From your low stance, crouch slightly more (compress), then pop up while initiating a sharp heelside carve. This decompression helps unweight the board.
- The “Rotation” Method (Longboard Bible): Avoid a desperate kick from the rear foot. Instead, initiate a coordinated rotation from your hips, shoulders, and legs. Your upper body leads the turn, and your board follows.
Try both. The “pop” can help break traction, but the “rotation” leads to better control. Your front foot steers the turn; your back foot is ready to push the tail out.
Step 4: Break Traction and Manage the Slide.
As you carve heelside and your weight comes up, kick your back foot out sideways, not down. The board will start to slide. Now, the second major point of conflict: body lean.
- Ridingboards.com instructs to “lean back to deweight the board” and keep your weight off it.
- Longboard Bible warns to “avoid leaning your upper body far behind the board” and to “stay compact.”
The correct position is a compromise. You must lean back from the waist to stay over the board, not behind it. If your shoulders go past the tail, you’ll spin out or high-side. Keep your eyes looking where you want to go, not at your feet.
Step 5: Hook Up and Exit.
To end the slide and regain grip, simply reverse the process. Smoothly shift your weight forward over the board, straighten your legs, and let the wheels bite. Don’t jerk the board back, let it come around naturally. Your shoulders should already be facing your direction of travel.
I’ve seen this common mistake a hundred times. A rider gets the board to slide, panics, and snaps their upper body back to face forward. This throws all their weight onto the front wheels, causing an instant, violent hook-up that often launches them. Let the board finish its path.
Why Isn’t My Board Sliding? Troubleshooting Your Technique
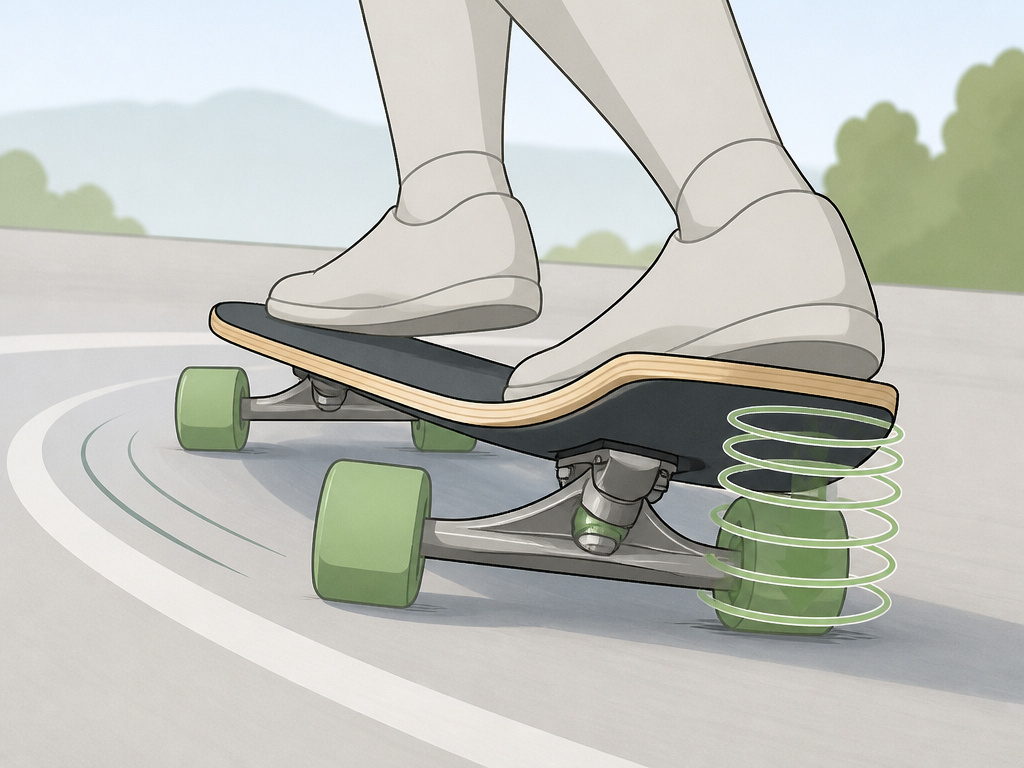
You’ve followed the steps, but the board just grips and turns. Here are the usual suspects, grounded in the physical mechanics of traction.
Not enough speed. This is the number one issue. Sliding requires enough momentum to overcome the static friction of your wheels. If you’re going jogging pace, only the slickest wheels will break loose. Crank it up a notch.
You’re not committing. This is a mental barrier. You initiate the carve but subconsciously keep your weight too centered, preventing the unweighting needed to break traction. You have to want the board to slip. Fear is the real brake.
Wrong wheels for the pavement. Soft, grippy wheels (like 78a cruisers) provide higher traction and will not slide easily on warm, clean asphalt. Conversely, a wheel that slides predictably on smooth concrete might ice out on rough, dusty pavement.
Improper weight shift. You might be leaning into the turn instead of using your upper body to rotate the board across the direction of travel. Your torso initiates the slide; your feet follow. If you’re just kicking your back foot without opening your shoulders, you’re doing a awkward, weak shove.
Sources disagree on practicing on wet surfaces: Scooterlay.com advises seeking out a damp surface for total newbies, while Ridingboards.com warns wet pavement can damage bearings, and Longboard Bible recommends a dry, predictable practice area.
From Gloves Down to Standing Up: The Natural Progression
Many riders find hands-down slides easier to start with. A hands-down slide, like a Coleman, uses a gloved hand as an additional point of support, lowering your center of gravity and making the slide less scary. It’s a fantastic way to learn how wheels release.
The progression is straightforward:
- Master the Coleman slide (a heelside, hands-down slide). This teaches you the feeling of the board sliding, how to manage the angle, and how to use your slide gloves.
- As you get comfortable, focus on putting less and less weight on your hand during the slide.
- Finally, try the same heelside carve and rotation, but keep your hands up. You’ve already trained your body for the slide’s motion; now you’re just removing the training wheels.
This method builds muscle memory and confidence, making the transition to stand-up slides feel natural, not like a leap into the unknown.
Caring for Your Gear (And Accepting Wear)
Powersliding is hard on equipment. If you do it frequently, it will damage your wheels. Accept this. The goal is to manage the wear, not prevent it.
Wheel Wear: Sliding will cause your wheels to develop flat spots if you slide to a complete stop at 90 degrees. To minimize this, try to slide at less than a 90-degree angle and keep the board moving. Flat areas will eventually develop, progressively shrinking them. Rotate your wheels diagonally (front left to rear right, etc.) every few sessions to even out the coning that occurs from sliding.
Bearing Care: Avoid wet pavement. If you do get them wet, dry them immediately and consider a bearing cleaner/lube service. Grit from sliding can also work its way in, so regular maintenance is key.
Board Inspection: Constant sideways force can loosen truck bolts and kingpins. Make checking your hardware part of your pre-session routine.
Why You Need to Carve Before You Can Slide
Before your board will slide, you need to control its direction. Carving is the foundational skill that teaches you to shift your weight and steer the board confidently at speed. According to sources, you should be able to carve in both directions reliably before attempting a powerslide. This isn’t just about turning; it’s about building the muscle memory for the precise, shallow pre-carve that sets up a slide. Trying to slide before you have this fundamental control creates unnecessary risk. Think of carving as the language your body needs to speak fluently with the board before you can ask it to do something as dramatic as breaking traction.
Using Slides to Control Speed Before a Corner
A powerslide isn’t just for stopping; it’s a tool for managing speed, especially when approaching a turn at a velocity that feels too high. This technique, sometimes called predrifting, involves initiating a brief, controlled slide before you enter the corner to scrub off excess speed. By shedding that momentum while the board is still mostly straight, you can then carve through the turn with more control and at a safer speed. The key is to view the slide as a momentary speed-check, not a sustained drift. You initiate the slide, let the wheels scrub speed for a moment, then smoothly hook back into traction to set your line for the actual carve.
Frequently Asked Questions
Do I need hard wheels to powerslide?
Not necessarily. While harder wheels (e.g., 86a and up) slide more easily, durometer alone does not determine sliding behavior. Urethane formula, contact patch shape, and lip profile are huge factors. Many modern “slide wheels” are in the 80a range but have a formula and shape designed for predictable release.
How fast do I need to go to learn?
There’s no magic number, but a good benchmark is a speed where foot braking feels uncomfortably slow, maybe a brisk biking pace. You need enough momentum that the wheels want to break free with a solid input. Too slow, and you’ll just carve. Too fast, and you’ll scare yourself stiff. Find a mild hill that gets you to that sweet spot.
What’s the difference between a powerslide and a speed check?
Speed check is a quick, shallow speed check used to shed a few mph, often before a corner. A powerslide is a more sustained, deliberate slide that can be used to scrub a lot of speed or come to a complete stop. The techniques are similar, but a speed check uses a quicker, less committed rotation.
Is it easier to slide on a pintail?
Sources disagree. Ridingboards.com states pintails are easier to slide because their higher center of gravity gives more torque. However, the Reddit community and common wisdom argue the opposite: sliding on a pintail is sketchy and harder to control due to the lack of concave and the tapered shape, which offers less secure foot placement. For a beginner, a deck with definite concave is the smarter choice.
Can I learn to powerslide on a cruiser board?
You can, but it’s harder. Learning to powerslide on a board not set up for sliding can be more challenging. Swapping to harder, smaller slide wheels is the first step if you’re committed to learning on a cruiser.
The Bottom Line
Learning to powerslide is a rite of passage that provides real speed control and a deeper connection to your board. It’s a skill of feel, not just force. Start with the fundamentals, gear up like your skin depends on it (it does), and focus on the rotation, not the kick.
The one field-test result that reframes everything: a perfect slide isn’t measured by how long you slide or how much thane you leave. It’s measured by how smoothly you hook back up and continue your line, completely in control. That’s the feeling you’re chasing. Everything else, the setup, the practice falls, the wheel wear, is just the cost of admission.
Trust the process, not just the trick. Your first real, controlled slide will click when you stop trying to make it happen and start letting your body execute the sequence it’s been practicing. Until then, wear out those best slide wheels, and learn how to fall off a longboard properly. The board will slide when you’re ready.