How to Rent an Electric Scooter: Step-by-Step Rules
This post contains affiliate links. As an Amazon Associate, we earn from qualifying purchases.
To rent an electric scooter, you need a smartphone, a valid payment method, and to meet your city’s age and license rules. Download an app like Lime, Bird, or Uber, find a scooter on the map, scan its QR code to start it, ride, then end your trip in a designated parking zone. Rules on sidewalks, helmets, and operational hours vary drastically by city, check your local government’s website before you ride.
The process seems simple, but the details decide whether your ride ends smoothly or with a surprise fee. Cities don’t agree on the basics, from whether you need a driver’s license to where you’re allowed to park, which is why it’s crucial to learn how to rent an electric scooter properly. A rule in Cincinnati is a suggestion in Seattle and a violation in Minneapolis.
What follows: the exact steps to rent from major apps, the mechanical checks you should make before moving, a breakdown of where you can legally ride, and how to avoid the most common, and costly, rental mistakes.
Key Takeaways
- Check your local city government website for specific operating hours and age requirements, they vary wildly, and assuming universal rules will get you stranded or fined.
- Perform a brake test before every ride by squeezing the levers and rocking the scooter; if it rolls, don’t ride it.
- Always park upright at a bike rack or furniture zone and never block sidewalks, ramps, or accessible parking areas to avoid a $20 improper parking fee.
- Understand the difference between shared fleet rentals (Lime, Bird) for short trips and rental shops for longer-term use; your needs dictate which is cheaper.
- If your scooter won’t start, manually enter the 6-digit vehicle ID from the handlebars into the app as a backup to scanning the QR code.
The 5-Step App Rental Process
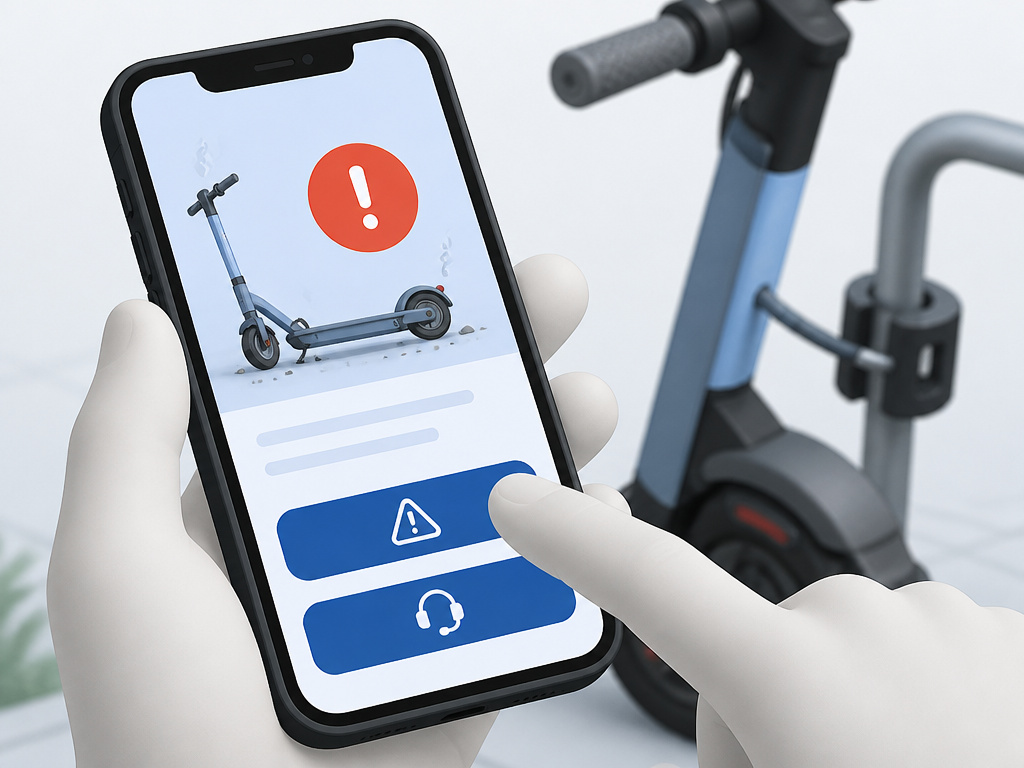
Download the app, find a scooter, scan to start. That’s the mantra, but each step has a trapdoor. I’ve watched too many people fumble at the scooter, thumbs hovering, while their rental clock ticks. Here is the process to rent an electric scooter, broken down step by step.
First, you need the right app. For on-demand shared scooters in most US cities, that’s the Lime app, Bird app, or Uber app (which partners with Lime). Some cities, like Cincinnati, operate through franchise agreements specifically with Bird and Lime. If you’re looking for a longer-term rental, say, a week, you’d skip the apps and visit a local rental shop, but that’s a different model.
Once the app is installed and your payment method is set, the map shows available scooters as icons. A full battery icon means a longer potential ride. Here’s where people get impatient: they sprint to the nearest dot. Don’t. Tap the scooter icon first to see its exact battery level and estimated range. A scooter at 15% might not make your 2-mile trip.
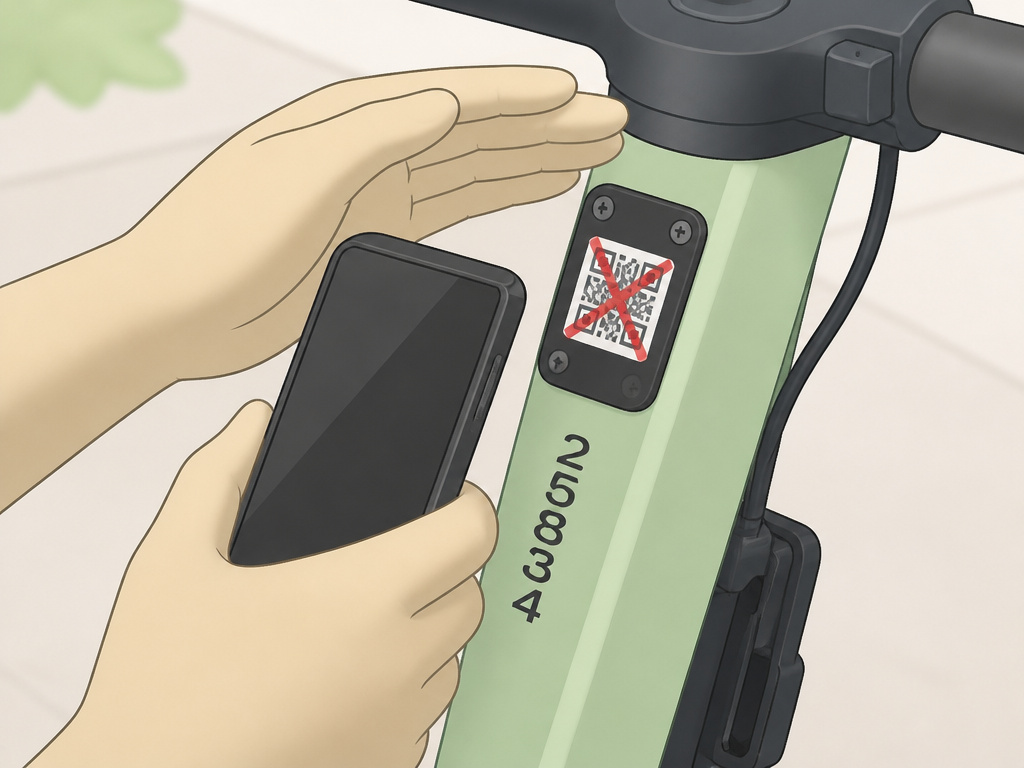
Now, starting the scooter. You walk up, open the camera in the app, and scan the QR code on the handlebars. This should be simple, but direct sunlight or a scratched code can make it fail. If the scan won’t take, the Uber guide notes you can also manually enter a 6-digit vehicle identification number printed near the QR code. That’s your backup. Once the scooter starts, you’ll hear a distinct click. No click? Don’t assume it’s ready. Give it a second, then gently press the throttle. If nothing happens, end the ride in the app immediately to avoid being charged for a scooter you can’t use.
Common mistake: Assuming a scooter is charged enough for your trip. The map shows battery level for a reason, a dead scooter halfway means you’re walking and still paying for the rental time.
Your ride is live the moment the scooter starts. The timer starts, and so does your responsibility to park it correctly. Which brings us to the most critical, and most often ignored, part of the process.
| App Step | The Action | What Happens If You Skip It |
|---|---|---|
| 1. Find & Reserve | Check battery level on the map before walking over. | You walk to a scooter with 5% battery and can’t complete your trip. |
| 2. Unlock | Scan the QR code or manually enter the 6-digit VIN. | The scooter won’t release, but the app might still start your ride timer. |
| 3. Pre-Ride Check | Squeeze brake levers and rock the scooter to test brakes. | Brakes fail at the first intersection, leading to a collision or fall. |
| 4. Ride | Follow local traffic laws and ride in bike lanes where available. | Riding illegally on a sidewalk can result in a fine from local police. |
| 5. End & Park | Park upright in a designated zone and tap “End Ride” in the app. | You incur improper parking fees ($20 in Seattle) and block pedestrian access. |
What to Check Before You Move (The 60-Second Safety Scan)
You wouldn’t step onto a skateboard without checking the trucks and wheels. The same diligence applies here, but rental scooters get abused. The Lime safety guide is explicit: test the brakes before riding by squeezing the levers and rocking the e-scooter forward and back. The scooter should not move.
Here’s how that feels: you squeeze the left lever (the rear brake) until it’s firm. With the brake engaged, you push the scooter forward. It should resist solidly, maybe giving a centimeter at most. Any smooth roll means the brake cable is stretched or the caliper isn’t gripping. Don’t ride it. Report it as damaged in the app and find another.
Next, look down. Tire pressure is often low on rentals. A severely under-inflated tire won’t just slow you down; it makes the scooter unstable, especially when turning. There’s no gauge, so press the tire with your thumb. It should be firm, not mushy.
Finally, do a quick handlebar wiggle. Grips should be tight, and the stem shouldn’t have lateral play. A wobbly front end is a one-way ticket to a speed wobble. This whole check takes less than a minute. Skipping it because you’re in a hurry is how accidents happen, the kind that aren’t covered by the rental company’s liability waiver.
I’ve seen this common mistake more times than I can count. Someone hops on, hits the throttle, and only discovers the brakes don’t work when they’re rolling toward a crosswalk. The rental companies design these things for durability, not ride feel. Assume nothing.
Where You Can and Cannot Ride (It’s Not What You Think)
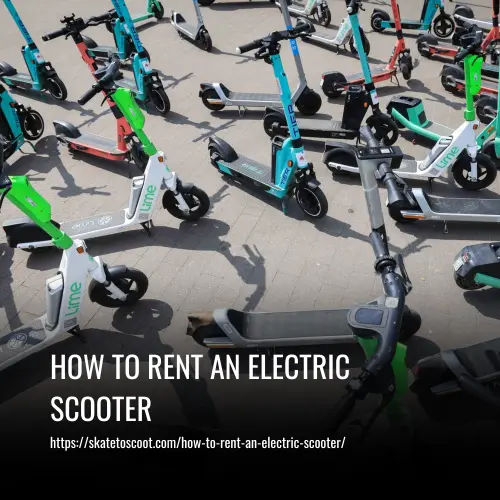
This is the single biggest point of confusion when you compare a how to rent an electric scooter guide, and the official sources directly contradict each other. You cannot rely on a universal rule.
The City of Cincinnati is absolute: riding on pedestrian sidewalks is prohibited. Full stop. However, riding on multiuse (bike/pedestrian) paths is permissible. In Seattle, the Department of Transportation advises riders to avoid riding on sidewalks, which is a softer recommendation but stems from a city ordinance. Their stronger prohibition is against riding in no-ride zones, like parks, as shown in the app. Ride into one, and the scooter will slow to a stop.
Lime recommends riding in bike lanes whenever possible. That’s the safest default if your city has them. But what if there’s no bike lane? The legal default in most municipalities is to ride on the road, following vehicle traffic laws, not on the sidewalk. This feels counterintuitive to new riders, but it’s where you belong.
Parking rules are just as fragmented. Cincinnati allows scooters on the sidewalk only if they do not impede pedestrian traffic, and provides a list of prohibited areas: bus stops, loading zones, accessible parking zones, curb ramps, driveways, greenways, and bike rental kiosks. Uber instructs riders not to block walkways, ramps, or any areas needed for accessibility. Seattle adds that improper parking could result in a $20 fee added to your ride.
The takeaway? Your phone is your rulebook. The app’s map shows no-ride zones (often in red). Your local city transportation website has the exact ordinances. Check both.
Navigating Age, License, and Operational Curfews
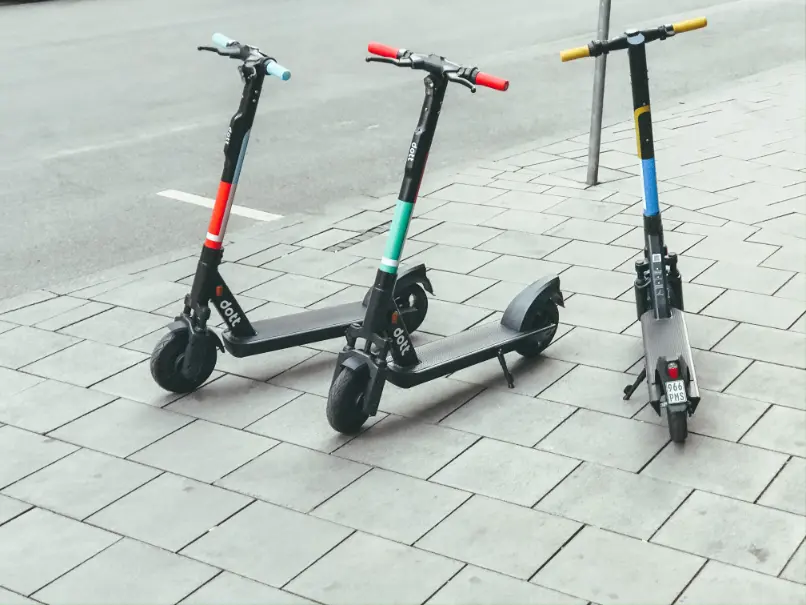
You might be legal in one city and breaking the law in the next. This isn’t a minor detail, it’s how rides get terminated and accounts get banned.
Start with age. The City of Cincinnati sets the minimum rental age at 16 years old. Other jurisdictions, like Transport for London in the UK, require riders to be 18 or over. The app will ask for ID verification; lying will get your account and payment method blacklisted.
The driver’s license question is even messier. Minnesota state law does not require a driver’s license to operate a motorized foot scooter. However, the City of Minneapolis notes that most rental companies require a license as part of their rental agreement. Some sources, like Transport for London, mandate riders hold at least a provisional driving licence, while in Minneapolis, state law does not require a license but most rental companies do. Always assume you need a valid driver’s license to create an account.
Then there’s the clock. Operational hours are strictly enforced by geofencing. In Cincinnati, you can rent scooters from 6:00 a.m. To 11:00 p.m., but trips started before 11 p.m. Are allowed to complete. In Minneapolis, scooter operations are disabled from midnight to 4 a.m.. Know your city’s curfew. It’s not about convenience; it’s about whether the scooter will function.
Where this goes sideways: Assuming your home city’s rules apply when you travel. Minneapolis explicitly warns that if a scooter is left outside the city, it cannot be rented again and must be returned to end the ride. You must follow the rules of the city you’re in.
Troubleshooting Common Rental Problems
The scooter won’t start. The app crashes. The ride won’t end. These aren’t rare events; they’re the friction points of shared mobility. Having a script saves time, money, and frustration.
Problem: The QR code won’t scan.
- Fix: Manually enter the 6-digit vehicle ID printed on the scooter into the app, as per Uber’s instructions. If that fails, check for glare, use your hand to shade the code. No luck? Report the scooter as damaged in the app and find another. Don’t waste ten minutes on it.
Problem: The ride won’t end after parking.
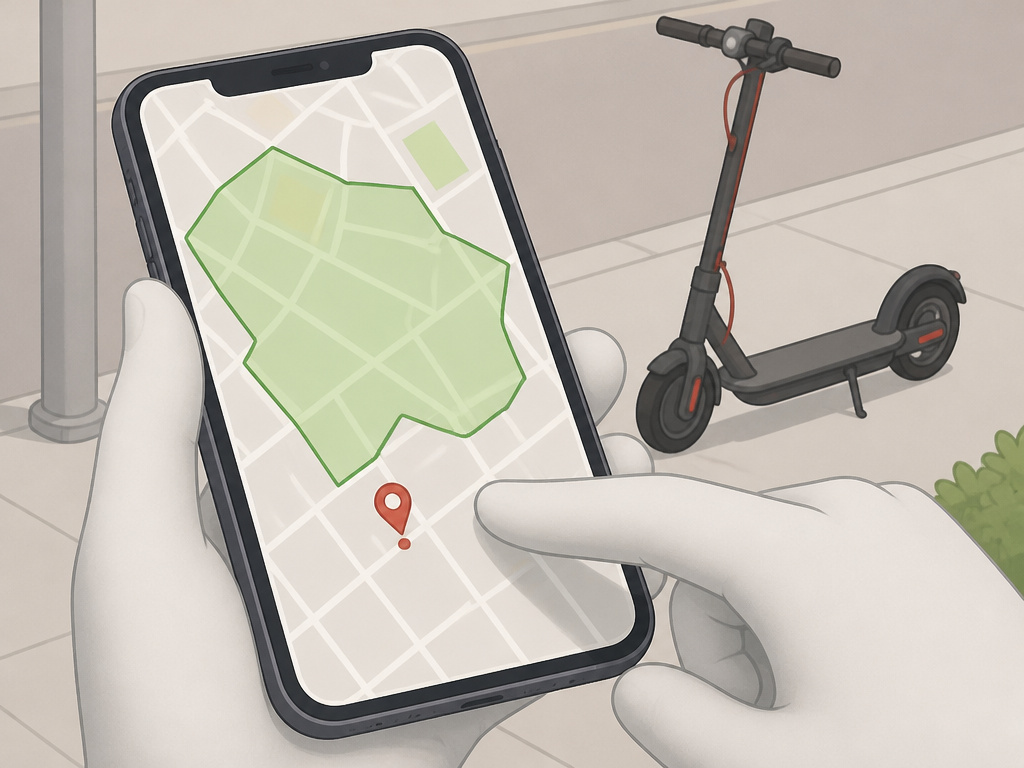
- Fix: You’re likely outside the designated parking zone. The Uber and Lime apps show approved parking areas on the map. You must be in the green zone. If you are and it still won’t end, force-close the app and reopen it. Take a photo of your properly parked scooter (upright, not blocking anything) before you walk away, in case you need to dispute a charge.
Problem: Low battery mid-ride.
- Prevention: This is on you. The app showed the battery level before you started it. If you’re running low, end the ride at the next safe parking zone. Riding until it dies leaves you stranded and responsible for the “recovery fee” the company charges to collect it.
Problem: “I don’t have a smartphone.”
- Fix: This is a genuine edge case some cities address. Seattle’s Department of Transportation provides an alternative: text (415) 463-3473 to rent a Lime scooter without the app. These programs exist but are not widely advertised.
The mechanical reality is that rental scooters are built for durability over comfort. A Reddit user who tried one described it as shaking “like crazy” and feeling like a “death wheel machine.” That harshness comes from solid tires and a stiff frame, trade-offs for surviving curbs and weather. If the ride feels awful but the scooter is functioning, that’s probably normal. If something feels wrong (grinding brakes, loose stem), it is. End the ride and report it.
Shared Scooter vs. Rental Shop: Which Should You Choose?
This is the fundamental decision that most guides gloss over. Your choice dictates cost, convenience, and commitment.
Shared Scooters (Lime, Bird, Uber)
- Best for: Spontaneous, short trips under 30 minutes. Point A to point B within a dense urban zone.
- How it works: Use the app to find any available scooter in a public fleet. Pay by the minute.
- The catch: Per-minute pricing is expensive for long rides. A two-hour rental could cost more than a daily rate from a shop. You also cannot reserve a specific scooter.
Rental Shops (Local Businesses, Yamba, etc.)
- Best for: All-day exploration, multi-day rentals, or if you need a specific, higher-performance scooter model.
- How it works: You visit a physical location, book for a set period (4-hour, daily, weekly), and often get a helmet and lock included.
- The catch: You must pick up and return to the same location during business hours. Less spontaneous.
The cost analysis is straightforward. If you need a scooter for more than an hour, a shop’s flat daily rate will almost always beat the per-minute fees of a shared fleet. For example, in the UK, some rental companies offer a monthly pass for unlimited rides.
Bottom line: For a one-way trip across town right now, use the Lime app. For a full day of sightseeing, find a rental shop. Mixing them up is how you spend $60 on a 15 mph rental, as one Reddit user lamented, when you could have owned the experience for less.
How to operate the throttle and brakes
Before you start moving, take a moment to understand the controls. To go, press the lever down gently on the right handlebar. To brake, squeeze the lever down on the left handlebar. Test the brakes before you ride by squeezing the levers and rocking the scooter forward and back; the scooter should not move. The motor will assist you up to your city’s approved speed, but you may go faster when traveling downhill. Always start slow to get a feel for the acceleration and stopping power.
Frequently Asked Questions
How much does it cost to rent an electric scooter?
Costs are typically per minute, plus a start fee. Always check the app for current pricing before you start. Some providers, like certain companies in the UK, offer monthly passes for unlimited rides. Always check the app for current pricing and any promotional offers before you start.
Do I need a helmet to rent a scooter?
Legally, requirements vary by city and state. From a safety standpoint, yes, you absolutely should. Lime and Uber both recommend wearing a helmet. Some cities have ordinances requiring helmet use for scooters. The rental companies do not provide them, so you must bring your own.
Can I ride an electric scooter on the road?
In most cities, yes, you are expected to ride on the road, following the same rules as bicycles. Riding on sidewalks is often prohibited (Cincinnati) or discouraged (Seattle). You should use bike lanes where they exist and always yield to pedestrians.
What happens if I park the scooter incorrectly?
Most companies charge a penalty fee for improper parking, which can be as high as $20 (Seattle). “Improper” means blocking sidewalks, ramps, accessible access points, driveways, or parking in other prohibited areas like bus stops or loading zones. Always park upright in a designated bike rack area or “furniture zone” near the curb, as shown in your app’s map.
Can I leave the scooter in a different city?
Generally, no. Your rental agreement ties you to a specific geographic service area. If you leave a scooter outside the approved zone, you may be unable to end your ride and will be charged until it is recovered. Some systems, like Minneapolis’s, will not allow a scooter left outside the city to be rented again until it is returned.
Before You Go
Renting an electric scooter is less about the ride and more about understanding the framework that makes it possible. The technology is simple; the bureaucracy is not. Your single most important action is to visit your city’s official transportation website before your first ride. That’s where you’ll find the real rules on age, licenses, curfews, and no-ride zones.
Mechanically speaking, trust nothing. Test the brakes every time. Visually confirm the battery is sufficient for your trip. Know how to manually enter the vehicle ID if the QR code fails. This isn’t paranoia; it’s the checklist that separates a smooth trip from a costly headache.
Finally, recognize the trade-off. Shared scooters offer incredible spontaneity but at a premium per-minute price. For any trip longer than 30 minutes, you’re almost certainly better off with a traditional rental shop.