How to Fix Throttle on an Electric Scooter: Step-by-Step
This post contains affiliate links. As an Amazon Associate, we earn from qualifying purchases.
To fix a throttle on an electric scooter, you must systematically isolate the fault between the throttle itself, its wiring, the brake sensor, and the controller. The process starts with a visual inspection and a multimeter check of the throttle’s Hall effect sensor, it should output a low voltage at rest that climbs smoothly to a higher voltage when engaged. If the throttle tests good, the problem often lies in a loose connection, a tripped brake sensor, or a controller fault that may require a specific, lengthy reset.
That voltage range isn’t just a technical detail, it’s the direct signal the controller reads to decide how much power to send to the motor. A break in that signal, or noise from a bad connection, leaves you twisting a dead grip. This is often the core issue when you need to know how to fix throttle on an electric scooter.
What follows is a mechanic’s map. We’ll walk through the seven diagnostic steps that cover many common throttle failures, decode the specific error codes brands like Razor use, explain why your controller might need a three-hour nap instead of a quick reboot, and show you when a simple throttle swap is the right call versus a deeper electrical repair for the how to fix throttle on an electric scooter problem.
Key Takeaways
- Start diagnostics with a multimeter check of the throttle’s Hall sensor; a dead or jumpy voltage reading points directly to a faulty throttle or broken wire.
- On many scooters, a sensitive brake sensor is the only feature that can cut motor power; a loose lever or worn pad can cause intermittent throttle failure.
- If you receive a control module AND throttle as replacement parts for a Razor scooter, you must replace both components for the repair to work, according to Razor’s service bulletin.
- A Controller Over Temp fault on an EBMX system will reduce your power output before it fully cuts out, giving you a warning to lower your field weakening or power settings.
- For a persistent Throttle Voltage error, use the manufacturer’s app calibration wizard first; if the error returns, the throttle itself is likely faulty and needs replacement.
The 7-Step Diagnosis: From Symptoms to Solution
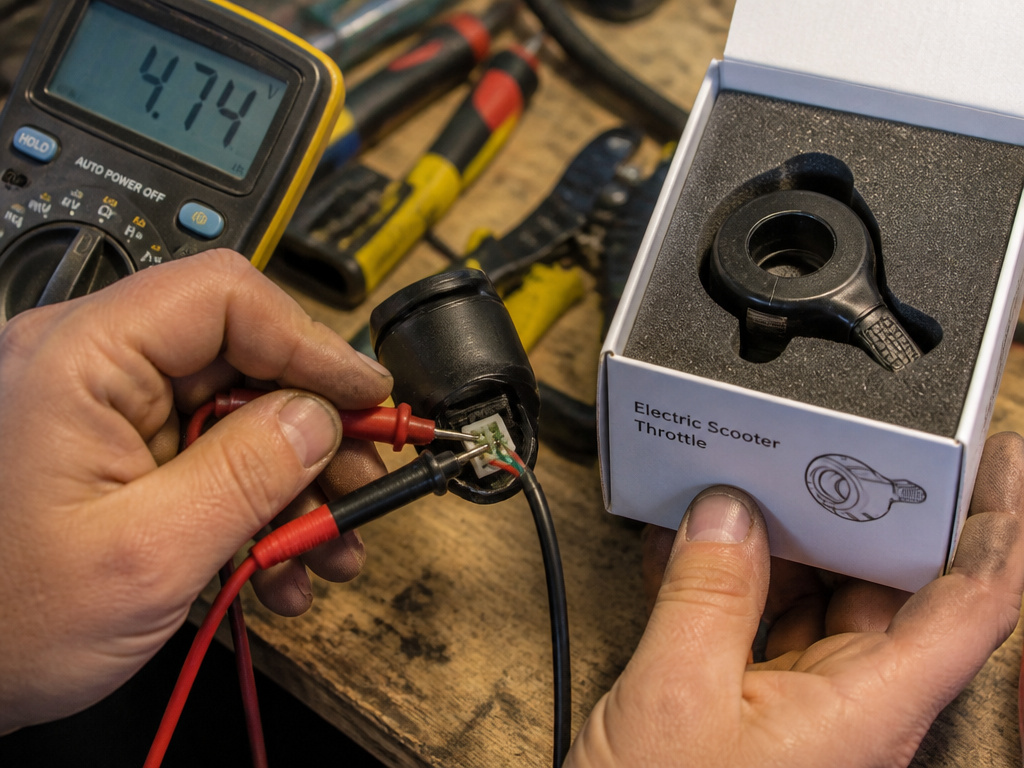
Forget guessing. This sequence moves from the easiest, least invasive checks to the more complex ones. You’ll need a multimeter, a set of Allen wrenches, and a Phillips screwdriver.
A properly functioning Hall effect throttle sensor sends a smooth, increasing DC voltage signal to the controller as the grip is turned. The controller interprets this voltage to proportionally control motor speed. A break in the signal path, a faulty sensor, or interference from a tripped safety circuit (like the brake cut-off) results in no response or erratic behavior.
- Verify the Basics. Is the scooter powered on and the battery charged? An under-voltage battery, as noted in the EBMX guide, can sag under load and cause the controller to cut power, mimicking a throttle failure. Check the brake levers, squeeze and release them a few times. A stuck or misadjusted brake lever keeps its safety sensor engaged, which tells the controller to ignore the throttle. This is the first and most common electrical failure mode.
- Visual Inspection. Unplug the battery first, every time. Trace the throttle cable from the handlebar down to where it plugs into the controller. Look for obvious damage: cuts, pinches, or a disconnected plug. On a Vego IQ 450, for example, this ends in a specific 3-pin connector. Any corrosion or bent pins here will stop the signal.
- Test the Throttle with a Multimeter. Set your multimeter to DC Volts (20V range). With the scooter powered on, probe the signal wire (often the middle wire of the three) and the ground wire. At rest, you should see a low voltage, typically around 0.8V. Slowly twist the throttle. The voltage should climb smoothly and steadily to around 3.5V without any drops or jumps. If the reading is zero, stays high, or jumps erratically, the throttle is likely bad.
- Check All Connections. Even if they look fine, disconnect and reconnect every connector between the throttle and the controller, including the main controller plugs. Look for loose pins or corrosion. A dab of dielectric grease on the seal of a motor connector, as EBMX recommends, can prevent water ingress that causes intermittent faults.
- Isolate Accessories. Turn off all non-essential lights and accessories, then test the throttle again.
- Interpret Error Codes. If your scooter has a display, note any error codes. For some Razor scooters, specific error codes may indicate a throttle failure. This moves the diagnosis from “maybe” to “confirmed.”
- Reset the Controller. If all wiring and the throttle test good, the controller’s logic may be locked in a fault state. Here’s where sources disagree. Some community guides suggest a simple 30-second power cycle. However, sources disagree on the required duration: the official EW-72 service manual states the circuit breaker must be turned off for a minimum of three hours for a full reset, while general community practice often suggests a power cycle of 30-60 seconds. If a quick power cycle doesn’t work, try the long reset.
If you’ve reached step 7 and the throttle still doesn’t work with a confirmed good signal, the issue likely lies with the controller itself or a deeper problem in the wiring, moving beyond the basic scope of how to fix throttle on an electric scooter.
When the Throttle Itself is the Culprit
Sometimes, the grip is just dead. The internal Hall sensor can fail from impact, water damage, or just wear. If your multimeter test showed a dead-zero or stuck-high voltage, replacement is your only path.
Replacing a throttle is straightforward but brand-specific. Let’s break down the Vego IQ 450 procedure from its official guide, as it highlights universal steps:
- Safety First: Turn the scooter power off, unplug, and physically remove the battery.
- Remove the Old Throttle: A 2.5mm Allen wrench is often the key. Free the throttle wire from its housing and follow it into the scooter’s chassis.
- Disconnect: Slide back the black dust covers, find the 3-pin connector, and unplug it.
- Install the New One: Mount the new throttle on the bar, tighten its set screw, route the cable neatly, plug it in, and replace the dust cover.
The Razor control module bulletin adds a critical, non-obvious rule: if you receive both a new control module AND throttle, you must install both. Mixing old and new components can cause persistent faults.
Where this goes sideways: Assuming a new throttle will work with an old, possibly faulty controller. On integrated systems like some Razor models, the bulletin is explicit: replace the matched set. Ignoring this turns a simple swap into a frustrating loop of the same problem.
Controller and System-Level Faults
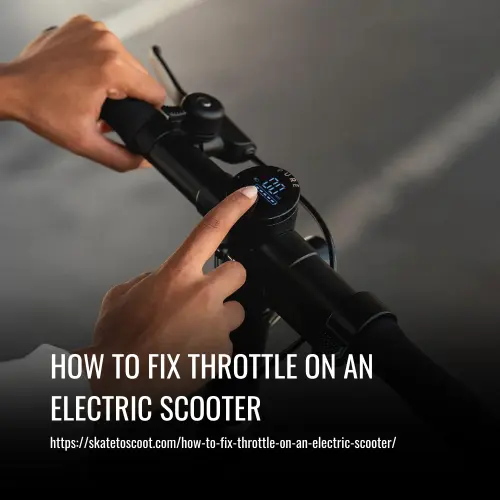
When the throttle checks out, the problem shifts downstream. The controller is the brain that reads the throttle signal and commands the motor. Two common electronic faults are over-voltage and under-voltage errors, which the EBMX guide highlights.
| Fault | Primary Cause | Corrective Action |
|---|---|---|
| Over-Voltage | Incorrect battery setting in app, revving on a stand, incorrect regen settings. | Select correct battery in app, avoid stand revving, adjust field weakening/regen. |
| Under-Voltage | Low battery charge, BMS tripping from high amp draw. | Charge battery, lower field weakening and battery amp settings in app. |
| Controller Over Temp | Sustained high power demand, insufficient cooling. | Lower field weakening/power settings, change gearing. You’ll feel reduced power before it cuts. |
| Motor Over Temp | Motor overload, poor connector seal allowing water. | Lower power settings, check temp sensor cable, apply dielectric grease to connector seal. |
These faults often manifest as a scooter that shuts down under load or after a period of hard use. The “Over Temp” warnings are particularly useful, they give you a performance drop as a warning before a full shutdown, letting you cool the system.
If you suspect a faulty controller is the root cause, the diagnosis becomes more involved, often requiring substitution with a known-good part.
The Brake Sensor Wildcard
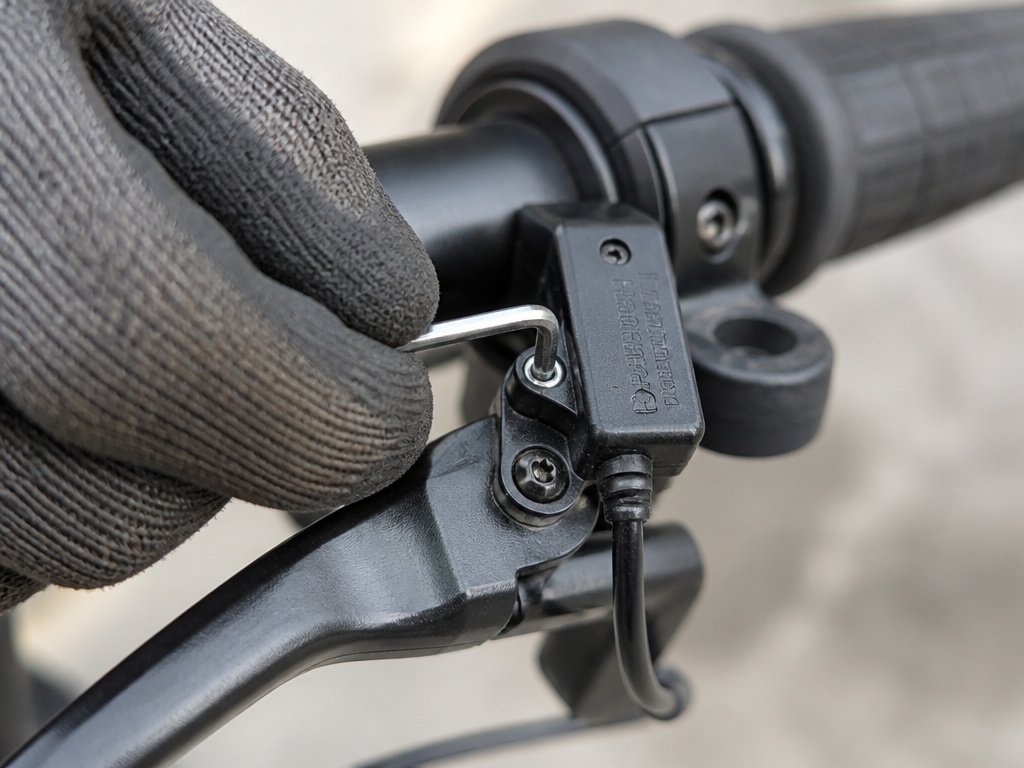
Here’s a nuance most generic guides miss: on many scooters, the brake sensor circuit is the only command that can instantly kill motor power, overriding the throttle. Its job is safety, but its failure mode mimics a throttle problem.
If the brake lever has too much free play or the pad is worn, the microswitch inside can flutter between open and closed as you ride. The controller gets intermittent “brake applied” signals and cuts the throttle response. The fix isn’t at the throttle at all; it’s adjusting the brake lever tension or replacing the pads. This is why checking the brakes is step one in a proper diagnostic flow. A scooter that won’t move despite power could simply have a stuck brake switch.
Repair vs. Replacement: Making the Call
When does it make sense to fix, and when should you just swap the part?
Repair if:
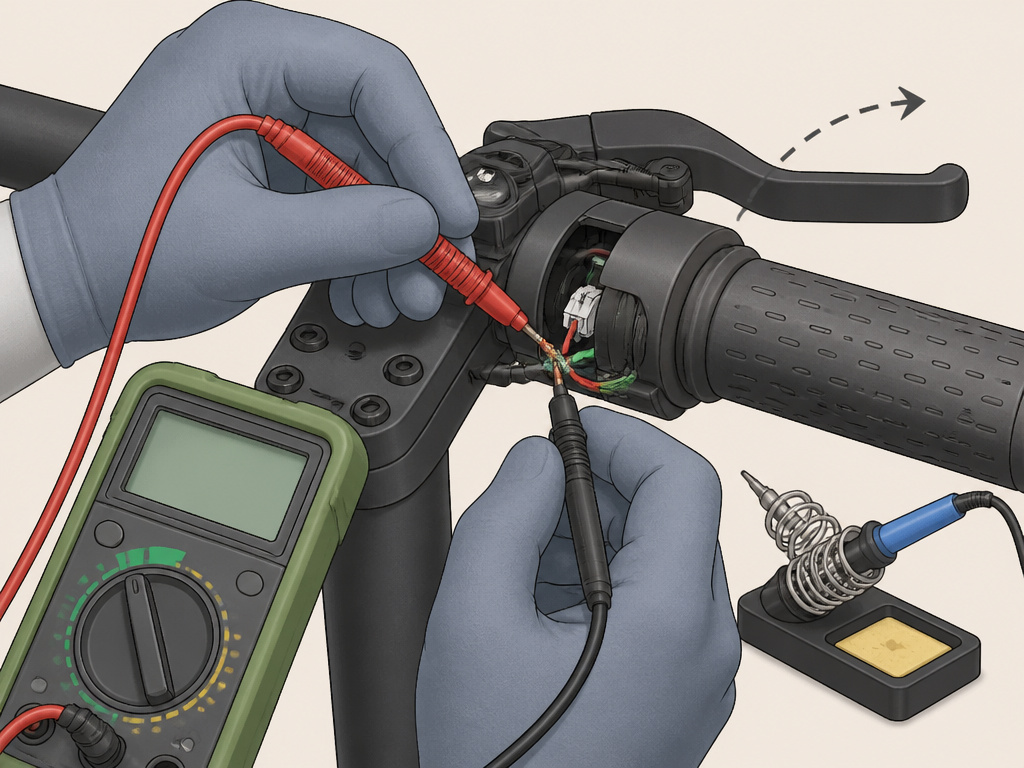
- The issue is a single loose or corroded connection you can clean and secure.
- A wire is damaged but accessible, and you can solder in a new section.
- The problem is a misadjusted brake lever causing sensor interference.
Replace if:
- The throttle shows no output or a stuck output on a multimeter.
- The throttle housing is cracked or damaged.
- You have a brand-specific error code (like Razor’s E2) indicating throttle failure.
- You are following a manufacturer bulletin that calls for a matched-parts replacement (like the Razor control module and throttle).
For most riders, a new, compatible throttle is a sub-$30 part. Weigh the cost against the time and certainty of a deep diagnostic chase. Often, after confirming wiring is intact, swapping the throttle is the fastest path to a working scooter.
How a throttle works (basic function)
An electric scooter’s throttle is a variable speed control. When you twist or press it, you’re not directly feeding power to the motor. Instead, you’re sending a changing electrical signal down a wire, typically ending in a three-pin connector that plugs into the controller. This signal tells the controller how much power to draw from the battery and send to the motor. Think of it like a volume knob for your scooter’s speed. A faulty signal, caused by damaged wiring, a bad connection, or incorrect calibration, will prevent the controller from understanding your input, leaving you with no power or erratic acceleration.
Frequently Asked Questions
How much does it cost to fix a throttle on an electric scooter?
The cost can vary. If the fix is re-seating a connector or adjusting a brake lever, it may cost nothing. A replacement throttle unit or controller may be required, with part costs varying.
Why won’t my electric scooter accelerate when I use the throttle?
The three most common reasons are a tripped brake safety sensor, a dead throttle unit, or a controller fault. Follow the diagnostic steps: check the brake lever first, then test the throttle voltage with a multimeter. If both are good, a controller issue or a need for a full reset is likely.
What does an E2 error code mean on my Razor scooter?
An E2 error code on a Razor C35 SLA scooter, according to its manual, indicates a throttle failure. This means the scooter’s self-diagnostic system has detected an invalid or missing signal from the throttle and has shut down the motor for safety. Your next step is to test the throttle with a multimeter as described.
Can a bad brake cause the throttle to not work?
Yes, absolutely. The brake sensor is a safety cut-off. If the sensor is stuck “on” due to a misadjusted lever, worn pads, or a faulty switch, it will continuously tell the controller to ignore the throttle input. This is why checking and releasing the brake levers is the very first electrical diagnostic step.
Is it safe to replace a throttle myself?
It can be, if you follow strict safety protocol. Always disconnect the battery before working on any electrical component to avoid shock or short-circuit risk. Use the proper tools, and consult your scooter’s specific manual if available. If you are at all uncomfortable working with wiring, seeking a qualified mechanic is the recommended path, as the Vego guide states.
The Bottom Line
Fixing a scooter throttle isn’t about magic, it’s about method. Start with the free, easy checks: brake lever tension and battery charge. Then let a $20 multimeter tell you the truth about the throttle signal. Trust the specific error codes your scooter gives you; they’re there for a reason.
The one rule I’ve seen break more repairs than any other is the Razor bulletin’s instruction: if you get a new control module and throttle, install both. Treating them as a matched set isn’t a suggestion; it’s the solution to a specific engineering fault.
If your throttle tests bad, swap it. If the wiring is good but nothing works, respect the manufacturer’s reset procedure, even if it means waiting three hours. That patience is cheaper than buying a controller you might not need. Your scooter isn’t being mysterious; it’s following the electrical rules. Your job is to listen to what it’s already telling you.
