How to Fold a Knee Scooter: 3-Step Sequence
This post contains affiliate links. As an Amazon Associate, we earn from qualifying purchases.
Many folding guides recommend three key steps: lock the parking brakes, remove any attached basket or accessories, and fold the steering column. The exact mechanism for the third step varies dramatically between models, some use a lever you pull up and rotate, while others use a separate safety pin and a locking lever.
That variation is the whole game. A generic three-step guide gets you to the starting line, but your specific scooter’s manual holds the only real instructions for how to fold a knee scooter.
What follows is the framework: the three steps every guide repeats, the exact mechanical differences between major models, and the real-world tricks for the how to fold a knee scooter challenge of getting a folded scooter into a car trunk or a narrow closet without hurting yourself or the equipment.
Key Takeaways
- Lock the brakes first, as per Alberta Health Services, this prevents the scooter from rolling away during folding and is essential for safety.
- The steering column lock mechanism is model-specific. The VEVOR HFK-9277KD uses a lever you pull up and rotate clockwise, while the BJ210500 uses a lever lock that slides into a notch on the handlebar tubing, then is rotated and pushed down.
- The generic folding guide advises removing slide-on baskets before folding on many models, a step often omitted in OEM manuals.
- Practice folding and unfolding before you travel with it; muscle memory prevents fumbling when you’re tired or in a tight space.
- Lift with your legs, not your back, when moving the folded scooter; its concentrated weight can easily strain you.
The 3-Step Generic Folding Sequence
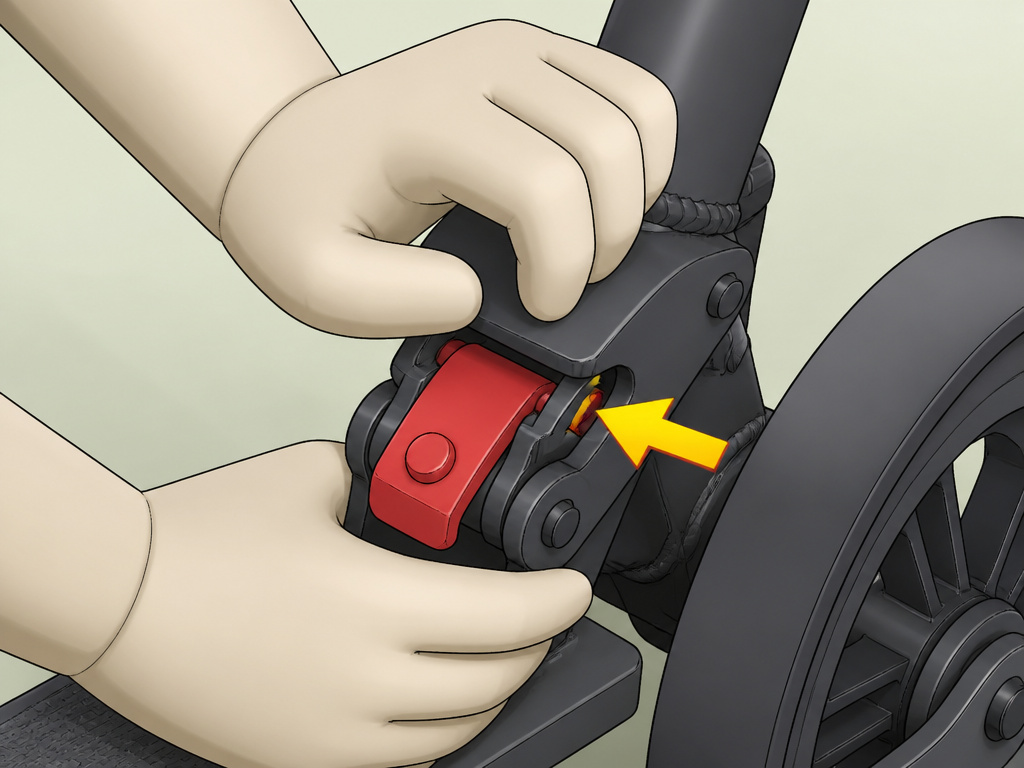
Every folding guide, from rental company blogs to most top Google results, lands on the same three actions. They’re the baseline. Skipping one usually means the next step fails physically.
Lock the parking brake, remove any basket or cargo accessory, then fold the steering column down toward the knee pad. This sequence works for most knee scooters, but the mechanical execution of each step depends entirely on your specific model.
Step 1: Engage the Parking Brake. This isn’t a suggestion. Alberta Health Services explicitly instructs users to lock the hand brakes before mounting or dismounting. For folding, it’s the same principle: a locked scooter won’t roll away while you’re manipulating it. The process varies, but a common method is to press the brake lever, hold it, press a small lock button on the same lever, then release. Your manual is the final word here.
Step 2: Remove the Basket or Bag. If your scooter has a basket that slides onto two metal brackets, you must take it off. The generic guide from Rent A Knee Walker is clear: this step is necessary on many models before the steering column can fold. The basket frame blocks the folding path. OEM manuals often skip mentioning accessories, but in the real world, this is the step people forget, followed by a confused minute of wondering why the column won’t budge.
Step 3: Fold the Steering Column. This is where “most models” diverges into “but not yours.” The generic advice is to locate a release lever near the base of the steering column, pull it up, and lower the column. The column should tuck under or next to the knee rest. On some models, you’ll hear a click when it’s locked in the folded position. On others, it just rests there. The force required should be minimal; if you’re straining, you’ve missed a lock or a pin.
Model-Specific Folding Mechanisms Compared
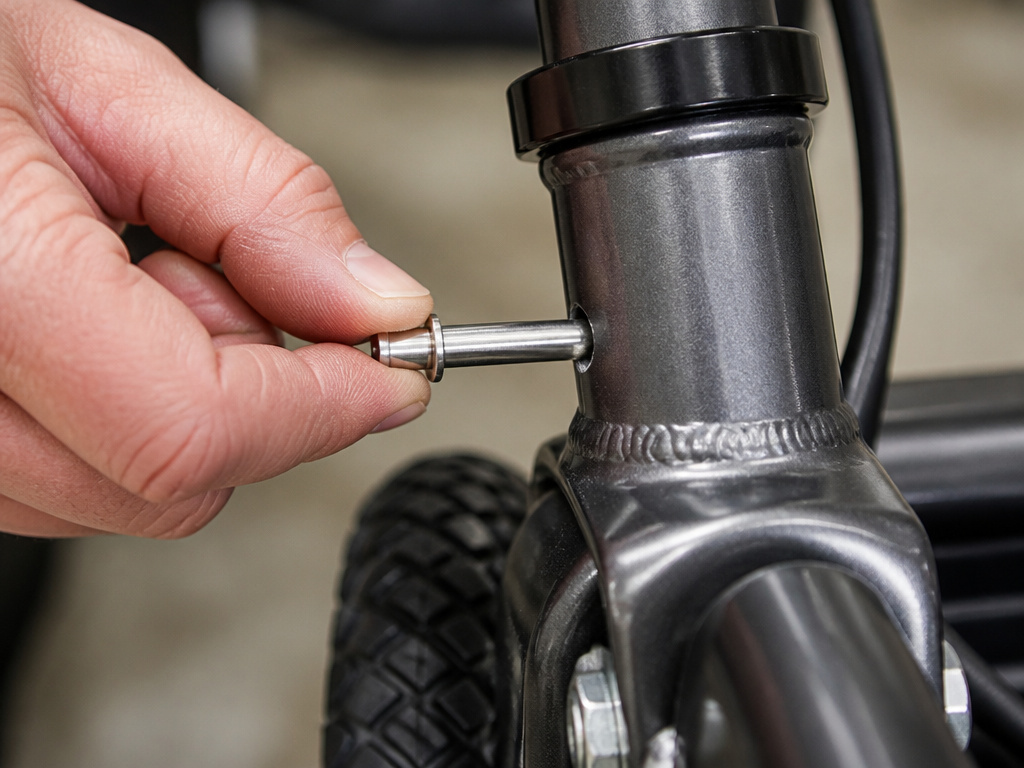
The generic steps are a map for how to fold a knee scooter. Your scooter’s manual is the terrain. Two popular models, the BJ210500 and the VEVOR HFK-9277KD, have completely different locking systems. Confusing them means a stuck lever and a scooter that refuses to fold.
| Model | Steering Column Lock Type | Locking Procedure | Key Physical Difference |
|---|---|---|---|
| VEVOR HFK-9277KD | Pull-up Rotating Lever | Pull the lever up, then rotate it clockwise to tighten and lock. Rotate counter-clockwise to loosen. | A single, prominent lever that controls both locking and tension. |
| BJ210500 | Lever-and-Notch System | Slide the lever lock into a notch on the handlebar tubing, then rotate it left/right and push down to secure. | The lock engages a specific physical notch in the frame. |
| Common Generic Models | Pin-and-Lever Variant | Engage a safety pin through a hole, then pull and rotate a separate lever to lock the column. | Two distinct components: a pin for safety and a lever for tightness. |
The VEVOR’s system is straightforward. You’re just tightening a clamp. The BJ210500 system is more about alignment, the lever must seat into its notch before it can be turned. Forcing a BJ210500 lever without the notch aligned will do nothing but frustrate you.
Here’s the thing nobody tells you: these mechanisms feel different when they work. The VEVOR lever will have noticeable resistance as you rotate it clockwise, ending with a firm stop. The BJ210500 will slide into its notch with a soft snick, then rotate with less rotational tension. If your mechanism feels gritty, grindy, or moves without any resistance at all, something’s wrong, likely a misalignment or an overlooked pin.
How to Unfold Your Knee Scooter Safely
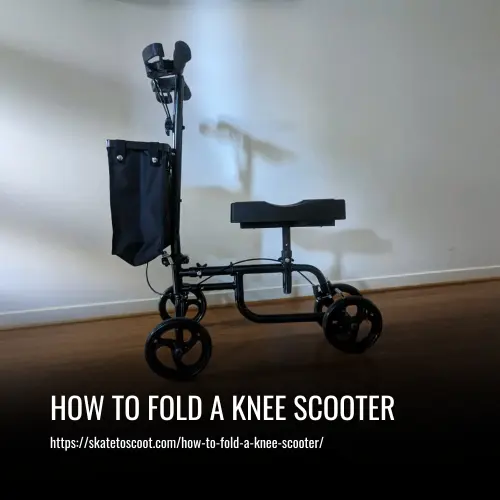
Unfolding is simply the folding sequence in reverse, but with one added rule: always set the scooter upright on a level surface before you begin. Trying to unfold it while it’s lying on its side in a car trunk is a recipe for pinched fingers and a wobbly result.
- Position the Scooter: Stand it upright, holding the frame for stability. Ensure the parking brake is still engaged.
- Release the Column Lock: Locate the same lever or mechanism you used to fold it. For the VEVOR, rotate the lever counter-clockwise and push it down. For the BJ210500, lift and rotate the lever out of its notch.
- Raise the Steering Column: Lift the handlebars smoothly to their full upright position. You should hear or feel a positive click or lock when it’s seated. If you don’t, double-check the mechanism, many scooters won’t lock unless the column is perfectly vertical.
- Re-attach Accessories: Slide your basket back onto its brackets. Give it a gentle tug to confirm it’s secure.
- Perform a Safety Check: Before using, check that the steering column is rigid. Try to wiggle it side-to-side. There should be no play. Test the brakes to ensure they disengage and engage cleanly after being locked for storage.
Troubleshooting Common Folding Problems
You’ve followed the steps, but the scooter isn’t cooperating. Here are the typical hang-ups and how to solve them.
The release lever won’t budge.
First, confirm you’ve followed the correct locking procedure for your model. On some models, the brake and steering column mechanisms may be linked. If the brake is off, check for a secondary safety pin. Some designs have a small pin that must be pulled out before the main lever moves. Pull out the small metal pin near the base of the steering column. If it’s there, pull it straight out, then try the lever again.
The steering column folds but doesn’t lock in the down position.
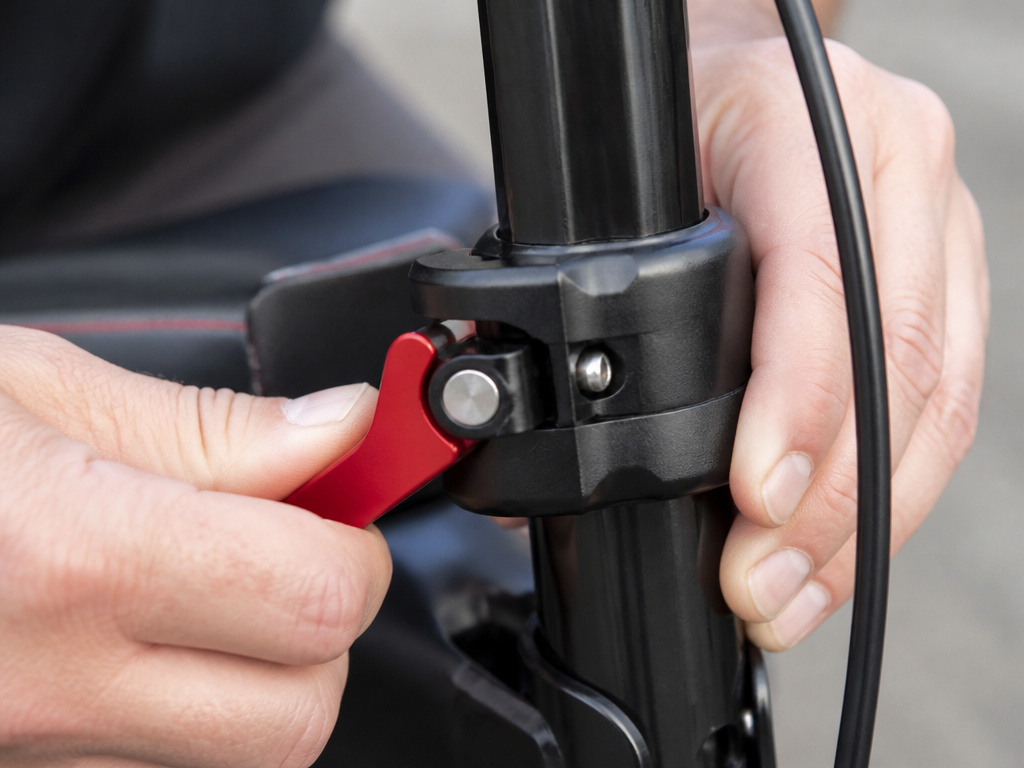
This usually means you haven’t fully engaged the folding mechanism. On lever-based systems like the VEVOR, you must rotate the lever the full distance until it stops. On pin-based systems, the pin may not be fully seated in its receiving hole. Lift the column back up, re-engage the lock, and try folding again with more deliberate, even pressure.
The scooter is too heavy or awkward to lift when folded.
This is a common surprise. A folded knee scooter is a dense, unbalanced object. The correct lift uses your legs, not your back. Squat down, grip the frame near its center of mass (usually around the knee pad), keep your back straight, and stand up using your leg muscles. Never twist your torso while carrying it.
Safety and Usage Considerations Before You Fold
Folding is a mechanical task, but it sits within a broader set of safety rules. Alberta Health Services provides the authoritative framework here, and it’s worth reviewing the non-negotiables.
Before you start: Ensure you are on flat, stable ground. Do not attempt to fold or unfold the scooter on stairs, a slope, or a slippery surface. If you have issues with balance, coordination, or strength in your non-injured leg, ask for assistance.
Contraindications Matter. Alberta Health Services advises not to use a knee scooter at all if you have balance, coordination, or vision issues, or if your good leg isn’t strong. If that’s the case, handling a folded scooter is likely also unsafe. Get help.
Terrain is Everything. Their guidance is to avoid steep or uneven ground during use. That applies double for folding. A scooter that starts to roll on a slight incline while you’re halfway through folding can tip over easily.
Practice When It Doesn’t Matter. The Rent A Knee Walker guide wisely suggests practicing folding and unfolding before you need to do it for travel. Do this in your living room. Get the muscle memory down when there’s no time pressure, so that loading it into a friend’s car for a doctor’s appointment is second nature.
Folding for Specific Scenarios: Car, Airplane, Closet
The “why” behind folding changes the “how.” A quick tuck into a car trunk is different from a compact fold for an airplane overhead bin.
For a Car Trunk: The goal is simply to get it in. A partial fold is often enough. The trick is to open the trunk first, then fold the scooter right next to the bumper, minimizing the distance you have to carry it.
For Air Travel: This demands the most compact configuration. You must remove all accessories, basket, bags, even the knee pad if it’s detachable. Fold the steering column completely. Some airlines require it to be in a travel bag. Call the airline ahead of time for their specific policy on mobility aids.
For Tight Home Storage: In a narrow closet or behind a door, the scooter’s width when folded is key. Some, like the VEVOR HFK-9277KD, fold to a width of 535mm. Measure your space first. Turning the scooter sideways, so the wheels face the wall, can sometimes save an extra inch or two.
Frequently Asked Questions
How do I fold my Elenker knee scooter?
While we don’t have the Elenker manual, most models use a common pin-and-lever system. Pull out the safety pin near the base of the steering column. Pull the pin out, then locate and pull up the main release lever. Lower the handlebars. Always refer to the official Elenker manual for the definitive steps.
Are all knee scooters collapsible?
No. While most modern knee scooters are designed to fold for transport, some older or very basic models are not collapsible. If purchasing, look for “foldable” or “folding” in the product description. If renting, ask the provider.
What if the folding lever is stuck?
First, ensure the parking brake is fully released, as it might be linked. Check for dirt or debris in the mechanism. If it’s a pin system, ensure the pin is completely disengaged. If it’s a lever like the VEVOR’s, try rotating it gently back and forth (counter-clockwise first) while applying slight upward pressure. Never force it with excessive strength, as you could damage the lock.
Can I fold the scooter with the basket on?
It depends on the basket attachment. If it’s a slide-on bracket style, the answer is usually no, the basket frame will block the steering column’s path. If it’s a soft bag that hangs from the handles, it might be possible. Test it. If the column won’t fold easily, the basket is in the way.
The Bottom Line
Folding a knee scooter is a simple three-step process that gets complicated by a dozen different locking mechanisms. Your owner’s manual isn’t a suggestion; it’s the rulebook. Lock the brakes, remove the basket, and master your model’s specific lever or pin.
The real skill isn’t in the folding itself. It’s in doing it smoothly on a rainy day in a parking lot, or in a cramped airplane aisle, without dropping the scooter or straining your back. That comes from practice. Unfold it and fold it three times in your driveway before you ever need to do it for real. The confidence you gain is the difference between a tool that traps you at home and one that gives you back your mobility.
