How to Ride an Electric Scooter: Step-by-Step
This post contains affiliate links. As an Amazon Associate, we earn from qualifying purchases.
To ride an electric scooter, you start by putting one foot on the deck and kicking off to get rolling before pressing the throttle. You steer mostly by leaning, not by turning the handlebars, and you must always wear a CPSC-certified helmet and perform a pre-ride safety check. The Lime Gen 2.5 manual prohibits riding in rain, snow, or hail, and you should never charge its battery below 32°F (0°C).
That 3 mph kick-start is the threshold where the motor engages on most models. It’s the difference between a smooth, controlled launch and a jerky, unbalanced start that can send you wobbling into the curb. Knowing how to ride an electric scooter begins with mastering this initial phase.
What follows: the exact pre-ride checklist from the manuals, the physical mechanics of turning a two-wheeled vehicle, the real-world consequences of ignoring weather warnings, and the one storage rule that splits manufacturers right down the middle are all key parts of how to ride an electric scooter.
Key Takeaways
- Always perform a pre-ride safety inspection of brakes, tires, and handlebars, a wobbly front wheel feels fine at low speed but will shake the fillings out of your teeth at 15 mph.
- Kick-start to ~3 mph before engaging the throttle; the motor uses the most power from a dead stop, and a smooth launch maximizes your range and stability.
- Steer by leaning, not turning the handlebars; handlebar input works at low speeds, but above a certain point, you’ll over-correct and wobble.
- Never ride in wet weather per the Lime manual; water wrecks the electronics and slicks the deck, turning a simple stop into a slide.
- Store the battery according to your specific manual; for example, the Razor EcoSmart Metro manual says to fully charge the battery before storing for extended periods, and getting it wrong shortens the battery’s life by years.
Gear Up: More Than Just a Helmet
A CPSC-certified bike helmet is the absolute minimum, and the Utah State University Extension guide treats it as essential. I’ve seen rental scooters handed to tourists in beach towns with no mention of helmets at all. That’s how scalp lacerations happen.
Your scooter helmet is your last line of defense; the gloves and pants are the first, taking the abrasion so your skin doesn’t have to.
The part nobody mentions: A helmet that’s been in a crash, even a minor one where you just tipped over, has compromised foam. It looks fine on the outside. The impact absorption is gone. Replace it.
The Pre-Ride Inspection Checklist
Before each use, the Lime Gen 2.5 manual mandates a safety inspection. This isn’t a suggestion. It’s catching the failure before you’re moving at 15 mph.
Brakes: Squeeze the levers. They should engage firmly, not mush to the grip. A soft brake lever means the brakes are not functioning properly, which on a hill could lead to a runaway.
Tires: Press them with your thumb. They should be firm, not squishy.
Handlebars & Stem: Grab the handlebars and try to wiggle them. There should be no play. A loose stem can cause speed wobbles and should be tightened according to the manufacturer’s instructions.
Lights & Electronics: Turn on the scooter. Do the headlight and taillight work? Is the display showing a battery level, or an error code? If the display shows a low battery warning, charge it fully before riding.
Skipping this check is how you discover a flat tire two blocks from home, or a dead brake at the bottom of a hill. The five minutes you save aren’t worth the 90-minute walk of shame pushing a dead scooter back.
Finding Your Stance and Starting Up
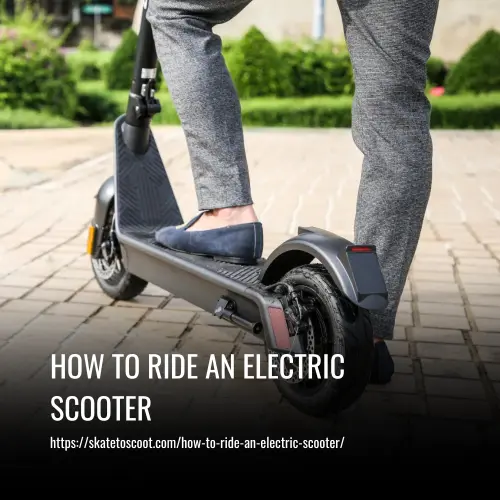
Your stance is your foundation. Place your dominant foot firmly on the deck, toward the rear. Your other foot stays on the ground. This is your launching foot.
Now, look ahead. Push off with your ground foot, not a timid shuffle, but a solid kick that gets you rolling. You’re aiming for that ~3 mph threshold RiderGuide.com notes, where the motor engages. Then, gently press the throttle with your thumb.
If your scooter has a twist throttle, the same principle applies: kick, roll, then twist. A sudden twist from a standstill will either jerk the scooter out from under you or spin the front tire on loose gravel.
That initial kick-start is critical for range. The motor draws the most current overcoming inertia. Letting the scooter do all the work from zero burns battery you’ll wish you had later. Some high-performance or seated models like the Razor EcoSmart Metro have a different procedure: you sit, place both feet on the ground, and push off before using the throttle. The principle is identical, overcome inertia yourself first.
Throttle Control and Basic Riding
Once moving, keep your knees slightly bent. This is your suspension. A rigid, locked-legged posture transmits every bump directly to your spine and makes you top-heavy.
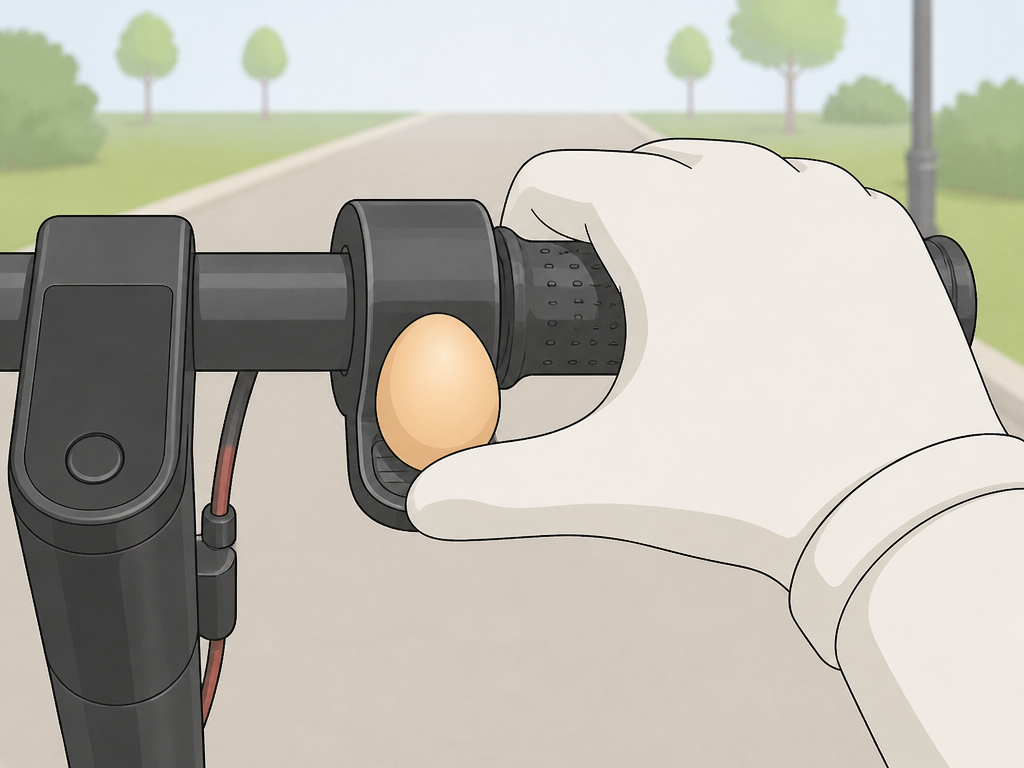
Throttle control is about smoothness. Imagine there’s an egg between your thumb and the lever. You want to accelerate without breaking it. A common beginner mistake is “pulsing” the throttle, on, off, on, off, which makes for a herky-jerky, exhausting ride. Find a steady pressure that maintains your speed.
For your first rides, stick to empty parking lots, smooth bike paths, or quiet residential streets. The goal is to build muscle memory for the controls without the variable of traffic. Practice starting, stopping, and maintaining a straight line. Most renting an electric scooter apps have a “beginner mode” that caps your speed; use it.
How to Turn an Electric Scooter (It’s Not About the Handlebars)
This is where new riders freeze when learning how to ride an electric scooter. You approach a corner and instinctively turn the handlebars. At speeds above 8 mph, this is a mistake.
You turn a two-wheeled vehicle by leaning. Shift your weight in the direction you want to go. Your head and shoulders should lead the turn, look through the corner to where you want to end up. The scooter will follow. On a Reddit thread, a seasoned rider put it perfectly: “Turning handlebars pretty much only works at speeds under 8mph. Anything faster requires leaning and shifting.”
| Speed | Primary Steering Method | Why It Works |
|---|---|---|
| 0–8 mph | Handlebar turning | Direct mechanical control at low speed. |
| 8+ mph | Leaning / weight shift | Uses gyroscopic effect and geometry for stable, smooth turns. |
| Emergency Avoidance | Lean + controlled brake | Leaning shifts center of gravity; braking before the turn sheds speed. |
If you need to make a sharp turn at low speed, like a U-turn, you can use the handlebars. But even then, turn your head and look where you’re going. Target fixation, staring at the obstacle you’re trying to avoid, will steer you right into it. Practice this in a safe, open area before you need it on the street.
Braking Techniques and Why You Have Two Brakes
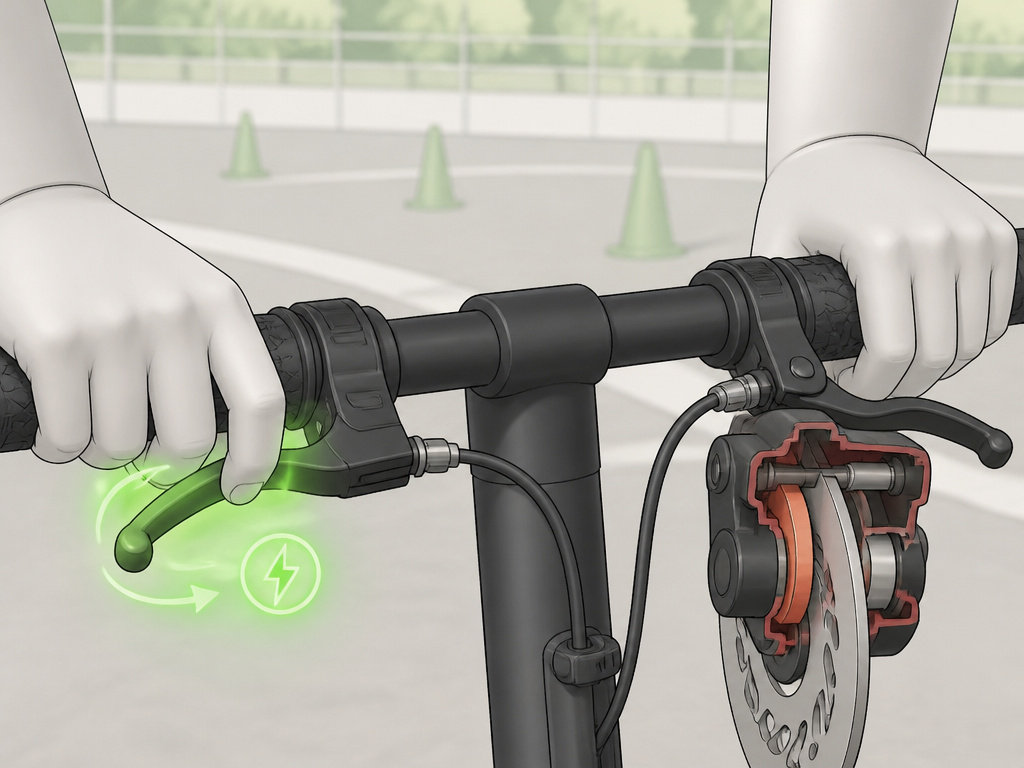
Most scooters have two brakes: an electronic brake (often on the left lever) and a mechanical disc or drum brake (on the right). The electronic brake uses the motor to slow you down and may feed some energy back to the battery (regenerative braking). The mechanical brake is your physical, friction-based stop.
Use both brakes together, smoothly. Grabbing only the front mechanical brake can pitch you forward. Using only the rear (often electronic) brake greatly increases stopping distance. Squeeze both levers progressively, like you’re slowing a car.
Regenerative braking, as noted by RiderGuide.com, might give you a 2 to 3% increase in range. It’s a bonus, not a primary braking method. Don’t rely on it to stop you in an emergency.
Where this goes sideways: Panic braking by mashing the levers to the grip. On a wet or sandy surface, this will lock the wheels and cause a slide. If you feel the tire skid, release the brake slightly to regain traction, then re-apply pressure.
Practice braking in your safe area. Get a feel for how much pressure it takes to stop quickly without skidding. Knowing your stopping distance is more important than knowing your top speed.
Riding in Different Conditions and Scenarios
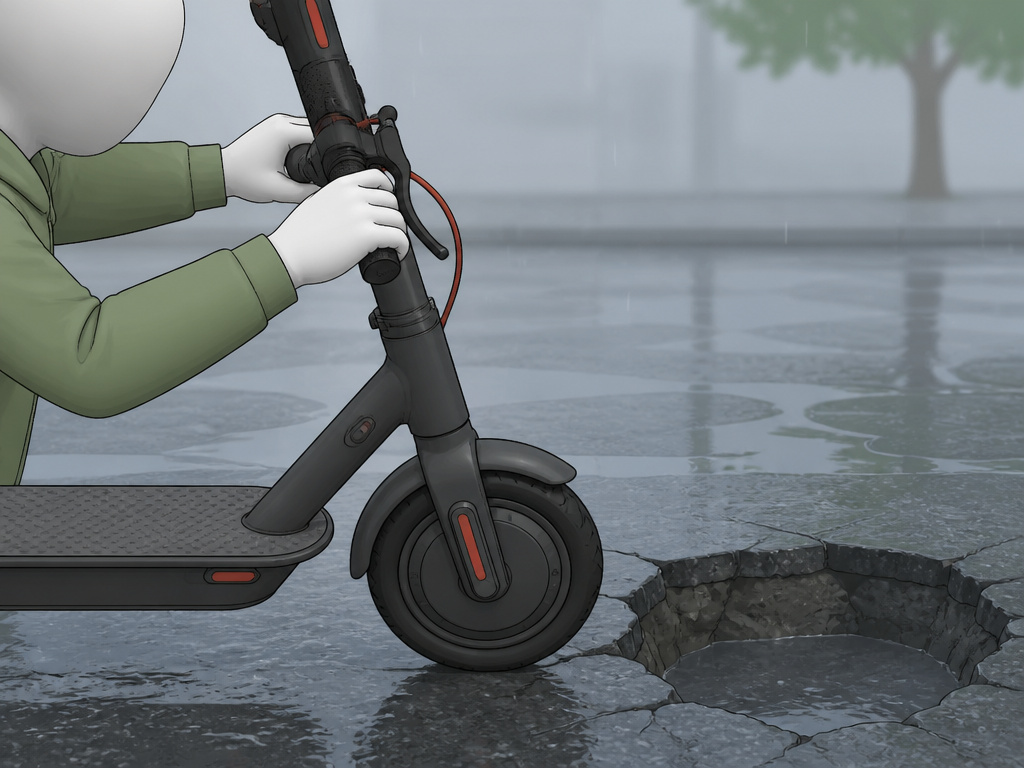
The manuals are clear on foul weather. The Lime Gen 2.5 states: “Do not ride your scooter during and after wet or inclement weather conditions like rain, snow and hail.” Water can short-circuit the electronics, and wet pavement drastically reduces tire traction. A sudden stop on a wet metal deck or painted crosswalk can send the scooter out from under you.
Hills: Ascend cautiously. Going up drains the battery fast. Descending carefully is critical, control your speed with gentle braking before the hill, don’t rely on the brakes to slow you once you’re already accelerating downhill.
Uneven Terrain: Avoid potholes, drainage grates, and rail tracks. The small wheels can get caught. If you must cross something, approach it at a 90-degree angle and lighten your weight on the deck.
Traffic: Ride predictably. Follow all traffic laws as a cyclist would. Use hand signals for turns. The USU Extension e-scooter safety guide notes that e-scooters are generally allowed in bike lanes and on roadways where bicycles are permitted. Know your local scooter road laws; riding on downtown sidewalks is often discouraged or prohibited.
Parking: Park responsibly. In Salt Lake City, shared scooters must be parked between the sidewalk and curb. Never block pedestrian pathways or access ramps. If you own the scooter, locking a scooter with a sturdy lock is essential for theft prevention.
Battery Care and Scooter Storage
How you treat the battery determines how long your scooter lasts. The biggest point of conflict between manufacturers is storage charge.
| Manufacturer / Model | Storage Charge Recommendation | Minimum Operating/Charging Temp |
|---|---|---|
| Razor EcoSmart Metro | Fully charge before extended storage | Avoid freezing or below freezing |
| Lime Gen 2.5 | Not specified | Do not charge below 0°C (32°F) |
Follow your specific manual. Storing a battery fully depleted can kill it. Storing it at 100% charge for months on end also stresses the cells. The GPad’s 50–60% is the ideal for long-term health.
Temperature is a silent killer. The Lime manual explicitly forbids charging below freezing. RiderGuide.com notes you’ll see a “very significant drop (temporary) in capacity when operating your battery below 50 F / 20 C.” Cold batteries can’t deliver full power, which is why your scooter might feel sluggish on a winter morning. Let it warm up to room temperature before charging or expecting peak performance.
Troubleshooting Common Beginner Problems
Wobbles at Speed: This is almost always a mechanical issue, not your technique. Check the front wheel axle nuts and the stem clamp bolts. A loose front wheel or stem creates an oscillation that feeds on itself. Tighten everything to spec.
Sudden Power Loss / Error Codes: If the display shows an error code other than “02E” (low battery), stop riding. For Lime scooters, contact support. An “02E” means charge it fully. If it persists after a full charge, there’s a battery fault.
Reduced Range: This is usually rider habit, not a bad battery. Are you kick-starting? Accelerating gently? Keeping your top speed moderate? Riding in cold weather? All of these slash range. Check tire pressure monthly.
The Scooter Won’t Start: Ensure it’s charged and powered on. For rental scooters from providers like Lime or Lyft, ensure the ride is active via the app. For private scooters, check the battery connection inside the deck (consult your manual).
Where to practice riding an electric scooter
Start in a completely empty parking lot or a wide, paved path with no traffic. You need space to wobble, brake suddenly, and get a feel for the throttle without obstacles or pedestrians. This is where you learn the physical mechanics of turning a two-wheeled vehicle and practice the kick-start needed to engage the motor. A safe, open area allows you to test your brakes and build confidence before you encounter curbs, potholes, or other riders. Avoid practicing on sidewalks where it’s often prohibited, and never practice in crowded areas or during events.
What are the road rules for electric scooters
Follow traffic laws like a cyclist. Ride in bike lanes or close to the curb on the street where bicycles are permitted. Riding on downtown sidewalks is often discouraged or prohibited. You are part of traffic, so signal your turns, obey signs and lights, and ride with the flow of cars. Park responsibly between the sidewalk and curb where required. While a license isn’t typically needed, you are responsible for knowing your local rules. Always yield to pedestrians, and leave the scooter at home for crowded events where it becomes a hazard.
Frequently Asked Questions
How long does it take to learn to ride an electric scooter?
Most people are comfortable with basic operation in 20-30 minutes of practice in a safe area. Building true confidence for traffic, hills, and obstacles takes a few hours of deliberate practice over several days. If you’ve never ridden a bike or kick scooter, budget more time for balance.
Can I ride an electric scooter on the sidewalk?
Local laws vary wildly. The Utah State University guide states that in many downtown areas, it’s discouraged or prohibited. Always check your municipal codes. Ethically, sidewalks are for pedestrians; if you must use one, go walking speed and yield right of way. Understand your local sidewalk rules before you roll.
What is the most common beginner mistake?
The number one error is trying to steer at speed by turning the handlebars. This leads to instability and over-correction. The second is standing rigidly with locked knees, which gives you no control over bumps and makes balancing harder.
Do I need a license or insurance to ride an electric scooter?
For personal scooters that typically max out around 15 mph, no license or insurance is required in most US states and jurisdictions. However, laws are changing rapidly, and higher-performance scooters may have different classifications. Always verify with your local department of motor vehicles.
How do I maximize my scooter’s battery range?
Kick-start every time. Accelerate slowly. Keep your top speed down. Inflate tires to the proper pressure (printed on the tire sidewall). Avoid riding in very cold weather. These habits, per RiderGuide.com, have a far greater impact on range than any battery technology.
Is it difficult to ride an electric scooter?
For most people, it’s easier than learning to ride a bicycle. The scooter stands upright on its own, and the controls are intuitive. The difficulty isn’t in the basic operation; it’s in learning to ride safely amid real-world variables like traffic, weather, and road hazards.
Before You Go
The single most important thing you can do is practice your emergency stop. Find a safe, flat, open space. Get up to a moderate speed, then practice braking hard and smoothly without skidding. Knowing exactly how your scooter stops, and how your body reacts, is the skill that prevents accidents.
Everything in the manuals about not riding in the rain, not carrying passengers, and wearing a helmet exists because someone, somewhere, learned the hard way. Your first ride shouldn’t be a commute. It should be a familiarization session where the only goal is to feel how the machine responds to your input. Once that feels automatic, the road is yours.
