How to Fix Electric Scooter Charger: Step-by-Step
This post contains affiliate links. As an Amazon Associate, we earn from qualifying purchases.
To fix an electric scooter charger, you need a systematic diagnostic approach that isolates the fault to the charger, the scooter’s charging port, or the battery itself. Start with a visual and connection check, then use a digital multimeter to test the charger’s output voltage. If the charger outputs the correct voltage but the scooter won’t charge, the problem is likely a dirty, corroded, or damaged charging port, or an over-discharged battery requiring professional service.
That voltage check is the mechanical pivot point. It tells you whether the electricity is leaving the charger. If it isn’t, you replace the charger. If it is, the fault lies downstream in the port wiring or the battery’s internal management system. Most guides list symptoms but skip the decision logic that saves you from buying parts you don’t need. A key part of how to fix electric scooter charger diagnosis is this initial voltage test.
What follows: a five-step visual checklist anyone can do, the multimeter procedure that gives a definitive answer for the how to fix electric scooter charger question, and the brand-specific rules from Xiaomi, Apollo, Yadea, and Niu manuals that override generic advice. You’ll also get the repair-versus-replace calculation that most owners miss.
Key Takeaways
- Apollo Scooters advises plugging the wall-plug into the AC outlet first, then connecting to the scooter. Yadea instructs to turn off the scooter, connect the charger to the battery first, then to the mains. Getting this wrong can prevent charging initiation.
- A digital multimeter reading is the only way to confirm a charger is dead. If it shows 0 volts DC at the output pins, the charger is faulty.
- Yadea recommends storing the battery at about 50% charge for long-term storage, while Apollo Scooters advises not to leave the scooter below 40% and to keep the battery charge level near or at full.
- Clean charging port contacts with isopropyl alcohol and a cotton swab. Corrosion or pocket lint creates enough resistance to trick the charger into thinking the battery is full.
- Stop charging and seek service if the charger’s red light does not turn green within 24 hours, per Niu’s manual. A cycle that long indicates a serious battery or BMS fault.
The 5-Step Visual Diagnostic Checklist
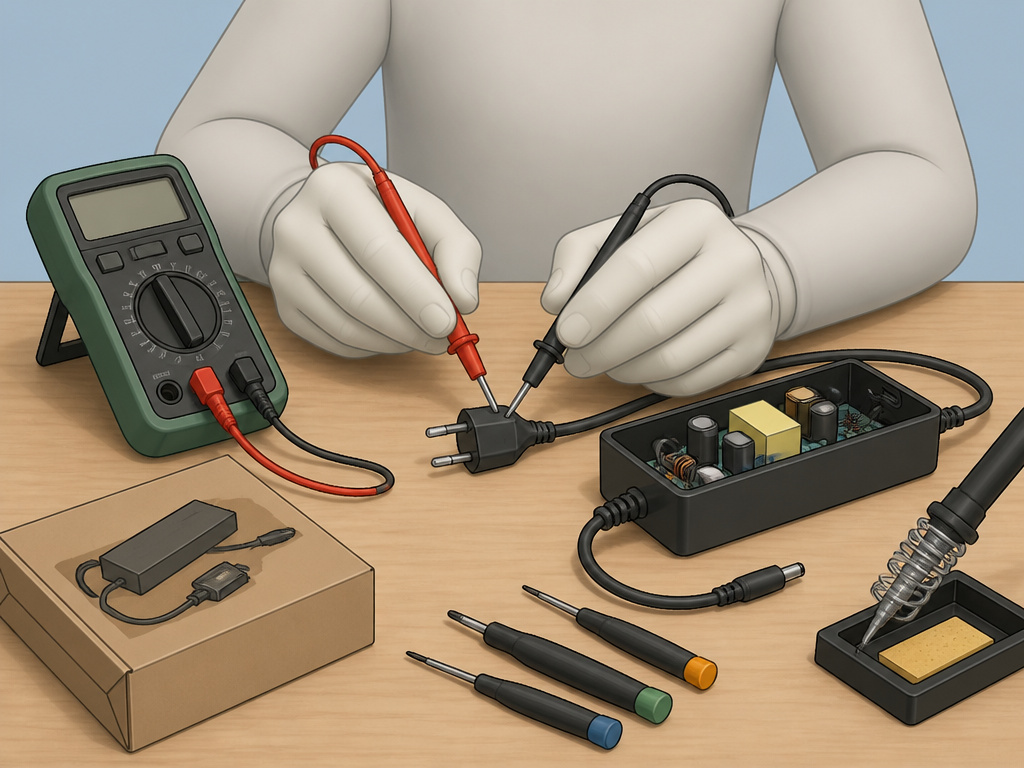
Before you reach for tools, run through this sequence. It catches many charging failures with just your eyes and hands.
First, check the power source. Is the wall outlet live? Plug in a lamp or phone charger to verify. Next, inspect the charger cable for any obvious cuts, kinks, or crush damage. Now, look at the charger’s LED. Apollo Scooters defines the logic clearly: red means charging is in progress, green means fully charged or not charging at all. A solid green light when the battery is low means the charger sees a fault.
Examine the scooter’s charging port. Shine a flashlight inside. You’re looking for packed dirt, green corrosion on the metal pins, or any debris like pocket lint. A single bent pin will prevent connection. Finally, feel the battery temperature. Xiaomi specifies an allowable charging temperature range of 8°C to 40°C. You must move it to a warmer environment (between 8°C and 40°C) and let it warm up.
Common mistake: Assuming a green charger light always means “full.” On many models, a solid green light when the battery is known to be low actually signals a fault condition—the charger has detected an open circuit or abnormal resistance and has shut down for safety.
If all this looks clean and the outlet is good, the problem is likely electrical, not physical, in your how to fix electric scooter charger investigation. That’s when you move to metered testing.
When Your Charger Stays Green
This is the most confusing failure mode. The charger lights up green as if the job is done, but your scooter’s display shows 20% battery. Mechanically speaking, the charger’s internal circuit senses the voltage at its output pins. If that voltage is already at or near the battery’s full-charge voltage, or if the circuit is broken, it reads “full” and shows green.
Start with the battery level. Apollo’s support guide notes that if the charge is above 90%, the charger light may stay green because the battery is essentially full. If it’s below 90%, you have a fault. The next step is a wiggle test. With the charger connected, gently wiggle the plug at the scooter’s port. If the light flickers red, the port is loose or worn internally. Apollo advises taking a photo or video and contacting their support, as replacement ports are available.
If the light stays steadfastly green, you need to rule out a faulty charger. This is where a basic digital multimeter pays for itself instantly.
| Symptom | Likely Cause | Action |
|---|---|---|
| Charger LED solid green, battery low | High-resistance connection in port or faulty charger | Clean port contacts with isopropyl alcohol. Test charger output with multimeter. |
| Charger LED flickers red when plug wiggled | Loose or worn charging port | Contact manufacturer support for port replacement. Do not continue charging. |
| Charger LED blinks in a pattern | Internal charger fault or communication error with BMS | Record the blink pattern on video and contact technical support. |
| No LED light on charger | Dead charger or no power from outlet | Test outlet, then test charger output voltage. 0V means replace charger. |
A dirty port is a prime suspect. Corrosion or grime creates electrical resistance. The charger tries to push current, meets that resistance, and the voltage at its pins spikes. The charger’s brain interprets that high voltage as a “battery full” signal and switches to green. Cleaning the port with isopropyl alcohol and a cotton swab can often resolve a scenario where the charger light stays green.
Using a Multimeter: The Definitive Test
A digital multimeter cuts through the guesswork. It tells you if electricity is actually leaving the charger. You don’t need to be an electrician, but you do need to follow the steps in order.
First, unplug the charger from the scooter. Set your multimeter to DC voltage, on a range higher than your charger’s rated output (most scooter chargers are 42V or 54V, so the 200V DC setting is safe). Now, plug the charger into a known-good wall outlet. Carefully touch the multimeter’s red probe to the inner pin of the charger’s output plug and the black probe to the outer sleeve. The reading should match the output voltage printed on the charger’s label (e.g., “Output: 42V DC”).
A reading of 0 volts means the charger is dead. Replace it. A correct voltage reading means the charger is fine—the problem is in the scooter. Your next step is to check the wiring between the charging port and the battery for problems. This often involves opening the scooter’s deck to inspect for loose, corroded, or burnt connectors.
The part nobody mentions: You must test the charger under load for a true pass/fail. A charger can show perfect voltage with no connection (open circuit) but collapse to 0V when asked to deliver current. The only way to test this without the scooter is with a power resistor, which is beyond most home toolkits. If your charger tests good but the scooter still won’t charge, suspect the BMS or an over-discharged battery.
Brand-Specific Rules and Conflicts
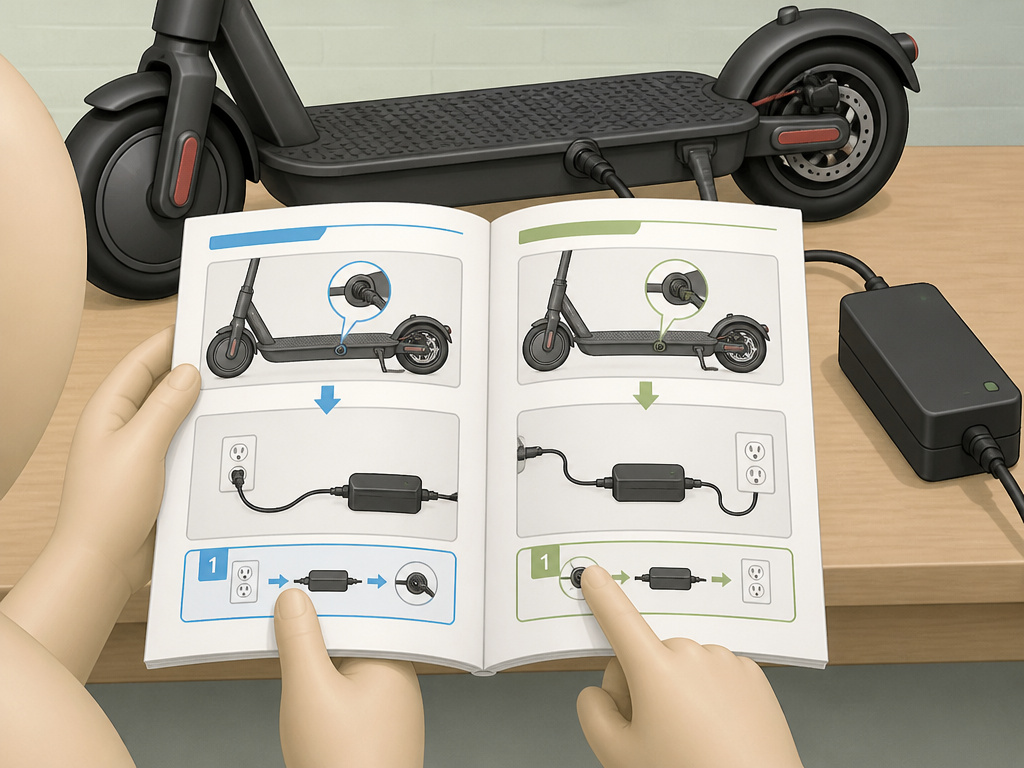
Manufacturer manuals are your highest authority, and they don’t always agree. Blindly following generic advice can void a warranty or cause damage.
Charging Sequence: Apollo Scooters states, “always plug the wall-plug into the AC outlet first, then connect the charging port to your scooter.” Yadea’s E8S manual instructs the opposite: “turn off the power key first, then connect the charger to the battery, then to the mains.” Why the conflict? Apollo’s sequence likely prioritizes stabilizing the charger’s electronics before connecting to the battery. Yadea’s may focus on preventing sparking at the battery terminals. Follow your specific brand’s rule.
Storage Charge Level: Here’s a clear disagreement. Apollo advises, “Do not leave your scooter with less than 40% for extended periods of time. Try to charge it frequently, keeping the battery charge level near or at full.” Yadea, however, says to “store battery at about 50% charge if not used for a long time.” The 50% rule is standard lithium-ion preservation chemistry. Apollo’s “near or at full” guidance seems aimed at ensuring readiness, not maximizing lifespan. For long-term storage, I side with the chemistry: 50%.
Temperature Limits: Xiaomi allows charging from 8°C to 40°C. Yadea recommends a tighter 10°C to 30°C range. If your charger fails in a cold garage, move the scooter to a warmer spot and wait. The BMS will not allow a charge outside its set limits, which is a safety feature, not a defect.
Using a non-original charger is a major risk. The Niu N1S manual warns that “charging with a non-original charger may lead to the circuit or battery failure” and cause “irrecoverable damages.” The voltage might match, but the communication protocol between the charger and the Battery Management System (BMS) might not. Stick with the OEM charger or a verified compatible replacement from the manufacturer.
Repair vs. Replace: The Real Cost
When is it worth trying to fix a charger, and when should you just buy a new one? The decision tree is simpler than most think.
Replace the Charger If:
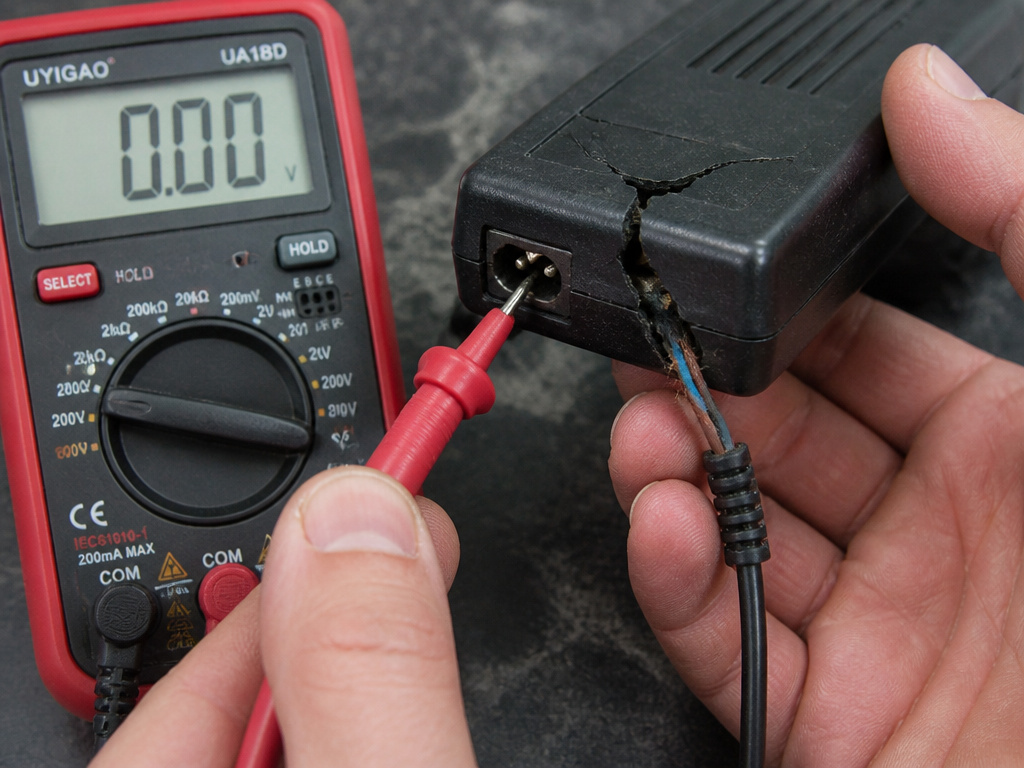
- The multimeter shows 0V output.
- The case is cracked, swollen, or shows burn marks.
- The cable is frayed or the connector is physically broken.
- It’s a generic, low-cost charger. Your time has value.
Attempt Repair If:
- You have a high-wattage, expensive fast charger.
- The issue is only a damaged output cable, and you have soldering skills.
- The internal fuse is visibly blown, and you can source an exact replacement.
For the scooter itself, opening the deck to inspect the scooter battery and its connections is often worthwhile. A loose connector is a five-minute fix. A corroded charging port can sometimes be cleaned or replaced as a separate unit. However, if the battery itself is over-discharged—a common fate for scooters left in storage without a top-up—professional service is usually required. The BMS has likely locked it out to prevent a fire, and reviving it needs specialized equipment.
Where this goes sideways: Opening a charger casing. Modern chargers are potted with epoxy resin. This makes them weather-resistant but also impossible to repair. If you crack one open and find a solid block of epoxy, you’ve just voided the warranty for no gain. Check online teardown videos for your specific model before taking a screwdriver to it.
Sometimes, the charger is fine but the scooter has a deeper electrical fault. If you’ve confirmed charger output and clean port contacts, but the scooter still shows no power when turned on, the problem may be in the main controller or a failed BMS.
Advanced Diagnostics and Safety Warnings
For technicians or skilled owners, the process goes deeper. Apollo’s advanced guide involves checking continuity from the charging port terminals back to the battery connector. This requires opening the scooter’s bottom cover (which they note does not void the warranty) and using a multimeter’s continuity setting.
Safety cannot be overstated. The Niu N1S manual, a detailed scooter electrical system guide, is explicit that its contents are for technical specialists only. Here are the universal rules:
- Unplug everything before inspection. Never probe a live port with metal tools.
- Never force a connector. Bent pins are a sure sign of misalignment.
- If you smell burning or see smoke, stop immediately. The fault is active and dangerous.
- Batteries contain stored energy. Shorting the terminals with a metal tool can cause severe burns or fire.
Niu also mandates a 30-minute natural cooldown period for the battery after riding before charging. This prevents heat buildup, which accelerates battery degradation. If your scooter has been ridden hard, let it sit before plugging in.
How to check and replace a charger fuse
Before opening the charger, perform a basic test. Plug the charger into a wall outlet by itself. According to Xiaomi, the indicator light should turn green when the charger is plugged into the wall without the scooter connected. If the light does not come on at all, an internal fuse may have blown. Replacing this fuse requires opening the charger casing, which should only be attempted if you are comfortable working with mains voltage electronics. Ensure the charger is completely unplugged from the wall before attempting any internal work. If you see any signs of burning or melting inside, or if the fuse blows again immediately after replacement, the charger likely has a more serious fault and should be replaced.
How to safely open a charger for inspection
Opening a charger exposes you to dangerous voltages, even when unplugged. Always disconnect the charger from the wall outlet and from the scooter, and wait for internal components to discharge. Most chargers are held together by screws, often hidden under labels or rubber feet. Carefully separate the plastic halves without forcing them, as internal wires may be short. Apollo Scooters states that opening the scooter’s bottom cover for inspection does not void the warranty, but this may not apply to the charger unit itself. Once open, visually inspect for obvious issues like bulging capacitors, burnt circuit board areas, or loose connections. If you are not confident, do not proceed. A charger showing internal damage is often best replaced.
How to inspect charger components like the transformer
Inside the charger, you’ll find key components like the transformer and rectifier. A visual check is your first step. Look for signs of overheating, such as discolored or cracked components, melted plastic, or a burnt smell. The transformer is typically a large, blocky component with copper windings; check for any cracks or charring on its casing. The rectifier, which converts AC to DC, is often a black component with multiple leads. Do not touch any components or probe with a multimeter unless you are trained and the unit has been safely discharged, as lethal voltages can remain. If any internal part appears damaged, the charger is likely beyond safe repair and should be replaced.
Frequently Asked Questions
Why is my scooter charger not working?
The most common reasons are a faulty wall outlet, a dead charger, a dirty or corroded charging port, or a battery that has been over-discharged from long storage. Start with the visual diagnostic checklist and a multimeter test of the charger’s output voltage.
How to reset an electric scooter charger?
There’s no universal “reset.” For many smart chargers, disconnecting it from both the wall and scooter for a few minutes can clear an error state. For the scooter itself, a true reset often involves disconnecting the main battery connector for 30 seconds, then reconnecting it. Consult your specific brand’s official electric scooter maintenance guide for procedures.
What to do if an electric scooter is not charging?
Follow the isolation process: 1) Verify the charger works (multimeter test). 2) Clean the scooter’s charging port. 3) Check the battery voltage at its main terminals (if accessible). If the charger is good and the port is clean, the issue is likely a failed BMS or an over-discharged battery, requiring professional service.
Can I use a universal charger?
You can, but it’s risky. You must match the output voltage exactly and ensure the connector polarity is correct. Even then, the charger may lack the proper communication protocol with your scooter’s BMS, leading to incomplete charges or damage. It’s safer to buy an OEM replacement or explore verified alternative charging methods for emergencies only.
The Bottom Line
Fixing a scooter charger is a process of elimination. Start simple, with eyes and hands. The moment you get confused, let a $20 multimeter make the decision for you—it doesn’t lie about voltage.
Remember the brand quirks. Your Apollo wants wall-first; your Yadea wants battery-first. Storage charge is a debate between 50% for chemistry and 100% for readiness. And always, always respect the temperature limits. A cold battery won’t accept a charge, no matter how much you plead.
If you walk away with one action, let it be this: buy a multimeter. That single tool transforms you from a guesser into a diagnostician. It turns a “maybe the charger is dead” into a “the charger outputs 42 volts, so the problem is in the port.” That knowledge saves you money, time, and the frustration of buying parts that don’t fix the problem. Everything else is just following the evidence your tools give you.