How to Loosen Longboard Wheels: Step-by-Step
This post contains affiliate links. As an Amazon Associate, we earn from qualifying purchases.
To loosen longboard wheels, you need the right wrench size; Yocaher Skateboards specifies a 1/2-inch socket, while Ghost Longboard requires a 15mm socket, and two diagnostic tests. First, grip and shake the wheel; if it slides sideways on the axle, it’s too loose. Second, spin the wheel by hand; Yocaher Skateboards states that if it stops suddenly and rolls back, it’s too tight, while S+S Sportartikel GmbH (FunTomia) notes that wheels with industrial grease-packed bearings only run smoothly under load. The goal is a wheel that spins to a gradual stop with no side-to-side play.
That gap between “too loose” and “too tight” is where your board’s speed lives. It’s not a feeling you guess at. It’s a set of physical checks you run with the board flipped over and a wrench in your hand, which is essentially how to loosen longboard wheels correctly.
What follows: the exact wrench sizes from manufacturer manuals, the two tests that replace guesswork on how to loosen longboard wheels, and the one adjustment that fixes a single slow wheel. You’ll also see where brand instructions directly contradict each other, and why that matters for your board.
Key Takeaways
- Use a 1/2-inch wrench or socket for most axle nuts; Ghost Longboards need a 15mm socket. The wrong size strips the nut.
- Perform the shake test first: grip the wheel and try to shake it side-to-side. Any sliding on the axle means it’s too loose.
- According to Yocaher Skateboards, the spin test decides tightness: a properly tightened wheel spun by hand should come to a gradual stop. A sudden stop means it’s too tight. However, S+S Sportartikel GmbH (FunTomia) states that wheels with industrial grease-packed bearings only run smoothly under load.
- Industrial grease-packed bearings (like on FunTomia boards) only run smoothly under load, they will never free-spin like dry bearings.
- Repeatedly loosening and tightening self-locking nyloc nuts wears out their locking function. If the nut spins on easily, replace it.
The Right Tools for the Job (It’s Not Always a Skate Tool)
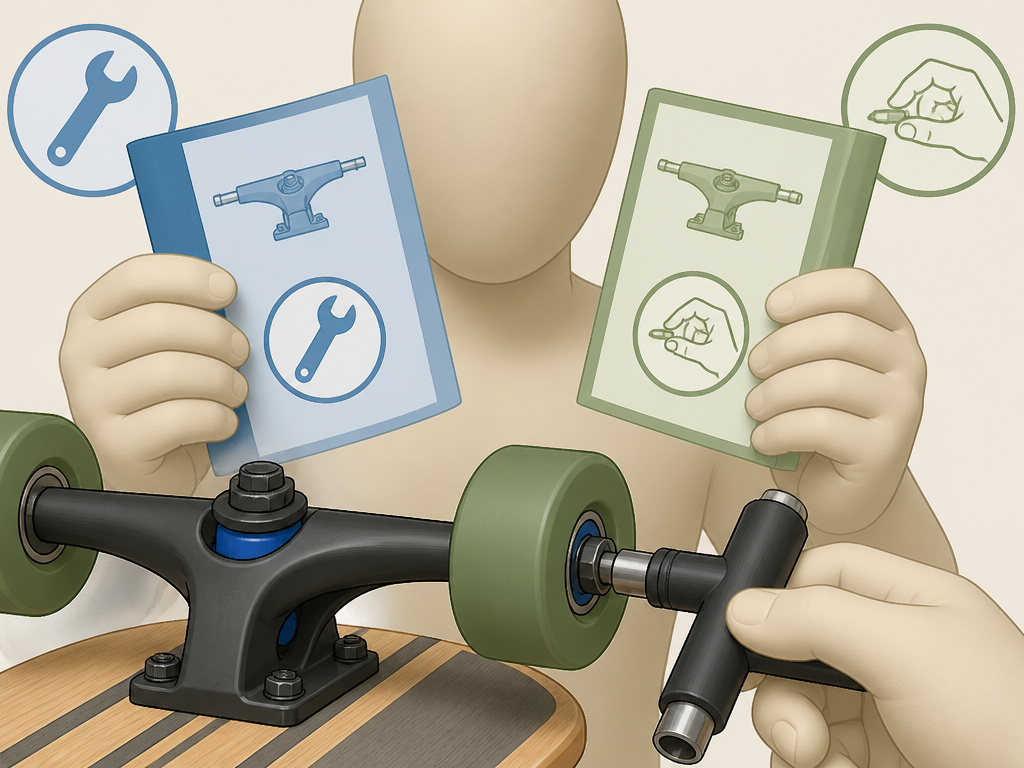
You can use a skate tool. Most of them have the right socket built in. But if you’re dealing with a stuck nut or you just need more force, a dedicated wrench is better. The spec matters because the wrong size will round off the nut’s corners, and then you’re drilling it out.
Yocaher Skateboards specifies a 1/2-inch wrench or socket for their axle nuts. Ghost Longboard’s repair guide calls for a 15 mm socket wrench. They’re close, but they’re not the same. A 15mm socket is about 0.591 inches, and forcing a 1/2-inch (0.5-inch) socket onto a 15mm nut will feel sloppy and chew up the edges. Get the size right.
Common mistake: Using pliers or an adjustable wrench on a stuck axle nut. The uneven pressure rounds the nut’s flats, making future adjustments impossible without a specialized extraction tool.
If you don’t have a skate tool, a basic socket set from a hardware store that includes the correct size (1/2-inch or 15mm) will work.
The Two Physical Tests for Correct Tightness
Forget “tighten until it feels right.” Your fingers aren’t torque wrenches. The Yocaher guide gives two concrete, physical checks that work for any wheel.
First, the shake test. Grip the wheel firmly and try to shake it side-to-side on the axle. If you feel or hear a distinct click or slide, the wheel is too loose. That lateral movement means the wheel is too loose.
Second, the spin test. With the board off the ground, give a wheel a solid spin with your hand. Watch how it stops.
| Spin Behavior | What It Means | Action |
|---|---|---|
| Spins freely, coasts to a gradual stop | Correctly tightened | None needed. |
| Spins a little, stops abruptly and may roll back slightly | Too tight | Loosen the axle nut slightly. |
| Spins for a very long time with visible side-to-side wobble | Too loose | Tighten the axle nut. |
Step-by-Step: How to Loosen Your Wheels Safely
This isn’t just turning a nut left. It’s a sequence for how to loosen longboard wheels that prevents the wheel from falling off, keeps your bearings aligned, and avoids stripping hardware.
- Flip the board. Secure it deck-down on a stable surface so the trucks and wheels are facing up. A couch or a rug works; concrete can scratch your graphics.
- Select the correct tool. Match the socket or wrench to your nut size, 1/2-inch or 15mm.
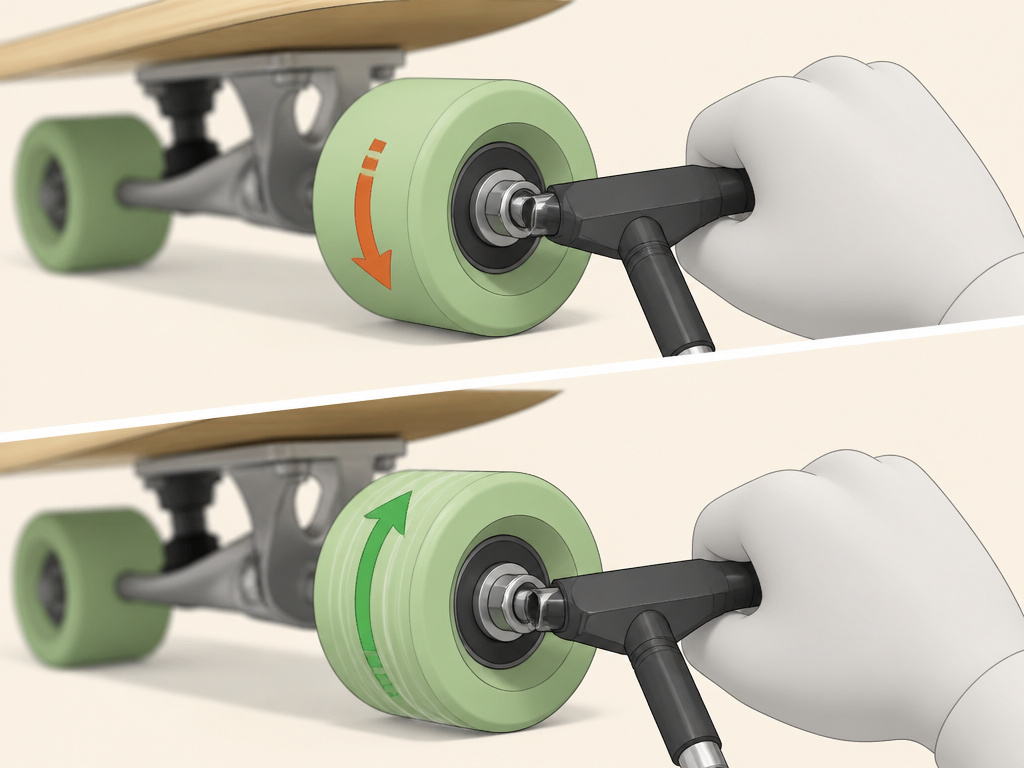
- Break the nut loose. Fit the tool and turn counter-clockwise. If it’s stubborn, apply steady pressure. Don’t jerk the tool.
- Loosen the nut slightly. Once it’s loose, turn the nut counter-clockwise slightly. That’s usually enough.
- Run the tests. Perform the shake test and spin test immediately. If the wheel still stops abruptly, loosen the nut slightly more and test again.
- Check the opposite wheel. Adjust the wheel on the other end of the same axle.
- Repeat for all four wheels. Do all four, but focus on the one that was giving you trouble.
Where this goes sideways: Loosening the nut so much that the wheel, spacers, and washers all slide off the axle. If that happens, you’ve gone too far. Re-assemble the parts in the correct order before tightening.
Troubleshooting a Single Slow Wheel
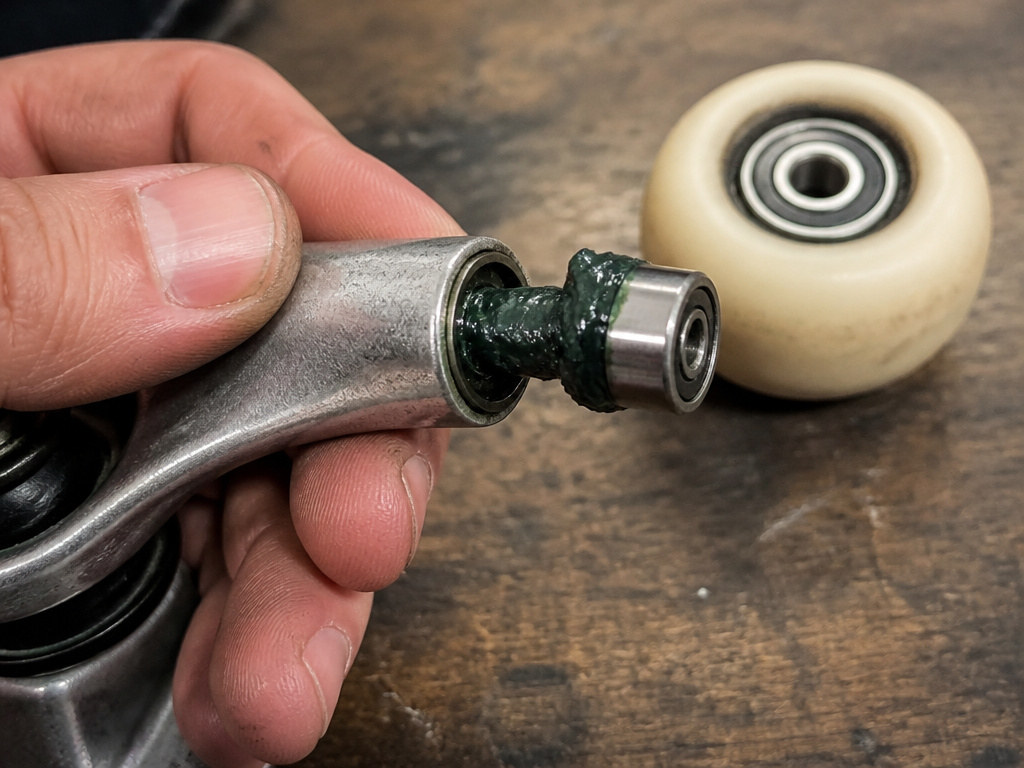
One wheel dragging is the most common complaint. It’s almost never the bearings first. Run this diagnostic tree before you buy new parts.
First, isolate the wheel. Spin all four by hand. Identify the slow one. Now, loosen its axle nut slightly. Spin it again. Did the spin time improve dramatically?
- If YES: The wheel was simply over-tightened. Follow the adjustment steps above to find the correct tightness.
- If NO: The problem is likely internal. The next step is a visual check. Look for debris like hair, sand, or small rocks wedged between the wheel and the truck hanger. This is a frequent culprit on rough pavement.
If it’s clean, the issue could be the bearing or the spacer. A damaged spacer can cause problems. To check this, you’ll need to remove the wheel and inspect the spacer tube. If the spacer is damaged, replace it.
Sometimes, the bearing itself is seized. This is where knowing your board’s specs matters. The S+S Sportartikel manual for FunTomia longboards states their boards use industrial bearings filled with grease under high pressure and that “the wheels only run smoothly under load during use.” This is a direct contradiction to the common advice that wheels should “free-spin for days.” On such a board, a slow free-spin might be normal. The real test is how it rolls under your weight.
When Manufacturer Advice Conflicts
You can’t follow all the advice at once. Different brands engineer their components differently, and their manuals reflect that. Here’s how to reconcile two key conflicts.
Conflict 1: The Spin Expectation
- FunTomia (S+S Sportartikel): Grease-packed industrial bearings. Wheels only run smoothly under load. Free-spin is not a valid test.
- Common Community Advice: Wheels should spin freely for a long time when spun by hand.
The fix: Know your bearings. If your board came with grease-packed industrials, judge performance by ride feel, not bench-spin. If you have standard bearings, the free-spin test may be more applicable.
Conflict 2: Diagnosing “Too Loose”
- Yocaher: Provides the clear shake test (side-to-side sliding).
- Decathlon: Advises to “loosen the axle nut slightly so that the wheel can turn without coming off the truck.” No specific diagnostic test.
The fix: Use the Yocaher shake test. It’s a binary, physical check that works for any setup. The Decathlon advice is a goal, not a diagnostic. The shake test tells you when you’ve reached that goal.
The self-locking nut warning: The FunTomia manual includes a specific, often-overlooked line: “The self-locking function of self-locking nuts or paint may diminish after repeated loosening and tightening of the connections.” That nyloc nut on your axle isn’t immortal. If you’ve adjusted your wheels a dozen times and the nut now spins on with little resistance, its nylon insert is worn. Replace it. A loose nut can vibrate off during a ride.
The Role of Bearings and Spacers
Adjusting wheel tightness isn’t just about the nut. It’s about the stack of parts it clamps down on: the outer washer, the wheel, the inner bearing spacer, the second bearing, and the inner washer.
The inner bearing spacer is the key player. It sits inside the wheel core between the two bearings. When you tighten the axle nut, the force should travel through the outer washer, through the bearing’s outer race, through the wheel core, to the spacer, and then through the second bearing to the inner washer and truck hanger.
If that spacer is missing or incorrect, it can cause problems. This creates drag, the wheel feels slow and may even grind. If you’re unsure about your wheel tightness after a change, the spacer is the first thing to verify.
What Not to Do: Quick Fixes That Cause Long-Term Damage
A stuck wheel is frustrating. The wrong solution turns a five-minute fix into a parts replacement job.
- Don’t use the truck axle as a hammer. Popping a stuck bearing out by levering the wheel against the axle can bend the axle threads. Use a bearing press or a dedicated bearing removal tool.
- Don’t ignore a repeated slow wheel. If one wheel consistently needs loosening more than the others, its spacer is probably damaged or its bearing is failing. Continuing to just loosen the nut will eventually let the wheel develop dangerous side-to-side play.
- Don’t over-tighten to stop a rattle. A rattling wheel means it’s loose. But cranking the nut down super tight to silence it crushes the bearings. Find the root cause, usually a missing spacer or a worn nut, and fix that.
Be honest about force. If a nut won’t budge, a longer wrench handle or a cheater bar might seem like the answer. It’s a last resort. That much force can snap the axle clean off inside the truck hanger. Before you go there, try a penetrating lubricant on the threads.
How to Tell if You Need to Adjust Wheels or Trucks
Adjusting your wheels and adjusting your trucks are two different fixes for two different feelings. Wheels are about rotation and side-to-side play. Trucks are about turning and lean. For wheels, you’re working on the axle nut. A proper wheel adjustment means it spins by hand and comes to a gradual stop, and it shouldn’t slide sideways on the axle if you try to shake it. Trucks involve the kingpin nut under the baseplate, which changes how stiff or loose your board turns. If your board feels wobbly when you ride, check the wheels for sideways play first. If it’s just hard to steer, then you’re looking at the trucks.
Frequently Asked Questions
How do you loosen your skateboard wheels?
The process is identical to loosening longboard wheels. Use a skate tool or the correct sized wrench (usually 1/2-inch) to turn the axle nut counter-clockwise a quarter-turn. Then, perform the spin test: the wheel should come to a gradual stop when spun by hand. If it still stops abruptly, loosen it a little more.
How do I loosen the trucks on my longboard?
Truck tightness is adjusted via the kingpin nut, not the axle nut. It’s the larger bolt that points downward through the center of the truck. Tightening it (clockwise) makes the board turn less; loosening it (counter-clockwise) makes it more responsive. This is completely separate from wheel adjustment. Confusing the two is a common beginner error.
Do hard or soft longboard wheels go faster?
Hardness (durometer) affects grip and vibration absorption, not top speed on smooth pavement. Softer wheels (78a-85a) grip better and absorb cracks, which can feel faster on rough roads. Harder wheels (86a-101a) slide more easily and have less rolling resistance on perfect surfaces, but they transmit every bump.
How to unscrew skateboard wheels?
“Unscrewing” usually means removing them entirely. You’ll need to completely remove the axle nut, then slide the wheel off the axle. This is necessary for changing wheels or accessing the bearings. Remember the order of parts as they come off: nut, outer washer, wheel with bearings and spacer, inner washer.
Before You Go
One rule most guides skip: if your wheels need constant re-adjustment, tightening one week, loosening the next, the axle nuts are probably shot. The nylon insert in a nyloc nut wears out. Swap them for a fresh set before one vibrates off mid-ride.
The other signal is sound. A board that chatters or clicks on smooth pavement has loose hardware. Run the shake test on every wheel and the kingpin nut. Ninety percent of noise issues are solved right there.
Everything above assumes you’re starting with functional bearings. If your wheels still drag after a correct adjustment, the problem has moved downstream. It’s time to learn how to clean your bearings or change them. But start with the nut. It’s the simplest fix, and it’s the one most riders never get right.
