How to Repaint a Longboard: Step-by-Step (Without Damage)
This post contains affiliate links. As an Amazon Associate, we earn from qualifying purchases.
To repaint a longboard, you need to strip the old finish, sand the surface smooth, apply your new paint in thin layers, and seal it with a durable clear coat. The job takes about 10-15 hours of active work and a full week of drying time, and skipping the clear coat will leave the paint vulnerable to scratches and water.
That timeline is the real constraint. A Reddit user’s project took about a week from start to rideable finish, with most of that spent waiting for stain, paint, and clear coats to cure properly. Rushing any of those drying steps is how you end up with a sticky, soft finish that picks up every speck of dust and peels after the first curb check. Understanding how to repaint a longboard correctly is key to avoiding these issues.
What follows is the full process, from taking the trucks off to the final flow coat of clear. We’ll walk through the tools you actually need, the one environmental rule that ruins paint jobs, and how to decide if your board even needs primer.
Key Takeaways
- Start with a coarse grit like 40-60 grit only if needed for deep damage on a wooden deck, but for fiberglass, the Crystal Voyager blog warns against coarse grits and recommends starting finer.
- Sources disagree on curing time: a Reddit user reported about a week, the Crystal Voyager blog recommends a couple of days, and the Scooterlay.com guide suggests 24 hours for paint.
- Test your paint and clear coat compatibility on a scrap piece first; a chemical reaction between layers can cause wrinkling or cloudiness.
- For complex designs or a perfectly smooth finish, use a 2K Urethane High Build Primer and a black guide coat to reveal low spots.
- Always use a UV-stabilised, non-yellowing clear coat like Belton’s spray or a two-part automotive clear for long-term durability.
The 9-Step Repaint Process
This isn’t just about spraying color on a board. It’s a sequence of mechanical prep, chemical bonding, and patience. Get one step wrong, and the whole job shows it.
First, clear a workspace with good ventilation. Fumes from paint, primer, and clear coat need somewhere to go. Put on a dust mask and gloves before you touch sandpaper. The fine dust from fiberglass and old paint isn’t something you want to breathe.
Before you start: Wear a respirator when sanding fiberglass or using aerosol paints in an enclosed space. The particles and vapors can cause respiratory irritation. Work in a well-ventilated area, and keep sparks or open flames away from flammable solvents.
Step 1: Disassemble the board. Use a wrench to remove the trucks, wheels, and bearings. Put all the hardware in a labeled bag. This gives you a flat, unobstructed deck to work on and prevents overspray on your trucks. If you’re unsure, our guide to disassembling your longboard walks through it.
Step 2: Strip the old finish. Here’s where sources disagree on grit. The Scooterlay.com guide says start with 40-grit. A Reddit user started with 60. The Crystal Voyager blog warns against anything coarser than 240 for fiberglass. The rule is simple: match the grit to the damage and material. For deep gashes on wood, start coarse (40-60). For fiberglass, the Crystal Voyager blog warns against coarse grits and recommends starting finer. Always sand with the grain of the wood to avoid cross-grain scratches that show through paint.
Step 3: Clean the deck. After sanding, wipe the entire deck with a damp cloth to remove all dust. Let it dry completely. Any grit left on the surface will get trapped under your primer or paint, creating a rough, bumpy finish. For a deeper clean, especially if there’s old wax or grime, follow a dedicated deck cleaning routine.
Step 4: Repair any damage. Fill dings, cracks, or pressure dents with a wood filler paste. According to the Scooterlay.com guide, this paste can take up to 24 hours to dry completely. Once it’s dry, sand the repaired area flush with the surrounding deck using your finishing grit (220-320).
Step 5: Final sanding. This is the make-or-break step for smoothness. Progress through your grits sequentially. A typical sequence from a Reddit project is 60, 80, 120, 180, 220, and finally 320. The goal is to replace deep scratches from the previous grit with finer, shallower ones. When you’re done, the surface should feel smooth and uniform to your hand, with no shiny, glossy spots.
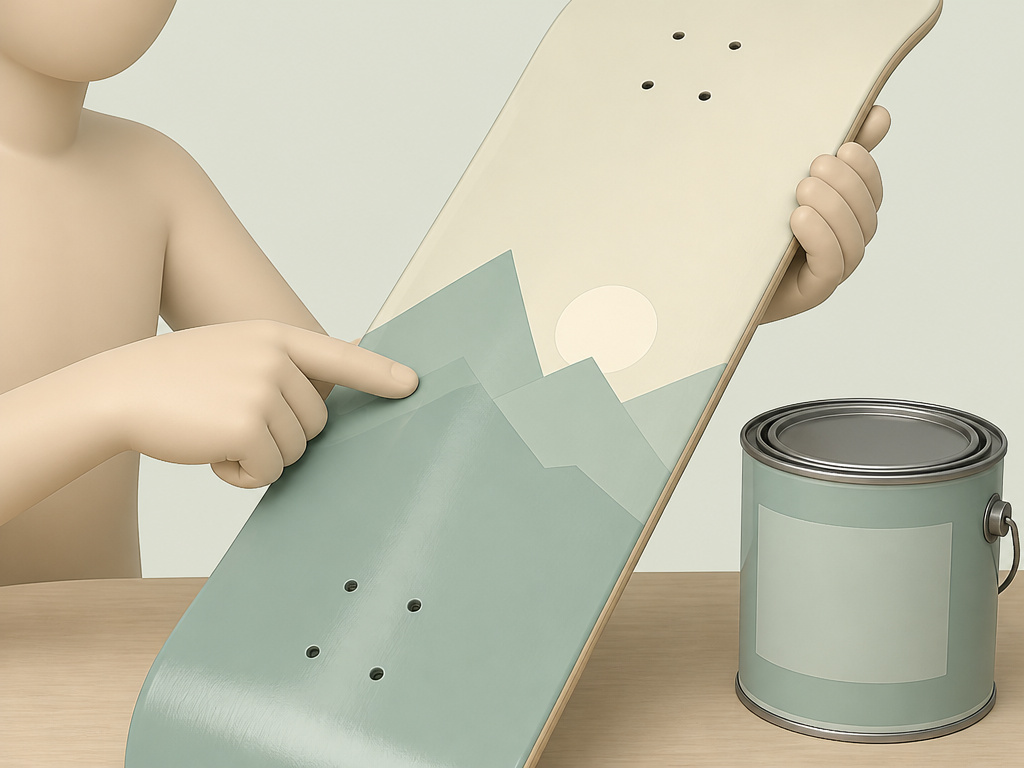
Step 6: Mask your design. Use painter’s tape for sharp lines. For intricate designs, the Eastwood guide recommends keeping a mix of specialty tapes like Vandemon 1/6″ crepe and Norton Fine Line on hand. Press the tape edges down firmly to prevent paint bleed. If you’re only painting the bottom, mask the entire top deck and the rails (edges) to keep them clean.
Step 7: Prime (if needed). The next section explains the “if.” If you are priming, shake an aerosol can for at least two minutes, as per the Scooterlay.com guide. Apply two thin, even coats, letting the first dry completely before adding the second. A thin coat dries faster and is less likely to run or sag.
Step 8: Apply your paint. Use a spray paint designed for plastics or automotive use for best adhesion. Hold the can at a consistent distance and use sweeping, overlapping motions. Apply 2-3 light coats, waiting for each to become tacky before applying the next, rather than one heavy coat that will drip. Let the final color coat cure for at least 24 hours before moving on.
Step 9: Clear coat. This is your board’s armor. Apply a minimum of 4 coats of a high-quality, UV-stabilised clear coat, like Belton’s spray or a two-part polyurethane. Allow each coat to become tacky before applying the next. After the final coat, let the board cure undisturbed for a full week before reassembly and riding.
| Step | Key Action | What Happens If You Skip It |
|---|---|---|
| Disassembly | Remove trucks and hardware | Overspray ruins bearings and trucks, making them gritty. |
| Final Sanding | Progress to 320+ grit | Every scratch from coarser grits will be visible under the paint. |
| Clean Deck | Wipe with damp cloth | Dust specks get sealed under the paint, creating a permanent rough texture. |
| Clear Coat (4+ coats) | Build a thick, durable layer | The paint will scratch off from board-on-board contact or curb taps within weeks. |
| Full Cure | Wait 7 days before riding | The soft finish will pick up dirt and peel, forcing a full redo. |
The Primer Question: When You Absolutely Need It
Most beginner guides treat primer as optional. Professional guides consider it essential. Who’s right? It depends on your starting surface and your desired finish.
The Eastwood Technical Garage guide for a custom flake job uses a 2K Urethane High Build Primer. This isn’t just for adhesion; it’s a leveling agent. After priming, they dust the deck with a black guide coat and block-sand it with 400-grit paper. The guide coat reveals high and low spots, allowing you to sand the primer until the deck is perfectly flat. For a show-quality, mirror-like finish, this step is essential.
Sources disagree on primer use: professional guides like Eastwood use primer as essential for a level surface, while many community guides omit it for simpler jobs. The existing paint layer provides a uniform base for learning how to repaint a longboard. The risk is adhesion failure if the old paint is cheap or chalky.
Where this goes sideways: Skipping primer on bare wood or a heavily repaired deck. The porous wood soaks up the paint’s solvents unevenly, leading to a blotchy, dull finish. Primer seals the surface and provides a uniform layer for the color to grip.
When you must use primer:
- The board has never been painted (raw wood).
- You’ve used wood filler for repairs.
- You’re changing from a dark to a very light color.
- You’re aiming for a perfectly smooth, professional finish.
When you can skip it:
- You’re just refreshing a graphic on a factory-painted board that’s in good condition.
- You’re using a high-quality paint-and-primer-in-one product designed for the substrate.
- You’re okay with a matte or satin finish where minor imperfections are less noticeable.
If you do prime, remember the Scooterlay.com rule for how to repaint a longboard: shake that aerosol can for a full two minutes. Under-shaken primer separates and sprays unevenly, creating a weak base layer.
Choosing Your Paint and Clear Coat
Not all spray paint is created equal. The paint on a longboard endures scraping, sun exposure, and flexing. Your choices here determine how long your art lasts.
Paint Types:
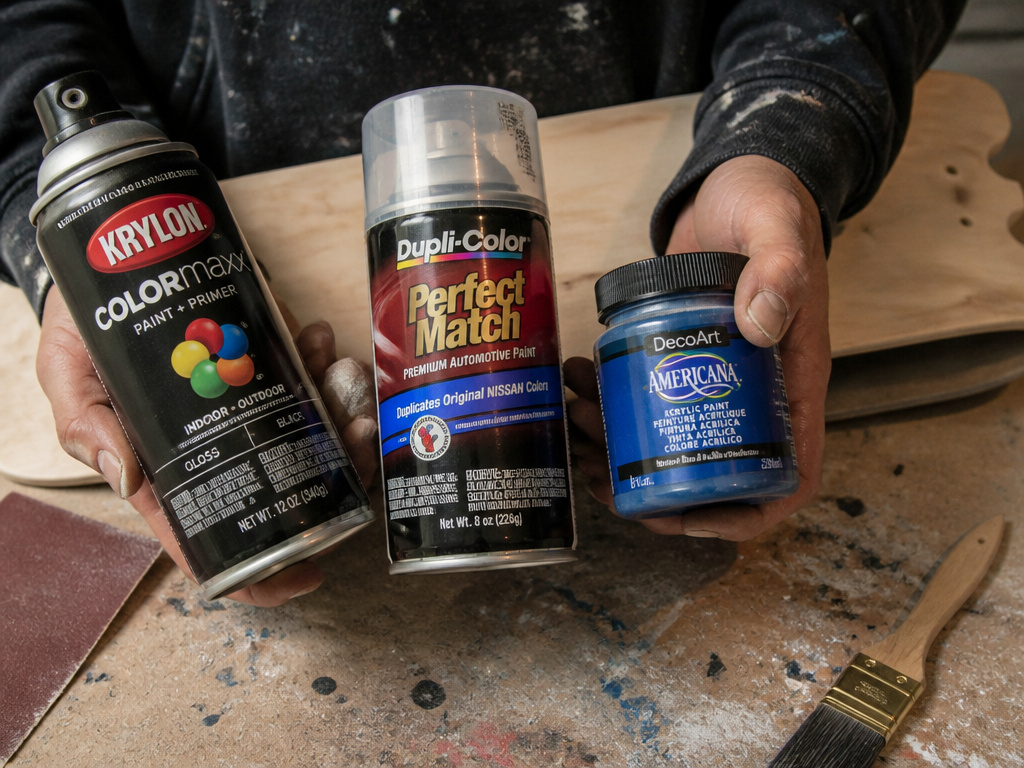
- Acrylic Enamel Spray Paint: The most common and user-friendly. It dries quickly, comes in endless colors, and is widely available. It’s a suitable choice for beginners and solid-color designs.
- Specialty Automotive Paints: Products like Eastwood’s Candeez or Createx colors are for advanced jobs like candies and flakes. They require specific reducers and clear coat systems. Do not use these without practicing on scrap first.
- Brush-On Acrylics: Good for detailed hand-painting but riskier for a smooth finish. They can leave brush strokes and require exceptional skill to apply evenly over a large area.
The Clear Coat Is Everything
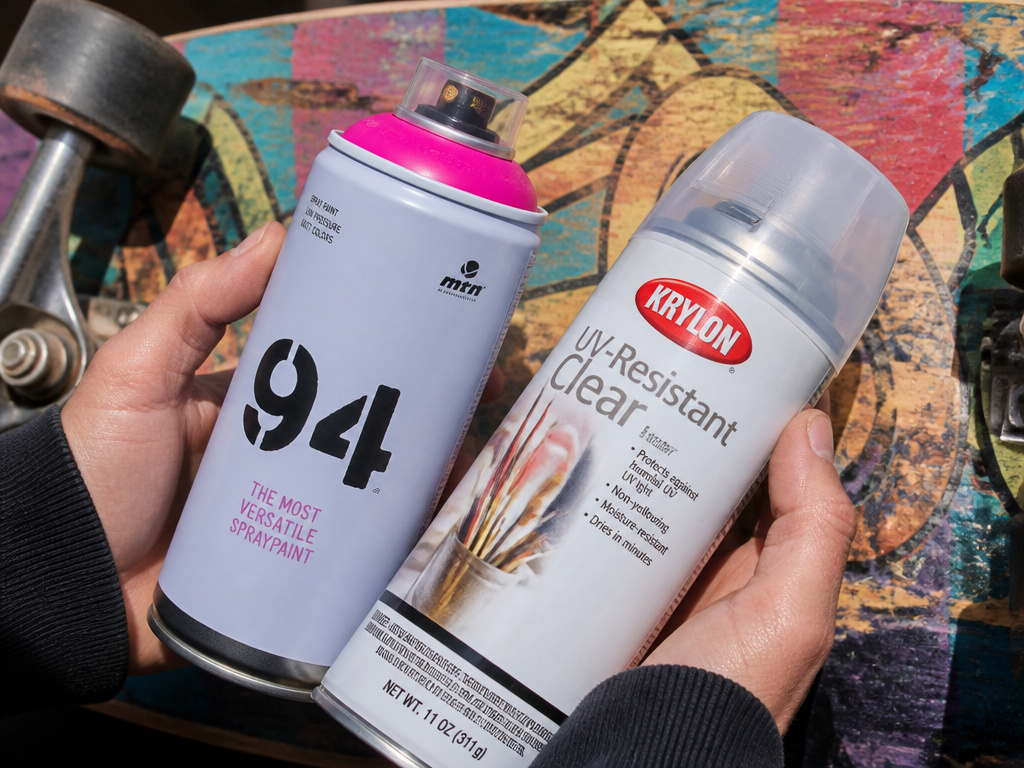
This is your single most important purchase. A Reddit user advised getting the “highest quality industrial brand polyurethane/clear coat, not home hardware shit.” They’re right. The clear coat absorbs impacts, resists yellowing from UV rays, and provides the glossy, deep finish.
The Crystal Voyager blog specifically names Belton UV-stabilised clear spray as a great, non-yellowing option. For maximum durability, a two-part automotive clear coat like Eastwood Premium Show Clear mixed 2:1:0.5 (clear:hardener:reducer) is the professional standard. This “flow coat” self-levels into a glassy finish.
Common mistake: Mixing incompatible paint and clear coat systems. A lacquer-based clear over an enamel paint can cause cracking or wrinkling as the solvents react. Always test your combination on a scrap piece of wood or plastic first. Spray your chosen paint, let it cure, then spray your clear over it. Check back after 24 hours for any distortion.
Design, Tape, and the Top Deck Dilemma
You can paint the bottom. Should you paint the top? Sources disagree: the Scooterlay.com guide advises against painting the top deck due to reduced grip, while the Eastwood Technical Garage guide involves painting the deck as part of its process.
If you must alter the top deck’s look, the correct method is to remove the old grip tape and apply a new, pre-printed graphic sheet or cut your own design from fresh grip tape. This maintains traction. Painting over grip tape is a shortcut that fails the first time you need to stop quickly.
For bottom deck designs, painter’s tape is your best friend. For complex patterns, the Eastwood guide’s tape list. Vandemon crepe, Norton Fine Line, isn’t overkill. These tapes have sharp edges that prevent bleed and are flexible enough for curves. The process is simple: apply your base color, let it dry, tape your design, then spray your secondary color. Remove the tape while the top coat is still tacky to get the sharpest lines.
If you’re doing a multi-color design, plan the order of operations. Paint the lightest color first, then mask it off before adding darker colors. This prevents darker overspray from tinting your light fields.
Drying, Curing, and the One-Week Rule
“Drying” and “curing” are not the same thing. Paint is dry to the touch in minutes or hours. It is fully cured, meaning the solvents have fully evaporated and the film has reached maximum hardness, in days or weeks.
Sources disagree on the timeline. The Crystal Voyager blog says a “good couple of days” before waxing a surfboard. The Scooterlay.com guide says let paint sit for 24 hours. A Reddit user’s total project drying time was about a week. The one-week rule is the safest bet for a longboard.
Why the wait? If you reassemble your board and ride it before the clear coat is fully cured, the still-soft finish will compress under your foot pressure, pick up dirt from the ground, and remain slightly tacky. This attracts grime and prevents the finish from ever achieving its full hardness and scratch resistance. That week of patience is what separates a durable repaint from one that needs redoing next season.
| Stage | Dry to Touch | Safe to Handle | Fully Cured / Rideable |
|---|---|---|---|
| Primer Coat | Dry to touch | Safe to handle | Fully cured |
| Color Coat | Dry to touch | Safe to handle | Fully cured |
| Clear Coat (per coat) | Dry to touch | Safe to handle | Fully cured / Rideable |
After the final cure, you can reassemble your board. Tighten the truck bolts evenly and check wheel spin. Your custom ride is ready.
Frequently Asked Questions
What kind of paint should I use on a longboard?
Use a spray paint formulated for plastic or multi-surface use, like Rust-Oleum Painter’s Touch or Montana Gold. Acrylic enamel paints offer good durability and color retention. For a professional finish, automotive-grade paints like those from Eastwood are the top tier, but they require more skill and a clear coat system like Eastwood Premium Show Clear.
Can I repaint just the rails or a specific section?
Yes, but blending is the challenge. Mask off the area you want to keep original. Sand the section to be repainted, feathering the edges of the existing finish. After painting, you’ll need to clear coat the entire board to ensure a uniform protective layer and gloss level. A spot repair will always show a seam under the clear.
How do I make my repaint last for years?
The formula is in the prep and the top coat. Sand thoroughly through the grits. Use a high-build primer if the surface is uneven. Apply multiple thin coats of color. Most importantly, apply a high-quality, UV-stabilised, two-part clear coat like Belton UV-stabilised clear and apply at least four coats. This clear coat is the shield that takes the abuse from curbs, rocks, and board racks.
Is it worth repainting an old, beaten-up board?
It depends on the deck’s structural integrity. If the board has serious cracks, delamination, or water damage, a paint job is cosmetic and won’t restore strength. In that case, learn how to fix a broken deck first. If the deck is sound but just ugly, repainting is a fantastic way to extend its life and make it uniquely yours. The Scooterlay.com blog estimates the total cost for materials to customize a longboard can be around $100.
How do I prevent the new paint from scratching?
You can’t prevent scratches entirely, it’s a skateboard. You can minimize them by allowing a full week for the clear coat to cure rock-hard. Use a board bag for transport, and avoid leaning the painted bottom against rough concrete or gravel. For touch-ups, keep a small amount of your paint and clear coat for minor repairs.
The Bottom Line
Repainting a longboard is a project of patience, not power. The 10-15 hours of sanding, taping, and spraying are just the preamble. The real work happens in the week you leave it alone to cure.
If you take away one thing, let it be this: never cheap out on the clear coat. That layer is the only thing between your art and the pavement. A Belton UV-stabilised spray can or a mixed two-part automotive clear is the difference between a finish that yellows and chips in a season and one that looks deep and wet for years.
Everything else, the grit sequence, the primer debate, the drying times, are variables you control. The clear coat is essential. So buy the good stuff, apply it thick, and wait. The board will still be there next weekend, ready for a fresh customize a longboard session with its new skin.
