How to Lube Skateboard Bearings: The 7-Step Deep Clean
This post contains affiliate links. As an Amazon Associate, we earn from qualifying purchases.
Lubing skateboard bearings requires matching three things: the bearing type (steel or ceramic), the correct amount of lubricant, and a complete clean before applying anything. Skipping the clean or using the wrong lube burns out the bearing’s precision surfaces in weeks.
The precision inside a bearing is measured in thousandths of an inch. A single hair is thicker than the gap between the balls and the raceway. That’s why dirt doesn’t just slow you down; it grinds those mirror-finish surfaces into pitted scrap. A proper lube job protects that gap, but only if you get the type and quantity right. Understanding how to lube skateboard bearings is therefore essential.
What follows: the tools you actually need, a walkthrough of the full seven-step clean, and the one decision, oil or grease, that changes everything about your board’s feel and maintenance schedule when learning how to lube skateboard bearings. We’ll also cover the quick-fix method for when you don’t have time for a full teardown.
Key Takeaways
- Clean bearings before lubricating. Adding oil to dirty bearings just flushes grit deeper into the raceways, accelerating wear.
- Sources recommend different amounts: Bones Bearings suggests 2 drops of oil for steel bearings (1 for ceramic), SMB Bearings suggests filling 15-20% with grease, and SkatePro suggests 1-2 drops of oil or 3mm grease.
- Never use WD-40 as a lubricant. It’s a solvent that dries out bearings and attracts more dirt, causing failure within weeks.
- Break-in times vary: Bones Bearings says high-precision bearings roll best after about an hour, while SkatePro suggests you might need to run a few miles.
- Identify non-serviceable bearings. If the metal shield is crimped, don’t try to remove it; just wipe the exterior and replace when worn.
The Tools You Actually Need (Not a Marketing List)
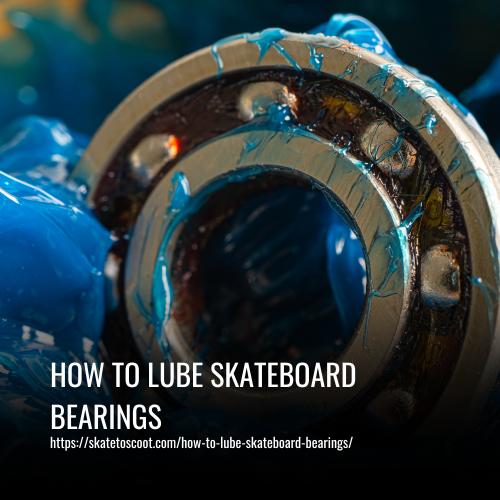
You don’t need a specialty bearing cleaning bottle. An old Gatorade bottle with a screw-on lid works just as well. The real essentials are a solvent that cuts grease without damaging components, a way to dry the parts completely, and the right lubricant applied in the right amount.
Your kit breaks down into three categories: breakdown, cleaning, and lubrication. For breakdown, you need a skate tool to remove wheels and a small flathead screwdriver or pin to pop off bearing shields. The cleaning stage requires a solvent, pure isopropyl alcohol (90% or higher), acetone, or a citrus-based cleaner, and a sealed container. Have paper towels ready for drying. For lubrication, you need either a light oil like Bones Speed Cream or a high-speed, low-torque grease like the one Klueber makes, which is recommended by SMB Bearings. A small brush helps apply grease evenly.
Common mistake: Using household 3-in-1 oil or sewing machine oil as a permanent solution. These oils are thin and evaporate quickly, leaving the bearing unprotected. They work in a pinch, but for lasting performance, a lubricant formulated for skate bearings lasts longer and resists dirt better.
The 7-Step Deep Clean & Lube
This is the full procedure that brings gritty, noisy bearings back to life. If your bearings are making a crunchy sound or the wheel doesn’t spin freely when flicked, this is your fix.
Step 1: Remove Wheels and Pop the Shields
Take your skate tool and remove all eight axle nuts. Pull the wheels off. Now, look at the bearing shields. Most serviceable bearings have a rubber shield held in place by a metal C-clip or simply pressed into a groove. Use the tip of your flathead or a pin to gently pry under the edge of the shield and lift it out. If you see a crimped metal shield that doesn’t have a removable clip, stop. Those are non-serviceable. Wipe them down and move on, trying to remove them will destroy the bearing.
Step 2: Soak and Shake
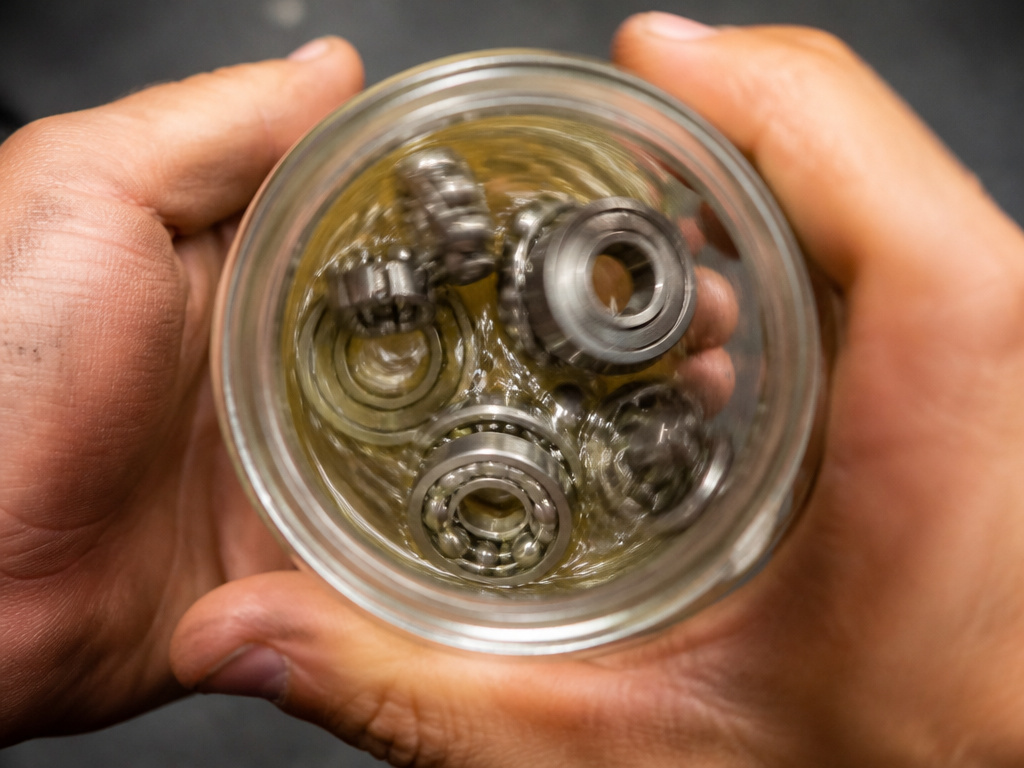
Place all the bearing internals (the outer race, balls, cage, and inner race) into your sealed container. Pour in enough solvent to cover them. Pure isopropyl alcohol, acetone, or Gumout carburetor cleaner all work. Bones Bearings lists pure isopropyl alcohol, Gumout carburetor cleaner, or acetone as approved solvents. Seal the container and shake it vigorously for a few minutes. The solvent will dissolve the old, gummy grease and suspend the dirt.
Step 3: Dry Them Completely
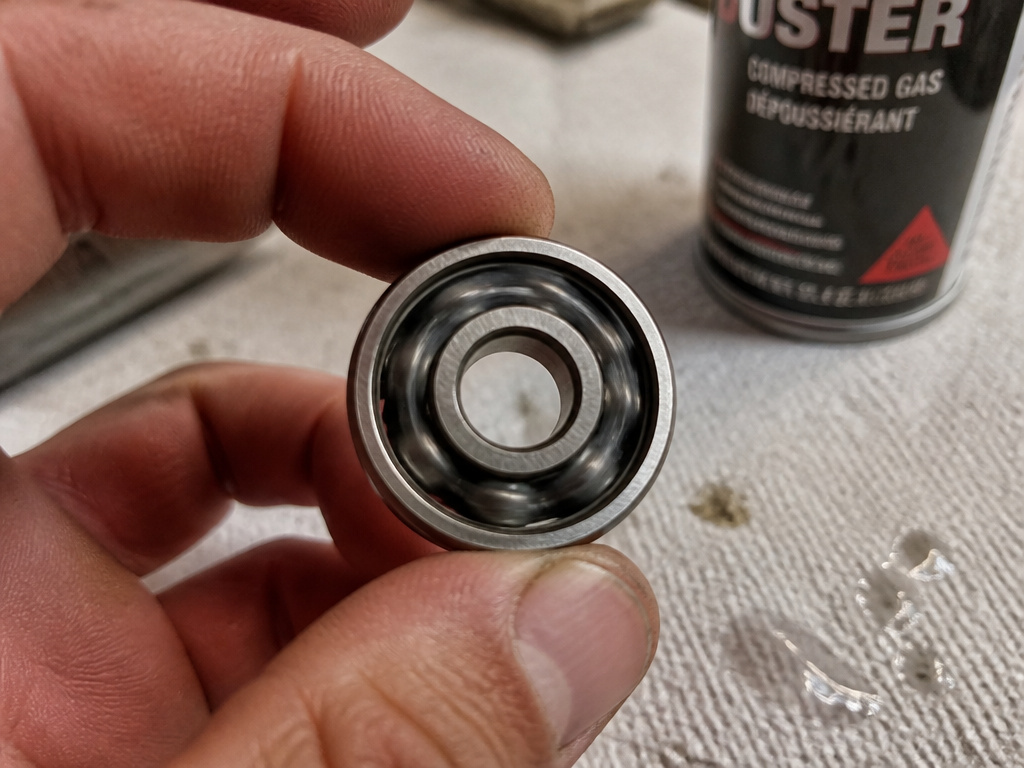
This is the step people rush. Liquid left inside means rust. Lay the bearings on a paper towel and spin them by hand to fling out the solvent. Give them a minute of spinning. You can also use compressed air or a hairdryer on a cool setting to blast out the last drops. They must be bone-dry before the next step.
Step 4: Inspect Before You Lube
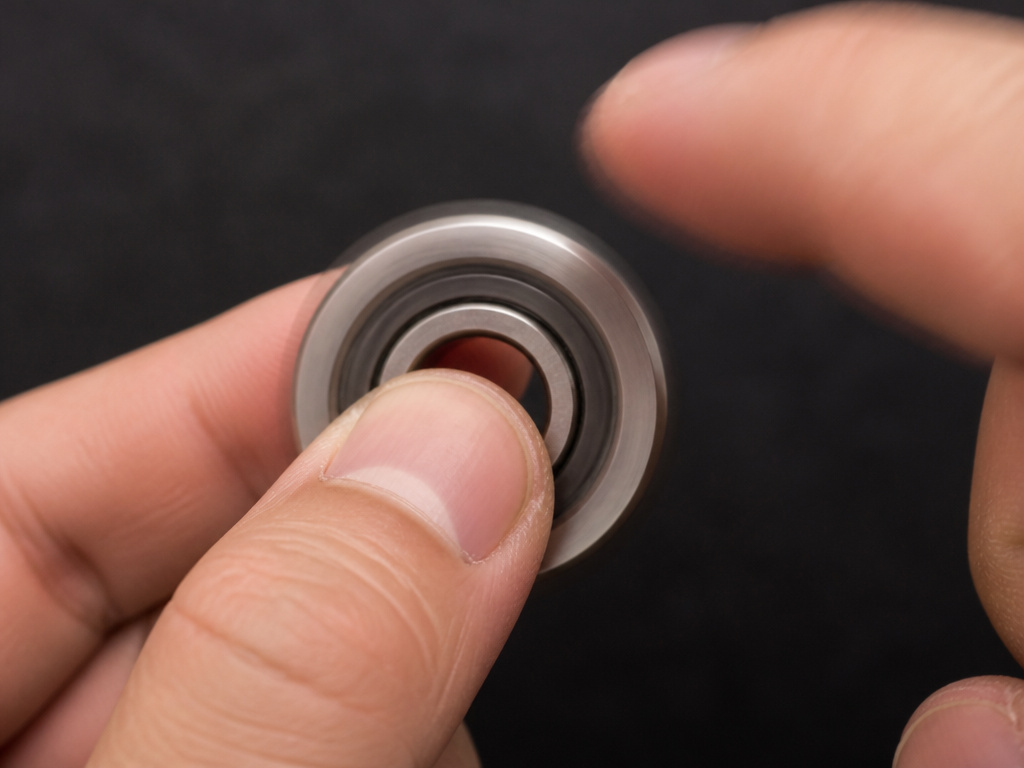
Hold the inner race and flick the outer race. It should spin smoothly and quietly for a few seconds. If it still feels gritty or makes noise, repeat the soak and dry process with fresh solvent. If it’s smooth, you’re ready. If it’s seized or has visible pits on the balls, the bearing is toast. No amount of lube will fix physical damage.
Step 5: Apply the Lubricant
Here is where precision matters. If you’re using grease, aim to fill 15-20% of the internal space, as SMB Bearings recommends. A small bead of grease evenly distributed around the raceway is a good visual target. Do not pack it full; excess grease creates drag.
Step 6: Distribute and Reassemble
Spin the bearing by hand to work the lubricant into every crevice. The SkatePro guide suggests mounting the bearing on a drilling machine to spin the bearing effectively and distribute lubricant. Once the lube is spread, press the rubber shield back into its groove until it snaps into place.
Step 7: Reinstall and Test
Press the bearings back into your wheels, making sure they seat flush. Put the wheels back on the axles, tighten the axle nut fully, then back it off a quarter-turn so the wheel spins freely without side-to-side play. Give the wheel a hard spin. It should sound quiet and keep moving. The real test comes on the pavement.
The Oil vs. Grease Decision
This isn’t a minor choice. It dictates your board’s speed and how often you maintain it. The sources disagree here, so you need to know what each camp believes.
SMB Bearings states plainly that grease is a better option for skate bearings than oil. Their reasoning is longevity and sealing, grease stays in place, doesn’t evaporate, and better blocks contaminants. They recommend a high-speed, low-torque grease manufactured by Klueber. Fill 15-20% of the space.
Bones Bearings recommends its proprietary Bones Speed Cream, a light oil. Their argument hinges on minimal resistance for maximum speed, which matters for racing or park skaters who prioritize quick acceleration. They specify exact drop counts: 2 for steel, 1 for ceramic.
| Lubricant Type | Best For | Trade-Off |
|---|---|---|
| Light Oil (e.g., Bones Speed Cream) | Speed, park skating, dry conditions | Evaporates faster, requires more frequent re-application |
| Grease (e.g., Klueber) | Longevity, wet/street skating, low maintenance | Slightly more initial drag, can attract dirt if over-applied |
My take? If you skate street and deal with dust or occasional puddles, grease is your friend. If you’re a park rat chasing every last bit of roll speed and you don’t mind a clean-and-lube session every few months, oil works. You can’t go wrong with either, as long as you apply the correct amount.
The Quick Lube (Without Full Disassembly)
Sometimes you don’t have 30 minutes. Your bearings are starting to sound dry but aren’t full of dirt. A quick lube can extend their life until the next full service.
This only works on bearings with removable rubber shields. Pop the shield off with your pin. Do not soak or clean. Apply a drop of oil directly onto the balls and the inner race. Spin the bearing to distribute it. Snap the shield back on. That’s it.
Where this goes sideways: Adding oil to a dirty bearing. The oil flushes the existing grit deeper into the raceway. The bearing might feel smoother for a day, but the grit is now grinding away inside with fresh lubrication. This accelerates wear dramatically. Only do this if the bearings were cleaned recently and are just drying out.
What Not to Do: The WD-40 Trap
WD-40 is not a lubricant. It’s a solvent and water displacer. In the short term, it breaks up grease and makes a seized bearing spin freely. Then it evaporates, leaving the bearing dry and unprotected. Worse, its residue attracts dust and dirt like a magnet.
The Concrete Waves handbook explicitly says: “Do not use WD-40. It’s a solvent, not a lubricant and will dry them out / attract more dirt.” I learned this the hard way as a kid. We’d spray our gritty bearings, marvel at the sudden spin, and then wonder why they were completely seized two weeks later. That faint smell of WD-40 on a hot day still reminds me of wasted allowance money on replacement bearings.
Post-Lube Break-In and Storage
Your bearings won’t feel perfect immediately after reassembly, which is a key point in any how to lube skateboard bearings tutorial. Bones Bearings notes that high-precision bearings roll their best after about an hour of use in a clean environment after cleaning. The SkatePro guide says you might need to run a few miles before the lubricant perfectly distributes. This break-in period smoothes out the lube film and seats everything.
If you’re storing bearings long-term, like over winter, Bones Bearings advises leaving a light coat of oil or grease on the outer races to prevent rust. Store them in a sealed bag or container to keep moisture out.
Safety Precautions for Cleaning Bearings
When you use a solvent cleaner, always work in a safe, well-ventilated area. Many cleaning agents, like isopropyl alcohol or acetone, produce fumes that you shouldn’t inhale. Wear appropriate rubber gloves to protect your skin from these harsh chemicals. It’s also crucial to work far from any open flame because alcohol and many cleaners are flammable. These basic steps keep you safe and let you focus on the task.
Frequently Asked Questions
What can you use to lube skateboard bearings?
You can use a light oil formulated for skate bearings, like Bones Speed Cream, or a high-speed grease, like the one Klueber manufactures. Avoid general-purpose oils like WD-40 or 3-in-1 oil, as they evaporate quickly and attract dirt.
Should you lube skateboard bearings?
Yes, regularly. Lubrication reduces friction, prevents rust, and protects the precision surfaces inside the bearing from grinding against each other. Unlubricated bearings run hot, wear out quickly, and can seize, causing a sudden stop.
Should I put WD-40 on my skateboard bearings?
No. WD-40 is a solvent, not a lubricant. It will temporarily free a stuck bearing but will dry out, leaving the metal unprotected and attracting abrasive dirt. It significantly shortens bearing life.
How do you apply lube to skateboard bearings?
After a complete clean and dry, apply lubricant directly to the ball bearings and raceways. For oil, use 1-2 drops per bearing. For grease, fill 15-20% of the internal space. Spin the bearing to distribute the lubricant evenly before reassembling the shield.
Before You Go
The one rule that overrides all others: clean first, lube second. Every other mistake, over-lubing, under-lubing, using grease instead of oil, is fixable. Putting oil into a dirty bearing is the one move that turns maintenance into destruction.
If your bearings have crimped metal shields, don’t fight them. They’re not meant to be serviced. Keep them clean externally and plan for a replacement. For everything else, a $5 bottle of isopropyl alcohol and a $10 tube of Bones Speed Cream will keep a set of quality bearings rolling for years. Start slow, then earn the speed. Your bearings are the smallest, most precise part of your setup. Treat them that way.
