What Is Longboard Freeriding? Gear, Skills, and Safety
This post contains affiliate links. As an Amazon Associate, we earn from qualifying purchases.
Longboard freeriding is downhill riding built around controlled slides to manage speed and execute technical maneuvers, rather than pursuing maximum velocity. It uses stand-up and glove-down slides, speed checks, and switch riding on slopes, typically with a stiff, symmetrical board between 38 and 42 inches long.
That definition covers the what, but the real question is the how. How do you control a slide instead of just spinning out? How does your gear choice, from truck angle to wheel lip shape, change that control from day one? A core part of mastering this is understanding what is longboard freeriding.
What follows is the progression path most guides skip: the three skills you must own before your first slide, the one board spec that decides if you learn in a week or a month, and the tuning mistake that burns out beginners before they ever feel that first controlled drift.
Key Takeaways
- Sources disagree on the skill level: Ridingboards.com suggests freeriding is a good way for beginners to learn riding faster than on flat ground, while the Longboard Bible states it is intermediate to advanced and requires confident pushing, carving, and foot braking first.
- Board stability is your best teacher. A drop-through or drop deck between 38″ and 42″ long provides the low, stable platform beginners need to focus on sliding form.
- Slides are controlled loss of traction. Start with glove-down slides to learn the break-out feeling safely before attempting stand-up slides.
- Truck angle is a sliding dial. Higher angles (50-55°) initiate slides easier but are less stable; lower angles (40-45°) offer more stability but require more force to slide.
- Wheelbite stops the board dead. Prevent it with proper truck tightness, harder bushings, or riser pads, it’s the most common mechanical surprise for new riders.
The Core Freeride Skill: Sliding
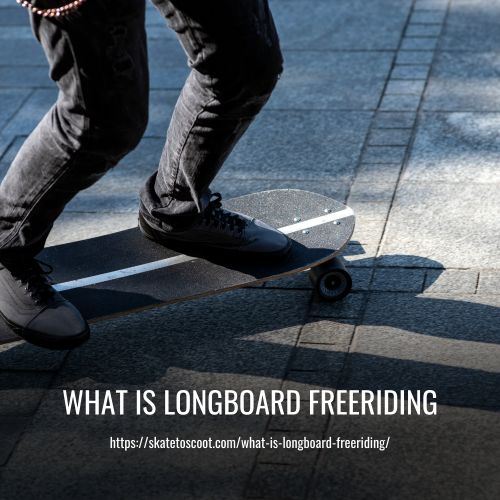
You don’t just slide to look cool. You slide because it’s the most effective way to shed speed on a hill without burning up your shoes or locking up your wheels. A slide turns forward momentum into sideways friction.
A controlled slide is a deliberate, sustained loss of traction where the board drifts sideways while the rider maintains balance and direction. It is distinct from a skid, which is an uncontrolled spin-out.
The first slide feels nothing like you expect. You think you’ll throw the board sideways and drift. What actually happens is a sudden grip release, a split second where the board decides it’s going sideways whether you’re ready or not. That moment is where beginners either commit and ride it out or panic, bail, and high-side. Glove-down slides exist for this exact reason. You get to lower your center of gravity and put a hand down, which does two things: it gives you a pivot point to control the rotation, and it saves your skin when you inevitably pitch forward. Start there.
Your first goal is a “check,” not a long, graceful drift. A quick, 90-degree break of traction that scrubs 5 mph off your speed before you hook back up and keep carving. That’s a speed check. Master that, and the longer, stylized slides come naturally.
Gear Breakdown: Building a Freeride Setup
Your board is a collection of levers and pivots. Changing one changes how the whole system responds under your feet. A freeride setup prioritizes predictable breakaway and easy recovery over pure grip or maximum speed.
Deck: Platform and Stability
Most freeride boards sit between 38″ and 42″ in length. The wheelbase, the distance between the trucks, typically runs 24 to 29 inches. A longer wheelbase feels more stable at speed; a shorter one flicks into slides quicker. Width matters too, usually between 8.5 and 10 inches. A wider deck gives you more foot platform for control.
Deck shape is where beginners should pay attention. Drop decks (platforms) are lowest to the ground, which makes them the most stable and easiest to push into a slide. Drop-through decks are a great middle ground, still low but lighter and more responsive. The key spec for freeriding, according to Ridingboards.com, is that drop-through decks should have little to no flex for stability at speed. A wobbly deck at 25 mph is a one-way ticket to speed wobbles.
A concrete example is the Original Skateboards Freeride 38 RockerConcave. It’s 38″ long with a 25″ wheelbase and a width of 9.75″. Its rocker profile and 0.666″ concave depth lock your feet in for control during slides. The manufacturer notes it’s sized for riders over 5’8” on steep terrain, while taller riders (5’9”+) get fantastic freestyle performance from it. This highlights a key point: your board should match your height and the hills you ride.
| Deck Type | Best For | Key Characteristic |
|---|---|---|
| Drop Deck | Beginners, low-speed practice | Lowest platform, maximum stability |
| Drop-Through | Intermediate riders, all-around freeride | Low center, responsive, should be stiff |
| Topmount | Advanced riders, maximum leverage | Higher ride, more direct truck feel |
Trucks and Bushings: The Steering and Pivot
Trucks are your steering and your primary slide initiator. Width matters: beginners often start with 180mm trucks for stability, while advanced riders might go down to 160mm for quicker, sharper turns.
The truck’s baseplate angle is your slide dial. Manufacturers offer angles of 40-45° or 50-55°. Higher angles are less forgiving, they offer less stability but make initiating slides easier. Lower angles mean more stability but harder sliding. You’re trading confidence for control.
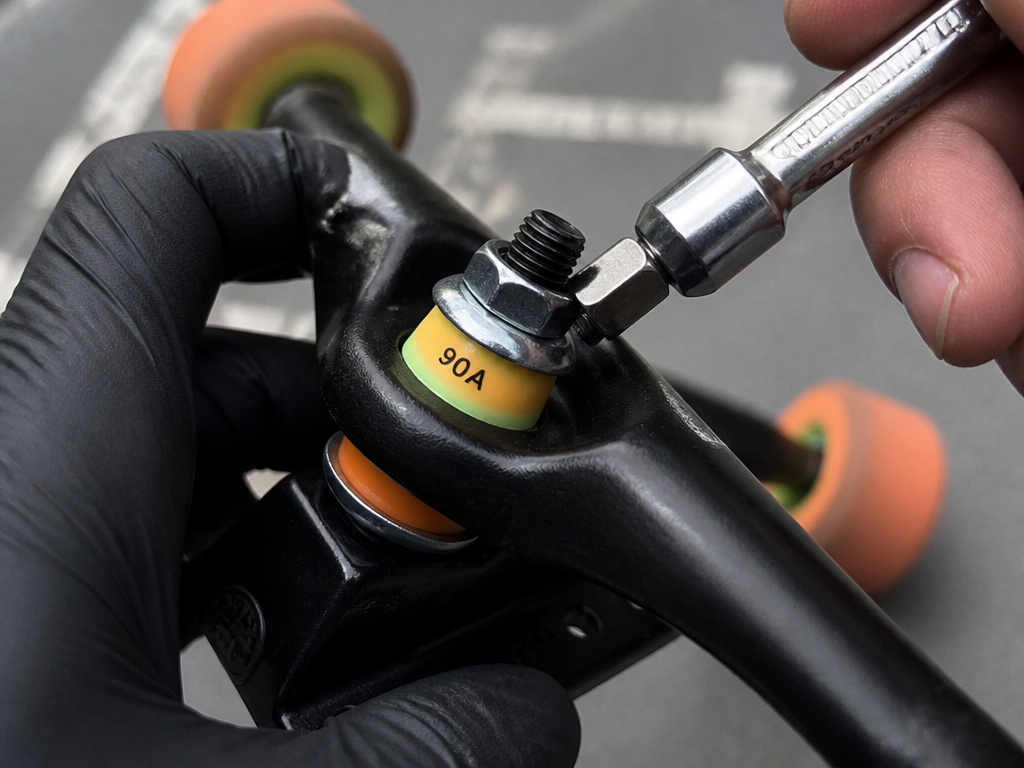
Bushings are the rubbery cushions inside your trucks. They determine how easily the truck leans and rebounds. For freeriding, the bushing seats should not keep the bushings from moving. Restrictive seats kill the lean you need to kick out a slide. Hardness is weight-dependent: 87a if you’re around 150lb, 90A if you’re around 200lb. The wrong bushing feels either like riding on concrete (too hard) or like steering a boat (too soft).
Common mistake: Cranking your kingpin nut down to “eliminate wobbles.” This seizes your bushings, kills your ability to carve deeply, and makes initiating a slide require brute force. Tighten until you eliminate slop, not lean.
Wheels and Bearings: Grip vs. Slide
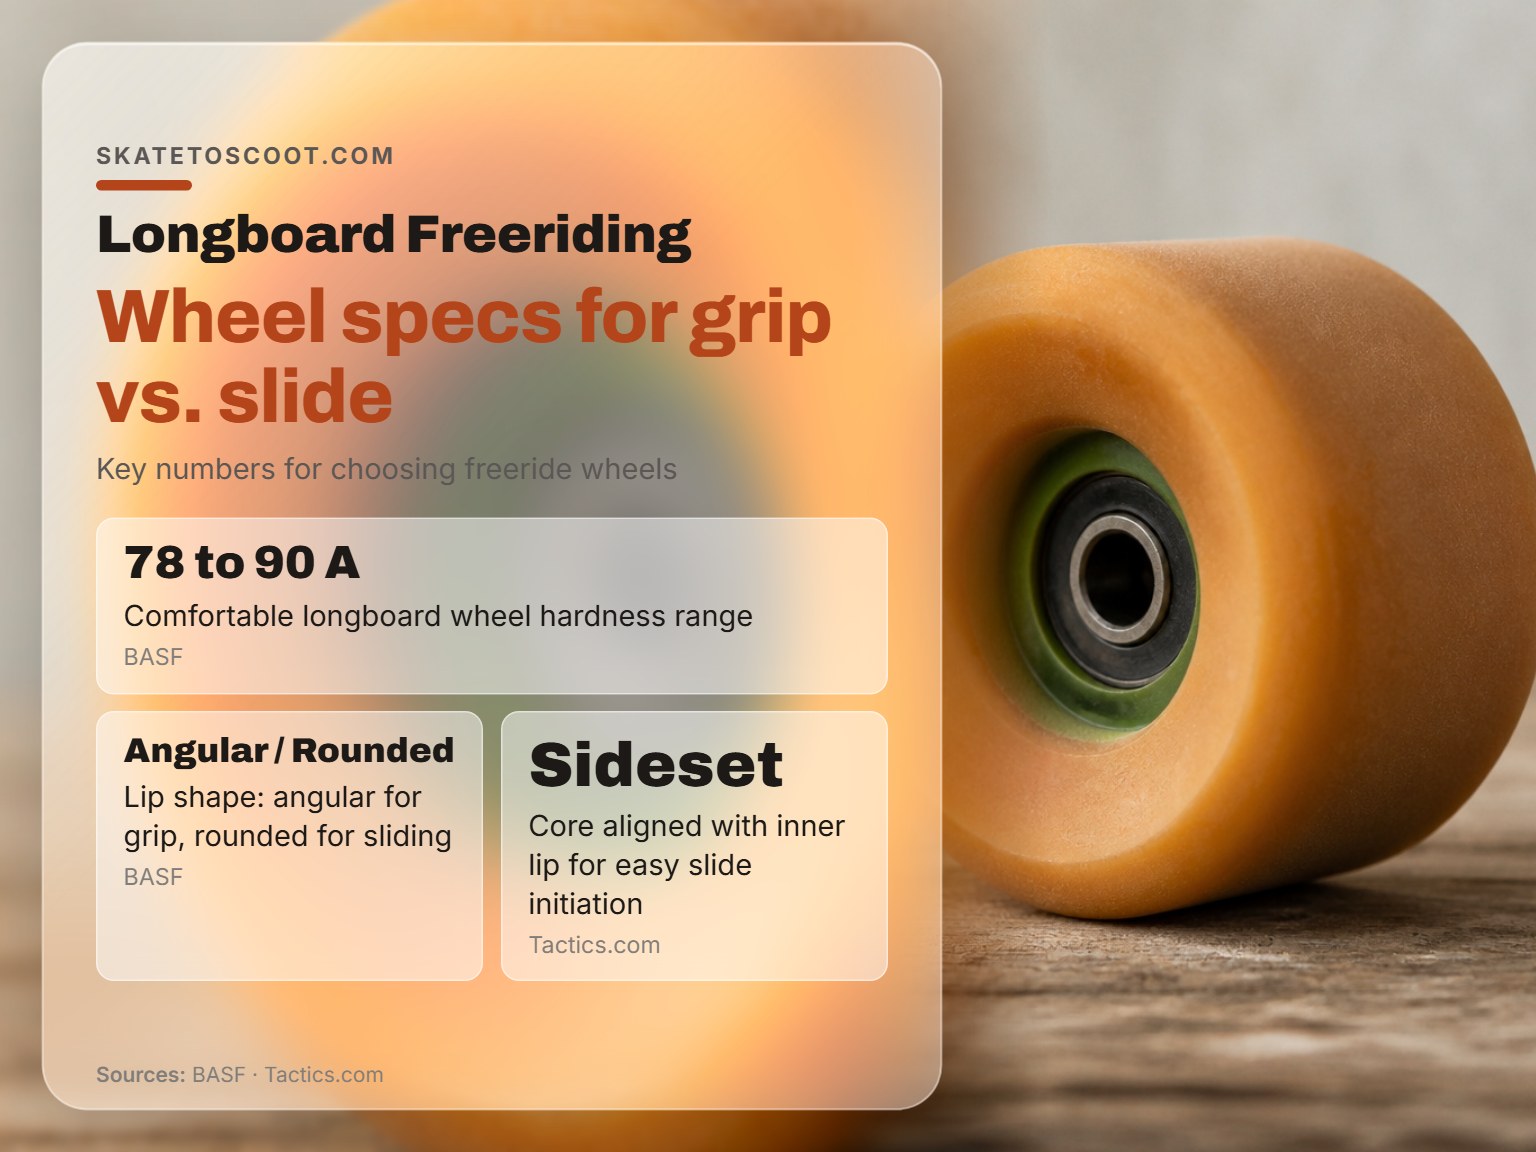
Wheels are your contact patch. Their durometer (hardness) and shape dictate the transition from grip to slide. According to BASF’s polyurethane guide, comfortable longboard wheels usually come between 78 and 90 A. Softer wheels (78A-83A) grip more and absorb vibration; harder wheels (85A-90A) slide more predictably but transmit more road feel.
Lip shape is critical. BASF states angular lips are for grip and rounded lips slide more easily. For freeriding, many riders prefer a rounded profile for sliding. Tactics.com also recommends sideset wheels, which have cores aligned with the inner lip, for beginners learning to break traction.
Core placement changes slide initiation. Sideset wheels have their cores aligned with the inner lip. Tactics.com notes this design “allows smooth slides to be easily initiated with little required force” and calls them “a great choice for beginners learning to break traction.” The trade-off is less grip and faster, uneven wear.
Bearings are simple. Get decent quality at a low price, they’re not critical for freeriding performance. Do add spacers between your bearings inside the wheel. Sliding puts lateral force on the bearings; spacers prevent them from getting crushed and wearing out fast.
Skill Progression: From Flat Ground to Hillside
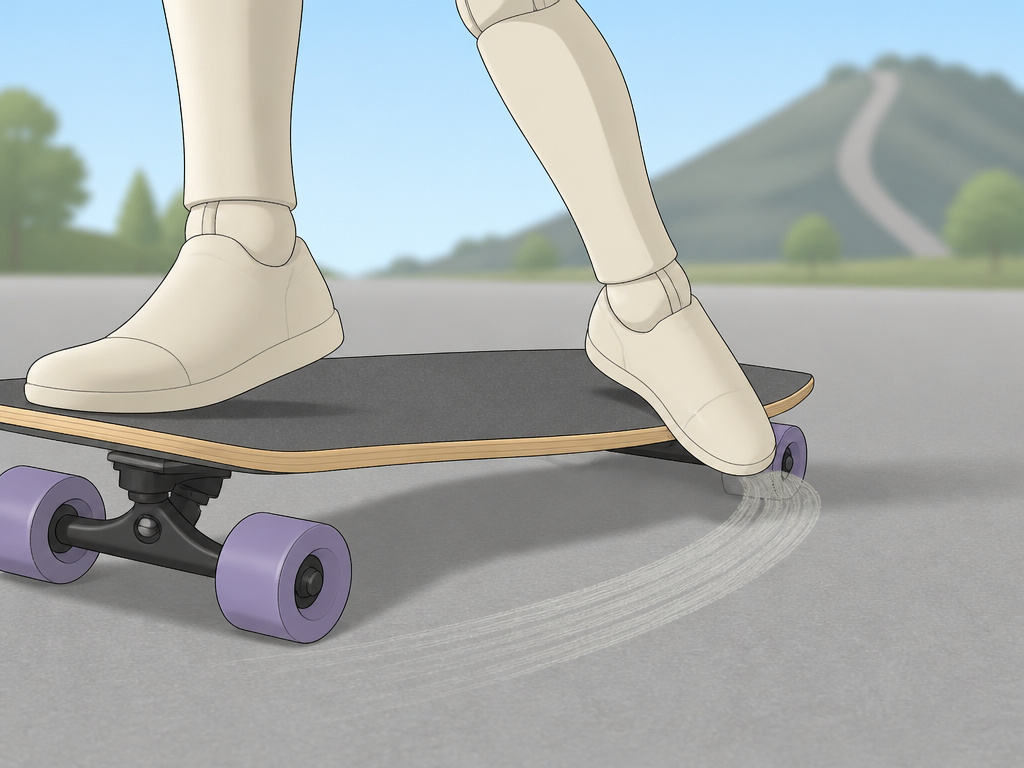
You can’t run before you can walk. The same logic applies here. Rushing to a hill without the foundational skills is how people get hurt and quit.
First, Master the Flat.
Before you even look at a slope, you need three things on lock:
- Confident Pushing and Carving: Can you propel yourself, steer, and maintain speed without thinking?
- Foot Braking: This is essential. Tactics.com calls it “the first and most important technique to learn.” You must be able to drag a foot to control speed at every speed you ride. If you can’t slow down reliably, you have no business going faster.
- Riding Switch: Freeriding involves 180 slides and switch riding. If your “off” stance feels like a newborn giraffe, practice it on flat ground until it’s merely awkward, not dangerous.
Second, Find the Right Hill.
Your first freeride hill should be a safe slope with a clear runoff, away from hazards like traffic and blind corners. No driveways, no traffic, no blind corners. The pavement should be smooth. This isn’t about challenge; it’s about creating a safe, repeatable lab for your first slides.
Third, Learn to Fall.
Wear your gear, a certified skate helmet and slide gloves are the bare minimum. Practice bailing at low speed. Tuck, roll, and let the slide pucks on your gloves take the abrasion. A skater who can’t fall safely is a hazard to themselves.
Common Mistakes and How to Avoid Them
Most frustration in freeriding comes from a small handful of errors. Spot them early.
High-Siding. This is the classic, painful bail. You initiate a slide but don’t commit your weight over the board. The board grips again suddenly, launching you over the top-side. The fix: when you kick out, really commit and keep your weight centered over the drifting board, not behind it. Wheelbite. The wheels grab the underside of the deck, stopping the board dead and sending you flying. You’ll hear a loud THUNK and feel everything lock up. To avoid it, use riser pads or smaller wheels. Sources disagree on bushing tightness: Tactics.com suggests harder, more restrictive bushings can help, while Ridingboards.com advises that bushing seats should not keep the bushings from moving. Chasing Speed Before Control. Going faster doesn’t make sliding easier; it makes crashes harder. Learn the slide motion at a low, comfortable speed where you can safely run it out. Speed comes later.
Where this goes sideways: Learning slides on a board that’s too tall or flexy. A topmount deck with high trucks and soft wheels might be great for cruising, but it raises your center of gravity and adds a wobble variable that makes learning that first slide three times harder. Start low and stiff.
Freeride vs. Downhill vs. Freestyle
It’s easy to mix these up. Here’s the breakdown:
| Discipline | Primary Goal | Typical Terrain | Board Characteristics |
|---|---|---|---|
| Freeride | Controlled slides, speed checks, technical maneuvers | Downhill slopes | Stiff, symmetrical, low to the ground (38″-42″) |
| Downhill | Maximum speed, precise racing lines | Steep, paved mountain roads | Stiff, aerodynamic, often longer (40″+) |
| Freestyle | Technical flat-ground tricks, dancing, spins | Flat pavement, skate parks | Often lighter, with kicktails, some flex |
Freeriding shares the hill with downhill but isn’t chasing a clock. It shares slides with freestyle but isn’t done on flat ground. Its identity is in the blend: using downhill momentum to power slides and tricks for both function and style.
What are some good freeride longboard brands?
The what is longboard freeriding fact sheet does not list specific brands like Landyachtz or Sector 9. When choosing a freeride board, focus on the specifications that suit your skill level. Most freeride boards are between 38 and 42 inches long with a width of 8.5 to 10 inches. Beginners should look for drop deck platforms for a lower, more stable ride. Intermediate riders might prefer a stiff, drop-through deck. The right wheelbase, typically between 24 and 29 inches, affects how the board turns and slides. Selecting a deck based on these proven dimensions will serve you better than choosing by brand name alone.
Frequently Asked Questions
Is longboard freeriding suitable for beginners?
Sources disagree. Ridingboards.com suggests it’s a good way for beginners to learn riding faster than on flat ground. However, the Longboard Bible and most experienced coaches (including my own view) label it intermediate to advanced. The prerequisite skills, confident pushing, carving, foot braking, and switch riding, are required for safety. Start on flat ground.
What’s the best wheel hardness for freeriding?
There’s no single best. Softer wheels (78A-83A) are more forgiving and grippier, which can be good for initial carves but harder to break into a slide. Harder wheels (85A-90A) offer more predictable, consistent slides. Beginners often find a happy medium in the general wheel hardness range for freeriding.
Do I need special trucks?
Not necessarily, but tuning helps. Standard reverse kingpin trucks work. The key is choosing the right baseplate angle for your level (higher angles like 50° for easier slides, lower like 42° for more stability) and setting up your bushings correctly for your weight.
How do I avoid speed wobbles when learning?
Wobbles come from a combination of speed and instability. Ensure your trucks aren’t too loose, your bushings are appropriate for your weight, and you’re keeping your weight forward and your knees bent. Most importantly, if you feel wobbles, do not stiffen up. Crouch lower, relax, and let the board stabilize. Practice carving deeply at progressively higher speeds on a safe hill to build ankle strength and board feel.
Can I use my cruising longboard for freeriding?
You can try, but it may fight you. Cruising boards often have flex, softer wheels, and a higher ride height, all traits that reduce stability and make initiating controlled slides more difficult. A dedicated freeride board is a better tool for the job.
The Bottom Line
Freeriding is about being the most in control, not the fastest down the hill. It turns descent into a playground of friction management.
If you’re coming from casual longboarding, the jump to understanding what is longboard freeriding is a real step up. Don’t skip the flat-ground fundamentals. Get a board that’s low and stable, a stiff drop-through deck with the recommended dimensions is a community favorite for a reason. Pad up, find a safe hill with a clear area to practice, and focus on that first, quick speed check.
The real secret no one talks about? Freeriding teaches you more about board control in one afternoon than cruising does in a month. Every slide, every caught edge, every recovered wobble is data. Your job is to learn from it, not be afraid of it. Start slow, then earn the speed.
