How to Customize Longboard: Step-by-Step (Without Damage)
This post contains affiliate links. As an Amazon Associate, we earn from qualifying purchases.
To customize a longboard, you need to match three things: the parts you’re changing, the tools you’ll need, and the order you do it in. For drop-through trucks, that order is a specific seven-step sequence. For wheel and bearing swaps, it’s matching the right lube to the bearing type. Miss the order or the spec, and the board either feels wrong or fails within weeks.
That seven-step sequence is a critical procedure that determines whether a truck turns smoothly or binds, clicks, and damages itself on the first hard carve. Most guides tell you to “tighten until snug,” but that’s where new customizers snap bushings or create wheel bite. This is a key part of how to customize longboard.
What follows: a breakdown of when to upgrade an existing board versus building from scratch, the tactile feel of a correctly tuned truck, the one tool you can’t skip, and the manufacturer specs that override popular opinion. By the end, you’ll know which parts to swap first for your riding style and how to avoid the three most common, and expensive. DIY mistakes.
Key Takeaways
- Tighten the kingpin nut until only one or two threads show, any tighter crushes the bushings; any looser guarantees wheel bite.
- For sealed bearings, soak them in motor oil for 24 hours; for removable-shield bearings like Bones Reds, use Bones Speed Cream.
- Drop-through trucks require full disassembly to mount; the reassembly order is baseplate, cup, boardside bushing, hanger, roadside bushing, washer, then kingpin nut.
- A 1cm rocker is recommended for the Freebord 5X, but veteran riders used to older models struggle with it, your muscle memory decides.
- Never start a custom paint job without first testing your finish on scrap wood; the wrong topcoat can crack in the sun.
Upgrading Your Ride vs. Building From Scratch
Do you buy a complete board and swap parts, or start with a blank deck? The answer depends on time and tolerance for error, rather than budget. Building from a blank deck means you control every variable. It also means you’re responsible for every compatibility mistake, like ordering trucks too narrow for your deck or wheels that won’t clear without riser pads.
Upgrading an existing board, like a Decathlon Pintail 500, is faster. You already have a working baseline. The Pintail 500 is a 100 cm cruiser, and its stock trucks are a known quantity. Your first customization step here is tuning, not replacing. You take a T-tool to the kingpin, following the manufacturer’s rule: tighten for rigidity, loosen for maneuverability. But the Decathlon guide adds a crucial warning: over-tightening damages the bushings, and over-loosening causes wheel bite. That’s your working range.
I’ve seen students crank the kingpin down hard, thinking a stiff truck is a stable truck. What they get is a dead-feeling board that doesn’t rebound out of a turn, and within a few sessions, the bushing develops a permanent flat spot. The fix costs more than the original part.
Common mistake: Cranking the kingpin nut until it won’t turn. The bushing compresses past its rebound point, creating a dead zone in the truck’s turn. You’ll feel it as a vague, unresponsive lean before the board finally carves.
For a true custom build, you need a different mindset. You’re not tuning; you’re spec-matching. This is where most online configurators stop being helpful. They let you pick colors and brands, but they rarely warn you that a 180mm truck on a 10-inch wide deck will look silly and handle poorly. Your first tool isn’t a skate tool; it’s a notepad. Write down your deck width, your riding style, and your weight. Those three numbers filter every other component choice.
Trucks: Tension, Order, and the Feel of a Right Turn
Truck customization is where the ride character is decided. It’s also where the most procedural differences exist, specifically between top-mount and drop-through designs.
For a standard top-mount truck, adjustment is external. You access the kingpin nut with a T-tool and turn. Tightening the kingpin compresses the bushings against the hanger, increasing resistance. This is the commodity advice every article repeats.
The non-commodity detail is in the drop-through truck. As the Decathlon support page for the Drop Through Longboard states, you cannot mount drop-through trucks without disassembling them. The deck’s cutout requires you to feed the baseplate up from the bottom. This changes the entire process from a simple bolt-on to a precise reassembly ritual.
The 7-Step Drop-Through Truck Reassembly (and the One Step Nobody Skips)
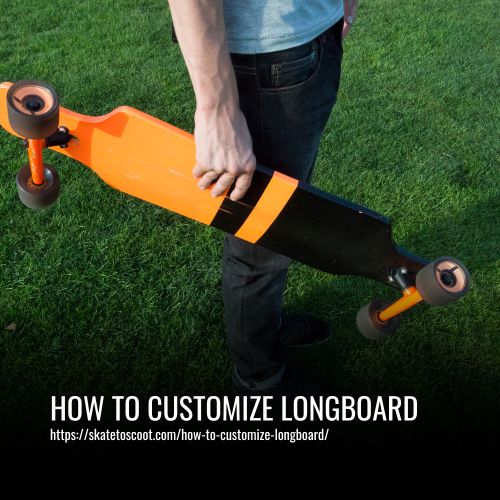
The Decathlon source provides a specific order. Ignoring it leads to crossed threads, pinched bushings, or a hanger that won’t seat in the pivot cup.
- Baseplate. Mount this to the deck first. It’s easier to work with the deck stable.
- Cup. The metal washer that sits in the baseplate.
- Boardside bushing. This bushing sits between the baseplate and the hanger.
- Hanger. Slide the axle through the deck’s cutout.
- Roadside bushing. The bushing that faces outward.
- Washer. A flat washer that sits against the roadside bushing.
- Kingpin nut. Thread this on last.
The critical step most people skip is step one: mounting the baseplate first. They try to assemble the entire truck off the board and then wrestle it into place. With a drop-through, that’s impossible. The kingpin must point upward through the hole. Get this wrong, and you’ll be undoing everything.
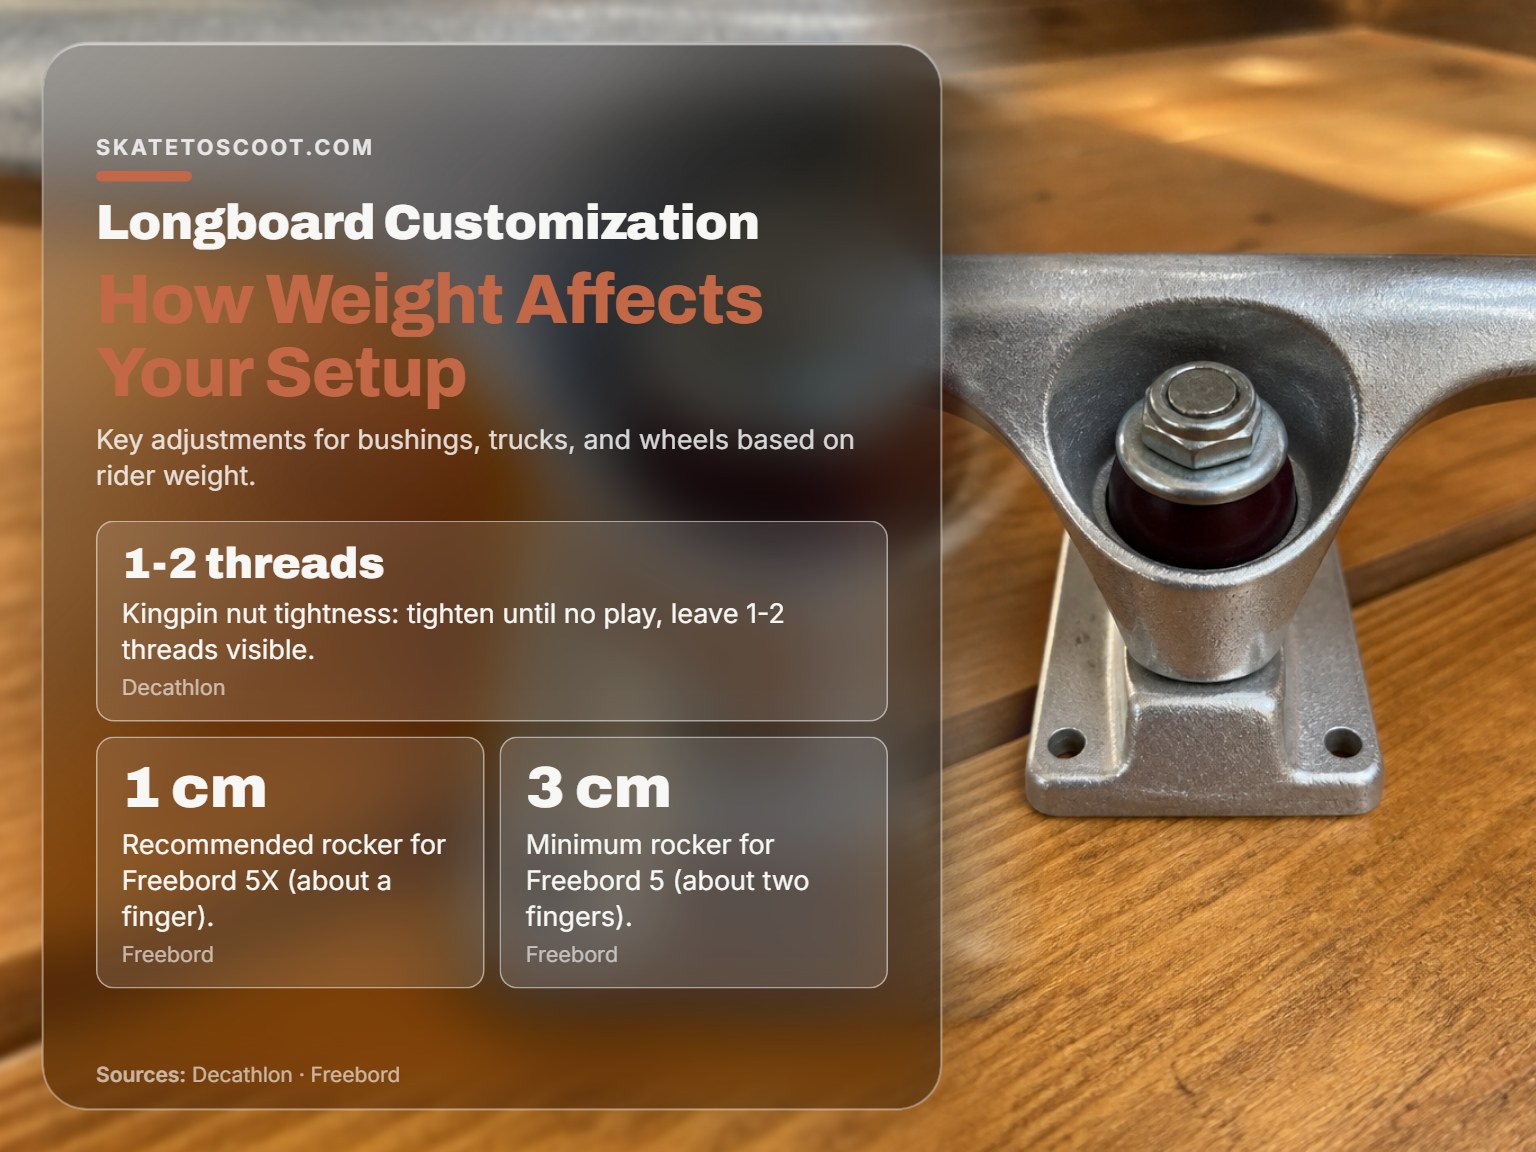
Once assembled, tightening has a visual metric. The Decathlon guide says to tighten until there is no play in the hanger, leaving one or two screw threads visible on the kingpin. This is a specific, measurable gap, not a vague ‘snug’ feel. Less than one thread visible means you’ve likely over-compressed the bushing. More than two, and you’re flirting with wheel bite.
| Tightness Level | Threads Visible | Feel & Risk |
|---|---|---|
| Overtightened | 0 | Truck feels dead, bushing deforms permanently. |
| Ideal | 1-2 | Smooth, responsive lean with full rebound. |
| Too Loose | 3+ | Hanger wobbles at center, high risk of wheel bite. |
Tuning for feel means respecting that spec. A correctly tensioned truck has a soft, progressive resistance when you lean. You shouldn’t hear a plastic-on-plastic squeak or feel a gritty, uneven drag. That gritty feel means the bushing is being pinched or the pivot cup is dry.
Wheels, Bearings, and the Finger-Width Rule
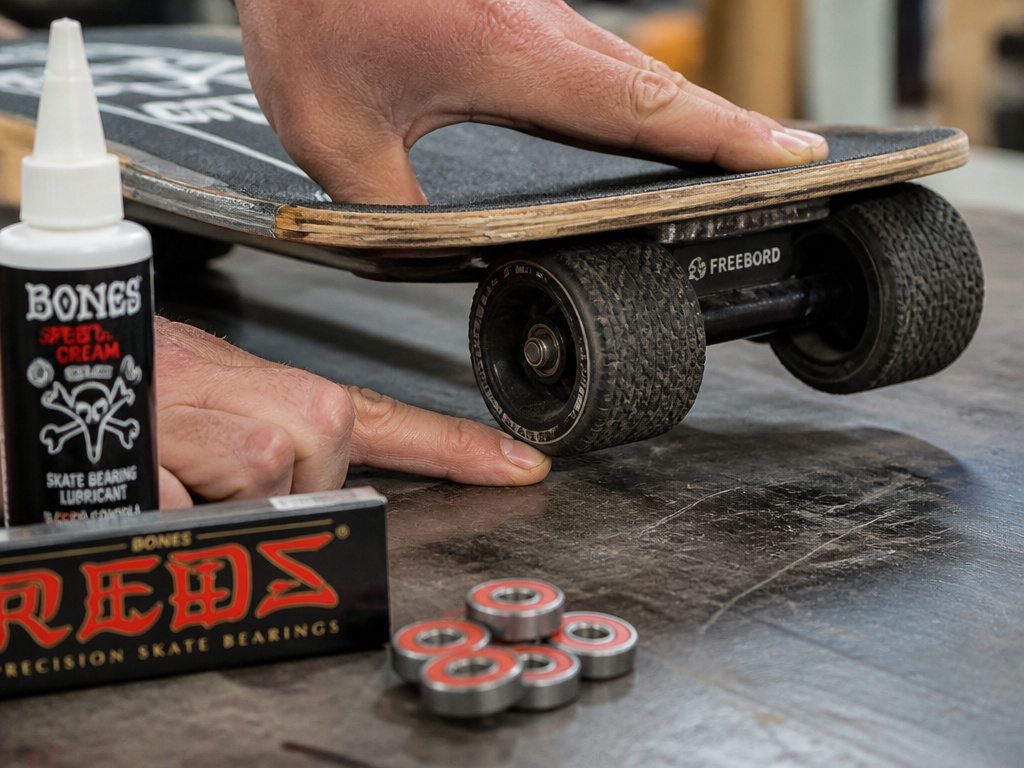
Wheels and bearings are the rolling upgrade. Swapping them changes speed, vibration dampening, and grip. The customizer’s trap is choosing wheels by color alone.
Wheel diameter and hardness (durometer) decide your ride. Larger wheels roll faster and smoother over cracks but raise your ride height and can cause bite on tight turns. Softer wheels grip better and absorb vibration but wear faster and can slow you down slightly. There’s no universal best, a commuter wants a soft 70mm wheel, while a downhill rider might pick a hard, sharp-lipped 65mm wheel.
The advanced edge case is tuning a Freebord, a six-wheeled board designed for snowboard-like slides. The Freebord tuning guide introduces the “rocker” and the “finger-width rule.”
Rocker is the distance between the central two wheels and the ground. The manufacturer recommends 1cm of rocker for the Freebord 5X and 3cm for the Freebord 5. This isn’t arbitrary. More rocker makes transitioning between toe-side and heel-side turns harder but provides more clearance to prevent catching an edge. The guide also notes that veteran Freeborders used to older models with big rocker will struggle to adjust to the 5X’s recommended 1cm setting. Your experience level overrides the generic spec.
Where this goes sideways: Setting center wheels without checking clearance. The Freebord guide states center wheels should be adjusted so there’s a minimum finger-width clearance between the downhill edge wheels and the ground. Skip this check, and you will catch an edge during a slide, launching you forward.
Bearings are the other half of the equation. The commodity advice is “clean and lube them.” The non-commodity detail in how to customize longboard is matching the lubricant to the bearing type. The Freebord guide is explicit:
- For bearings with removable shields (like Bones Reds), use Bones Speed Cream.
- For sealed bearings, soak them in a container of motor oil for 24 hours.
- Other products like Tri-Flow or WD-40 can be used, but you must apply them much more often.
Using WD-40 on a removable-shield bearing flushes out the factory grease but doesn’t replace it with a durable lubricant. The bearing will feel fast for a day, then grind itself dry. The right lube matters more than the brand of the bearing.
Graphics, Grip, and the DIY Facelift
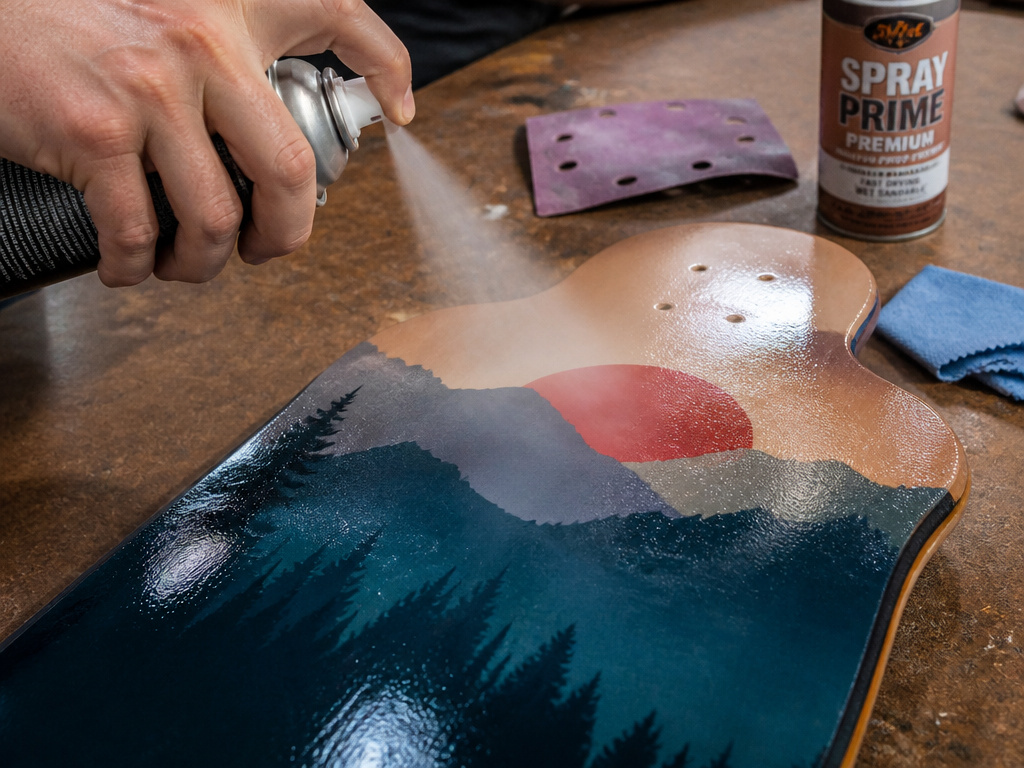
Customizing your deck’s look is the most personal step in how to customize longboard. It’s also where DIY projects most often fail not in concept, but in finish. The goal isn’t just a cool graphic; it’s a graphic that survives curbs, kicktails, and weather.
The forum consensus is straightforward: sand off the old graphic, apply your design, seal it. The community reports show where that process cracks, literally. A Reddit user from r/longboarding detailed using printable water-slide decals. The key insight was applying “a few coats of Krylon on the decal before you soak it” to protect the ink. Without that step, the design washes off during application.
Another user wood-burned a design into a Sector 9 pintail and finished it with gunstock stain and polyurethane. That’s a durable, proven method. The common failure mode for painters is rushing the coats. They’ll lay down a beautiful stencil with spray paint, then apply a single thick coat of clear polyurethane. In direct sun, the paint and the topcoat expand and contract at different rates. The result is a web of fine cracks across the graphic within a month.
The safer path for most is a vinyl wrap or a fresh layer of custom grip tape. These are reversible and far more forgiving. When you change your grip tape, the trick is in the removal. Use a heat gun or hair dryer to soften the old adhesive, and peel slowly. Any leftover adhesive can be removed with a citrus-based cleaner. Rushing this step leaves a bumpy surface that telegraphs through your new grip.
If you do paint, your material list should include sandpaper in multiple grits (80 to 220), a tack cloth, a high-adhesion primer, your paint, and a clear coat rated for exterior use on wood. Test your entire process, primer, paint, topcoat, on a scrap piece of wood first. Leave it in the sun for a week. If it doesn’t crack or yellow, your system is sound.
Matching Components to Your Ride (And Your Weight)
Customization isn’t just about preference; it’s about physics. A 120-pound cruiser and a 200-pound downhill rider need different setups, even if they buy the same deck.
Truck bushings are the most weight-sensitive part. Bushings have a durometer rating (e.g., 90a). A heavier rider will compress soft bushings too easily, making the board feel twitchy and unstable. They often need a harder bushing. Upgrading your truck bushings is a cheap way to dramatically improve control. The process is simple: loosen the kingpin nut, remove the old bushing, and slide the new one on. Just remember the order from the truck section.
Wheels also interact with weight. A rider’s weight affects how wheels compress and grip. Heavier riders may prefer harder wheels for speed, while lighter riders might choose softer wheels for better traction.
This is where online configurators fail. They don’t ask for your weight. When you’re selecting parts, especially if you’re building a board using a custom skateboard decks service, you have to input this variable yourself. It’s the difference between a board that feels planted and one that feels nervous.
The Digital Customization Frontier
For electric boards like the Onewheel+ XR, customization moves into the app. The manual details Digital Shaping 2.0, which allows ride mode customization via smartphone. You can adjust responsiveness, aggressiveness, and top speed. This is software tuning, and it comes with a different set of rules.
The Onewheel manual also highlights a critical, mandatory edge case: cold weather. Below a certain battery temperature, the board will show an error and refuse to ride until warmed. This isn’t a suggestion; it’s a hard stop coded into the board’s safety system. Pushing past it risks damaging the battery.
The Onewheel manual states that leaving the board on the charger for several days will not damage it, but for long-term storage (months), it prescribes charging to 40-50%, storing at 50°-60°F (10°-15°C), and checking monthly. The takeaway? For overnight charging, you’re fine. For seasonal storage, follow the strict 40-50% rule and store it in a cool place.
Sourcing Parts and Knowing When to Stop
Once you move beyond major brands like Decathlon or Freebord, sourcing parts becomes a scavenger hunt. For rare vintage trucks, odd-sized wheels, or specific bushing formulas, you’re looking at niche skate shops, eBay, and dedicated forums like the Longboarding subreddit.
The Freebord guide makes a surprising allowance: “The decks are very rigid and can handle multiple drilled holes for binding placement.” This is an explicit permission to modify the deck structure, something almost never recommended for standard longboards. It’s a reminder that manufacturer intent matters. What’s a forbidden modification on one board is a standard tuning step on another.
Your last tool is knowing when the customization is complete. There’s a point where adding more parts or making more adjustments stops improving the ride and starts chasing a phantom ideal. The board should feel like an extension of your movement, not a puzzle you’re constantly solving. If you find yourself constantly tweaking the same thing, the problem might be your technique, not your equipment.
How to sand, paint, and seal a longboard deck
Start by removing all hardware and grip tape. Sand the deck thoroughly to create a smooth, clean surface for paint to adhere. Apply your chosen design with spray paint or brushes, using light, even coats and allowing proper drying time between layers. Once the paint is completely dry, apply a clear sealant to protect your artwork from scratches and the elements. For a professional finish, apply multiple thin coats of sealant, sanding lightly between the final coats with a very fine grit sandpaper.
How to match truck width to deck width
The general rule is your truck axle width should roughly match the width of your deck at the mounting points. Trucks that are too narrow can make the board feel unstable and less responsive, while trucks that are too wide increase the risk of kicking the wheels with your feet while pushing. For drop-through trucks, you must disassemble them to mount the baseplate through the deck. The reassembly order is specific: baseplate, cup, boardside bushing, hanger, roadside bushing, washer, and finally the kingpin nut.
Frequently Asked Questions
How do I start customizing my first longboard?
Start with the feel, not the looks. Get a T-tool and experiment with your truck tension. Tighten the kingpin nut a quarter-turn and ride. Loosen it a quarter-turn and ride. Learn how that single adjustment changes your carve. Once you understand that, swapping grip tape or wheels is a logical next step.
Is it cheaper to customize or buy a complete?
For your first board, a complete is almost always cheaper and guaranteed to work. Customization becomes cost-effective when you know exactly what you want and are replacing specific components on an existing board that don’t suit you. Building from a blank deck with all new parts is usually the most expensive route.
Can I paint my longboard without special equipment?
Yes, but the finish won’t be durable. For a lasting job, you need a well-ventilated space, sandpaper, primer, paint, and a UV-resistant clear coat. Rattle cans can work, but practice on scrap wood first. For a simpler change, consider a vinyl wrap instead.
How tight should my longboard trucks be?
There’s no single answer, but a safe starting point is the manufacturer rule: tighten the kingpin nut until there is no side-to-side play in the hanger, but you can still see one or two threads on the kingpin shaft. From there, adjust in small increments based on whether you want more stability (tighter) or more maneuverability (looser).
Do I need to change bearings when I get new wheels?
Not necessarily. You can press your old bearings out of your old wheels and into the new ones using a bearing press or, carefully, a skate tool and a vise. However, if your bearings are gritty or slow, installing new ones when you change your wheels is a convenient time to do it.
The Bottom Line
Customizing a longboard is a dialogue between you and the board. You change a part, it gives you feedback. The most valuable feedback is often tactile: the soft snap of a bushing rebounding, the silent roll of a properly lubed bearing, the secure grip of fresh tape.
One rule most guides skip: if you’re drilling new holes in a deck for any reason, check the manufacturer’s stance first. The Freebord deck can handle it; your standard maple cruiser likely cannot. When in doubt, don’t drill.
Your first project shouldn’t be a full rebuild. Take your current board and assemble a longboard toolkit, a T-tool, some spare bushings, a can of spray lubricant. Adjust your trucks. Swap your wheels. See how each change feels. That hands-on knowledge is more valuable than any spec sheet, and it’s the real foundation of a board that’s truly yours.
