What Is Carving in Longboarding? Speed, Control, and Fun
This post contains affiliate links. As an Amazon Associate, we earn from qualifying purchases.
Carving in longboarding is a surf-inspired riding style where you link quick, successive S-shaped turns to generate momentum or control speed without pushing. It’s done by shifting your weight from heels to toes on a centered board, and it serves two main purposes: maintaining speed on flat ground and safely managing descent on hills.
That weight shift is the whole game. It’s not just leaning; it’s a deliberate transfer that starts at your shoulders and flows down through your hips and knees into the board. Get it right, and the board does the work. This is essentially what is carving in longboarding. Get it wrong, and you’re just wobbling.
What follows is a clear breakdown of the technique, the gear that makes it work, and the common pitfalls that stop new carvers cold, answering the what is carving in longboarding question. By the end, you’ll know how to start practicing safely and how to tell if your current setup is holding you back.
Key Takeaways
- Carving generates speed without pushing and controls it without braking, making it essential for both flats and hills.
- Sources disagree on the ideal deck length: Ridingboards.com suggests 35″-40″, The Longboard Store suggests 36″-44″, and Longboarder.co.uk suggests 36″-40″. For truck angles, Hamboards uses 40°, while Ridingboards.com, The Longboard Store, and Longboarder.co.uk recommend 50° or higher.
- Shift your weight deliberately from heels to toes, leading with your shoulders; rushing the motion causes instability and wheelbite.
- Safety gear is essential for hill carving; a helmet and slide gloves let you practice aggressive leans without fear.
- Carving is not pumping; carving uses gravity and turns to manage speed, while pumping uses body motion to generate speed on flat ground.
What Is Carving? The Basic Technique
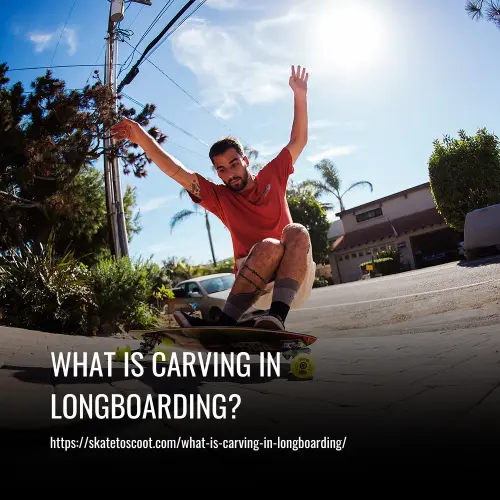
Forget the complex definitions for a second. Stand on your board and imagine drawing a giant, flowing “S” on the pavement beneath you. That’s carving. It’s a linked series of turns where you use the board’s momentum coming out of one turn to swing you into the next.
The official definition, per Ridingboards.com, is “a surf-like riding style that involves chaining quick successive turns back and forth in an S-like shape trajectory, in order to build and maintain momentum and speed,” which is the textbook answer to what is carving in longboarding. That’s the textbook version. The real-world version feels like surfing on asphalt.
Carving is a technique of linked turns performed on a longboard. By shifting weight from heels to toes, the rider induces a turn; linking these turns creates an S-path that either builds momentum on flat ground or scrubs speed on a hill.
The motion comes from a heel-to-toe weight shift. You don’t just tilt the board with your ankles. You initiate the turn by rotating your shoulders in the direction you want to go, then let that rotation pull your hips and knees through. Your feet follow. It’s a top-down movement. Beginners who lead with their feet end up fighting the board’s natural lean and never get a smooth, linked turn.
Step-by-Step: Your First Linked Carves
- Find a gentle, wide slope or a flat parking lot. You need space without obstacles.
- Start rolling. Get a comfortable, stable speed, a light push is enough.
- Initiate a heelside turn. Look over your leading shoulder, rotate your torso to the left (if you ride regular), and press down through your heels. The board will start to arc.
- As you complete the arc, prepare for the toeside. Unwind your shoulders back to center, then rotate them to the right, shifting your weight to the balls of your feet.
- Link the turns. Don’t stop between turns. Use the momentum from coming out of the heelside turn to swing you into the toeside. Aim for a fluid, continuous “S” shape.
The most common mistake is rushing the weight shift before the board has fully committed to the first turn. You’ll feel the board fight you, and you might get speed wobbles. Let each turn finish. Smooth is fast.
Why Carve? Speed, Control, and Pure Fun
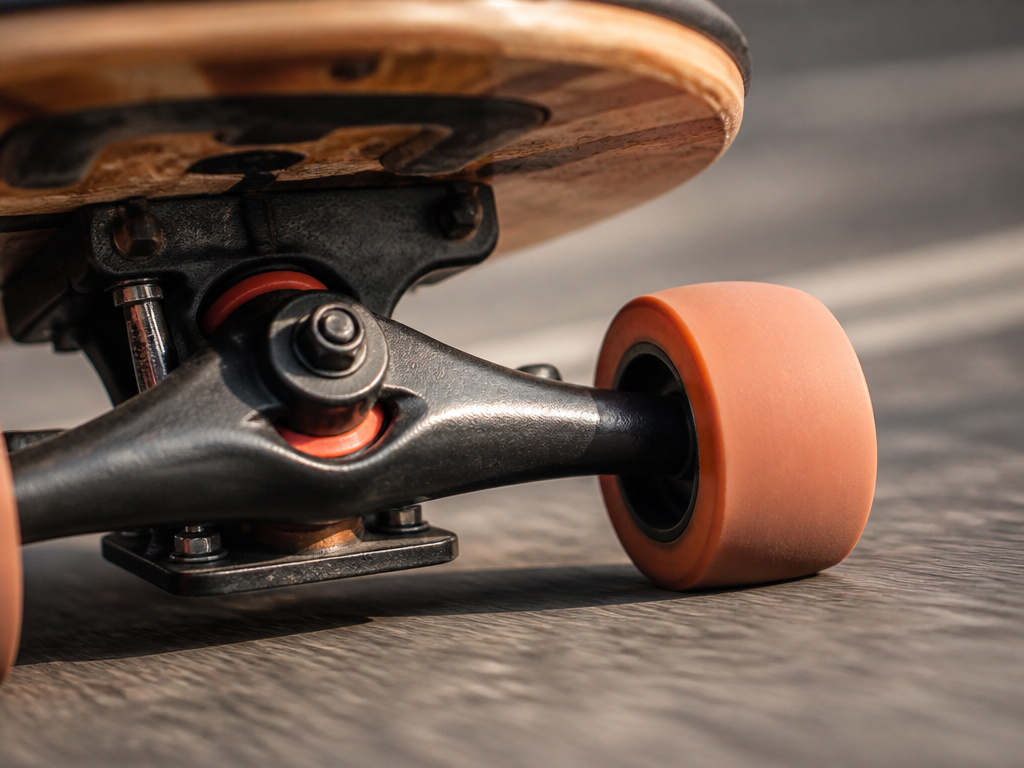
Carving serves two distinct masters, and which one matters most depends entirely on your terrain. On flat ground, carving is about generating and maintaining speed. Each turn pumps a little energy back into the board. Hamboards notes that carving “propels the rider through deep, heel-to-toe turns without continuous foot pushing.”
On a hill, carving flips its purpose. It becomes your primary speed control mechanism. By turning sharply across the hill’s fall line, you convert forward momentum into lateral movement, which slows you down. Lush Longboards puts it bluntly: carving lets you “tackle surprisingly steep paved slopes.” It’s how you get down a hill without foot braking or sliding.
| Terrain | Primary Purpose of Carving | Key Benefit |
|---|---|---|
| Flat Ground | Generate & maintain momentum | Ride further without pushing |
| Gentle Slope | Control descent speed | Safe, controlled downhill |
| Steep Hill | Aggressive speed management | Navigate slopes without sliding |
Sources disagree on the primary speed context and purpose of carving: Hamboards and Lush Longboards focus on high-speed and hill applications, while Ridingboards.com describes it as a mellow riding style, and Longboarder.co.uk emphasizes speed control on flats and hills.
The Right Gear for Carving
You can carve on any board, but a purpose-built setup feels like swapping a pickup truck for a sports car. The right gear lowers the effort and raises the reward. Here is a breakdown of the specs, and where the experts sometimes disagree.
The Deck: Length, Flex, and Mount
For quick, responsive turns, you want a deck between 36″ and 40″. That’s the sweet spot cited by Longboarder.co.uk. The range is broad, sources mention everything from 35″ (Ridingboards.com) to 44″ (The Longboard Store), but the middle is the consensus for a reason. Shorter decks turn faster.
Flex is critical. A deck with some spring stores energy as you lean into a turn and “pings” it back as you exit. Lush Longboards calls this a “strong energy return.” Bamboo or bamboo hybrid decks are the classic choice for this lively flex.
Trucks and Bushings: The Turning Pivot
This is where geometry gets contentious. The goal is a truck that turns easily and predictably.
Where sources disagree: Hamboards uses a 40° pivot angle for its carving boards. The Longboard Store and Longboarder.co.uk recommend 50-degree trucks for the “quickest turning ratio.” This isn’t a mistake; it’s a design philosophy difference. Lower angles (like 40°) offer more lean for a given turn, which some riders prefer for a surfier feel. Higher angles (50°+) initiate the turn more directly from the pivot.
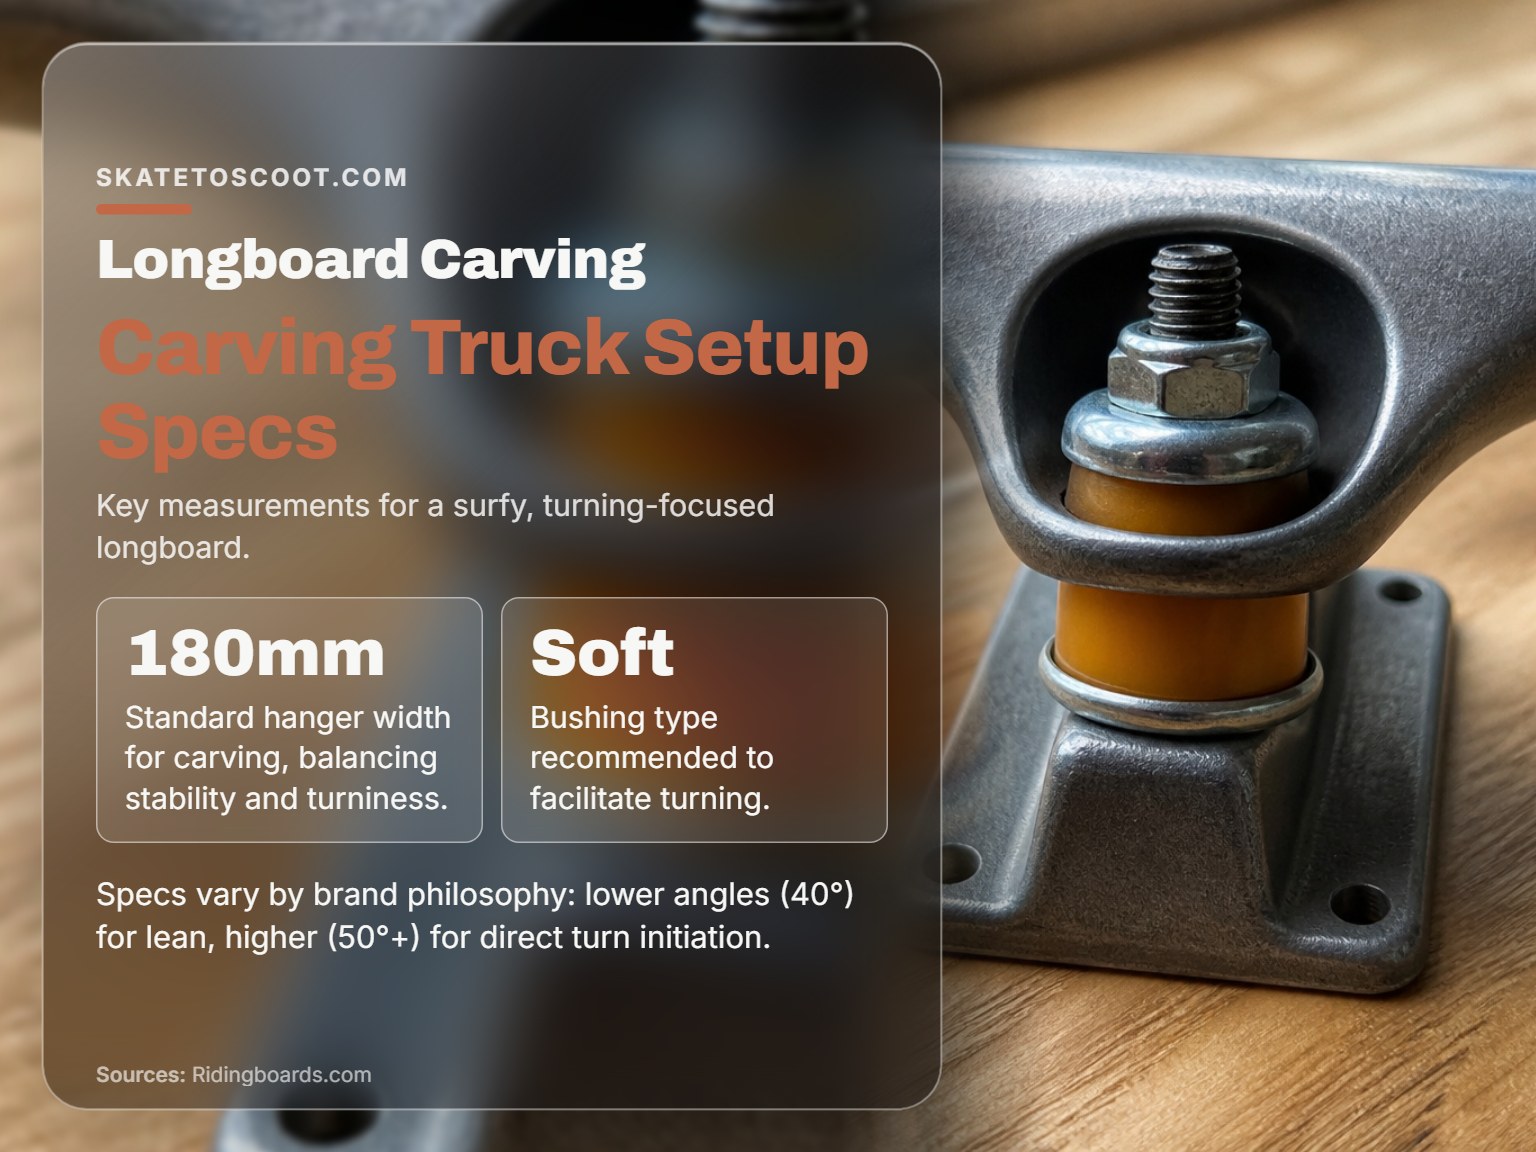
Most carving setups use 180mm hangers, a standard width that balances stability and turniness. Pair them with soft bushings. Hard bushings resist your lean; soft ones facilitate it, making initiation easier. Round pivot seats (as opposed to restrictive square seats) also contribute to that smooth, fluid carve.
Wheels: Grip and Glide
You need wheels that stick when you’re leaned over in a deep carve but still roll smoothly. Longboarder.co.uk recommends “wide and soft wheels with sharp edges.” A wider contact patch provides stability. Softer urethane grips the pavement better than hard, slide-oriented wheels. Sharp lips prevent the wheel from deforming and rolling over under heavy lateral pressure mid-turn.
A Named Example
If you want a benchmark, the Lush Samba is a deck designed as a “dedicated carving setup,” known for its flex and energy return. It’s a real-world example of these principles in action.
Carving vs. Cruising vs. Downhill
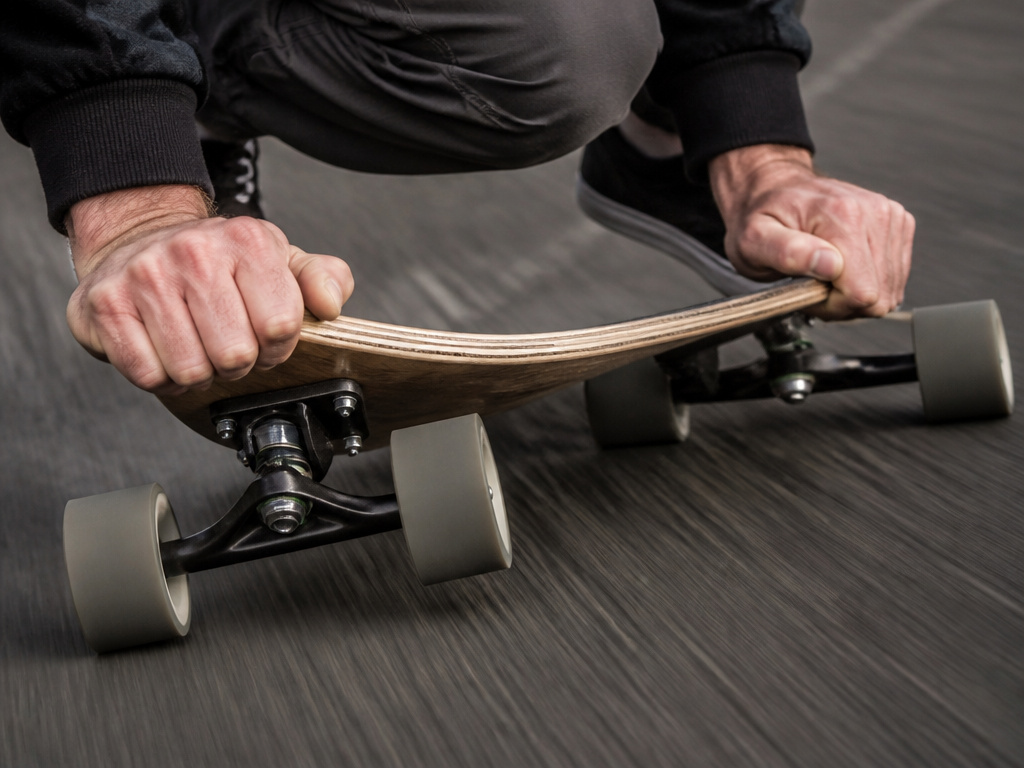
It’s easy to lump all longboarding together, but the gear and goals differ. Knowing these distinctions stops you from buying a downhill missile when you want a park cruiser.
Carving vs. Cruising
Cruising is about getting from A to B comfortably. Cruising boards, as defined by The Longboard Store, have a thickness of 1/2″ to 5/8″. They’re often longer (40″+) for stability over distance. You can carve on a cruiser, but its longer wheelbase and stiffer construction make it less responsive. A carving board is built to turn; a cruising board is built to go straight efficiently.
Carving vs. Downhill
This is about intent. Downhill is about pure, stable speed. Downhill trucks have “a longer hanger and 40 to 44 degree base plate to keep the board stable at high speeds,” per The Longboard Store. Carving is a technique used within downhill riding to control that speed. A downhill racer will use sharp, aggressive carves to scrub speed before a corner. A carver might use the same technique on a milder hill just for the joy of the turn itself. The board setups can overlap, but a pure downhill deck is often stiffer and lower to the ground than a playful carving deck.
Carving vs. Pumping
This confusion costs beginners momentum. Carving uses turns to manage existing speed (from gravity or a push). Pumping is a specific, rhythmic technique using body compression and extension to generate speed on flat ground or a ramp. You can pump on a carving board, but they are distinct skills. As Hamboards notes, their trucks allow for both “carving, surfskate and pumping riding styles,” acknowledging they are different techniques enabled by the same hardware.
Common Beginner Mistakes (And How to Fix Them)
I’ve watched new skaters struggle with the same issues for years. These aren’t personal failures; they’re predictable stepping stones.
Mistake 1: Leading With the Hips or Ankles
You lean your hips or crank your ankles, but the board barely turns. Why? You’re not engaging the trucks correctly.
- Fix: Initiate every turn with your shoulders. Look where you want to go, and let your upper body rotation start the movement. Your lower body will follow naturally, applying clean pressure to the trucks.
Mistake 2: Fear of Leaning
You stay bolt upright, making shallow, ineffective turns. This often stems from a fear of wheelbite (the wheel hitting the deck) or falling.
- Fix: First, ensure your setup can handle deep leans, higher trucks or wheel wells help. Second, gear up. Wear your helmet and slide gloves. Knowing you can put a hand down if you over-lean builds the confidence to commit to the turn.
Mistake 3: Trying to Carve on the Wrong Terrain
Attempting your first linked carves on a busy sidewalk or a hill that’s too steep is a recipe for a crash.
- Fix: Find your lab. An empty parking lot, a smooth bike path with a gentle incline, or a wide, mellow hill. You need space and a predictable surface to focus on the movement, not survival.
Mistake 4: Ignoring Stance and Posture
A stiff, straight-legged posture kills flow. It also makes you unstable.
- Fix: Bend your knees. Always. A lower center of gravity gives you more control. Keep your back mostly straight, not hunched. Your legs are your suspension.
Safety and Progression: Carving With Confidence
Carving, especially at speed, is a dynamic balance act. Falls happen. The difference between a rough slide and a hospital visit is your gear.
Essential Safety Gear for Carving
- Helmet: Essential. A certified skateboarding helmet is the bare minimum. Full-face is better for serious downhill carving.
- Slide Gloves: These let you touch the ground at speed. They protect your palms and allow you to perform hands-down slides to stop or correct a mistake. For a carver, they’re a confidence booster that enables steeper leans.
- Knee and Elbow Pads: Your joints hit hard. Pads turn a session-ending scrape into a brief pause.
Start on mellow terrain. Master linking turns at a walking pace before you add speed. The Cal Poly Ackermann steering study analyzed how truck geometry affects “quick carving and slalom style riding,” noting that certain designs create a helpful “return to center mechanism.” This kind of engineering insight shows that the feeling you’re chasing, that smooth rebound out of a turn, is a real, measurable phenomenon, not just hype.
Frequently Asked Questions
What does “carving” mean in the context of longboarding?
Carving means performing a linked series of S-shaped turns by shifting your weight from heels to toes. It’s a core technique used to generate speed on flats or control speed on hills, mimicking the flow of surfing or snowboarding.
What is the best longboard for carving?
The best carving longboards are typically 36-40 inches long with a flexible deck (often bamboo), 50-degree trucks with soft bushings, and wide, soft wheels (78A-80A) with sharp lips. Brands like Lush make well-regarded carver models.
What’s harder, longboarding or skateboarding?
They present different challenges. Traditional skateboarding (tricks, ollies, skateparks) has a steeper initial skill curve for tricks. Longboarding, particularly carving, can be easier to pick up for basic riding and transportation, but mastering high-speed downhill or freeride sliding is its own profound challenge.
What is carving in skateboarding?
In the broader skateboarding world, carving usually refers to making wide, flowing turns in a bowl or ramp. In longboarding, it has the more specific meaning of linked turns for momentum or speed control on pavement, which is the focus here.
Can I learn to carve on my current board?
You can start learning the basic turning technique on any board.
Before You Go
Carving transforms longboarding from a simple ride into a dynamic dance with momentum. The core takeaway is that it’s a versatile tool: use it to keep rolling on flats, and use it to stay in control on hills.
If you only remember one thing, let it be this: your shoulders lead, your knees are bent, and your gear is on. That combination makes everything else possible.
For your next step, take your board to a safe, open space and practice making one clean, deep heelside turn. Then one clean toeside turn. Don’t even try to link them yet. Master the individual pieces, and the fluid motion of how to carve will follow naturally. The hill can wait. The flow starts with a single, confident lean.
