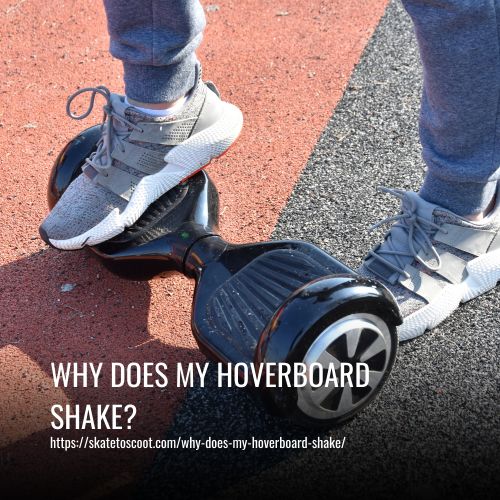
Why Does My Hoverboard Shake? The Quick Diagnostic Flow
This post contains affiliate links. As an Amazon Associate, we earn from qualifying purchases.
A shaking hoverboard signals a broken feedback loop between your feet, the footpad sensors, and the gyroscope. The most common fix is recalibration, which resets the board’s internal balance mechanism, but shaking can also stem from underweight riders, dirty sensors, or failing hardware like a 2017-era circuit board.
That gap between what the board thinks is happening and what your feet are actually doing is where every vibration starts. It’s not just annoying; a shake means the board is fighting itself, and that struggle can burn out motors or throw you off without warning. This is the core reason why does my hoverboard shake.
What follows: a diagnostic path to isolate your shake, the eight specific causes from simple to serious, and the exact button presses your brand’s manual calls for.
Key Takeaways
- Recalibrate first, it’s a 60-second reset that fixes most shakes, but the power button hold time varies by brand (3-5 seconds for most Jetson, 15 seconds for the Jetson Sphere).
- Check your weight and stance, riders under roughly 40 pounds, or those standing centered on the board, won’t activate the sensors properly, causing a wobble.
- Footwear changes the game, riding barefoot or in flexible shoes reduces footpad contact, which can trigger the shake on bumps that shoes would dampen.
- Older boards have a known flaw, models with circuit boards dated 2017 and earlier have a common design defect that causes persistent vibration; replacement is the only fix.
- A dirty sensor is a dead sensor, dust and grit on the rubber trigger pads block the infrared beam. A dry cloth clean can restore function in minutes.
The Quick Diagnostic Flow
Start here. This isn’t a guesswork list; it’s a sequence. Skip a step and you’ll waste an hour fixing the wrong thing.
- Is the rider above the minimum weight? Check your manual. Check the minimum rider weight in your hoverboard instructions. If not, stop, the board physically cannot sense you correctly.
- Recalibrate on a level surface. Follow your brand’s specific button-hold time. For most, this is the end of the problem.
- Inspect foot placement and shoes. Are your heels and balls of your feet on the outer edges of the pads? Are you wearing flat, rigid shoes? Reddit threads are full of riders who fixed a “broken” board just by putting shoes on.
- Clean the sensor pads. Power off, open the casing (if comfortable), and gently wipe the four rubber trigger pads with a dry cloth.
- Listen and look. Does the shake happen only over bumps? That points to a loose internal gyro casing or a sensor alignment issue. Is it a constant, grinding vibration? That’s likely a motor or bearing problem.
- Check the battery with a meter. A weak cell can’t deliver steady power, causing the board to shudder as it struggles for juice.
- Consider the board’s age. If it’s a 2017 or older model, the circuit board itself is the probable culprit. Professional replacement is the next step.
Common mistake: Recalibrating on an uneven floor. The gyroscope needs a true level plane to find its zero point. Doing it on a slanted driveway guarantees the shake comes back on the first ride.
This flow isolates 90% of problems. For the rest, we need to go deeper into the how hoverboards work.
Recalibration: Your First and Best Fix
Recalibration resets the gyroscope’s understanding of “level.” It’s the board’s equivalent of rebooting your router. The Jetson support guide says to always do this before your first ride, and again anytime the board “acts up.”
The catch is the button hold time. It’s not universal.
- Most Jetson boards: Hold the power button for 3-5 seconds on a level surface until you hear a beep or tune.
- Jetson Sphere Hoverboard: Hold for 15 seconds.
- Sources disagree on hold times: Jetson specifies 3-5 seconds for most boards and 15 seconds for the Sphere, while other brands’ manuals (like Hover-1 MATRIX and GYROOR F1) specify different durations.
- Sources disagree on hold times: Jetson specifies 3-5 seconds for most boards and 15 seconds for the Sphere, while other brands’ manuals (like Hover-1 MATRIX and GYROOR F1) specify different durations.
See the problem? If you hold for 5 seconds on a board that needs 15, nothing happens, leaving you still asking why does my hoverboard shake. Always check your manual. The Jetson guide notes it can take up to three attempts to get proper alignment. If the shake persists after three tries on a level floor, the problem is elsewhere. This is the core of most hoverboard troubleshooting guide routines.
Sensor Issues: The Infrared Beam That Decides Everything
Under each footpad are two flexible rubber triggers. Their job is to drop into a gap under the circuit board and break an infrared light beam, like the safety beam at the bottom of a garage door. Break the beam, and the gyroscope knows you’re there and tells the motors how to balance.
Three things break this system.
Underweight Rider: If you’re below the board’s minimum recommended rider weight, your foot doesn’t press the rubber pad down far enough. The beam is only partially blocked. The gyroscope gets a flickering, inconsistent signal. Result: a hesitant, shaking wobble as the board constantly second-guesses your stance.
Improper Foot Placement: The four rubber triggers are at the far corners of the pads. Stand in the middle, and you’re pressing on plastic, not rubber. No beam break, no clear signal. The board vibrates because it’s receiving input from only one foot or none at all.
Dirty or Dislodged Sensors: Dirt on the rubber pad or in the beam gap scatters the infrared light. A dislodged sensor doesn’t hit the gap squarely. The official hoverboard blog advises a dry, soft cloth clean. If that doesn’t work, the sensor may need repositioning by someone who knows how to fix a hoverboard without stripping screws.
The Footwear and Stance Surprise
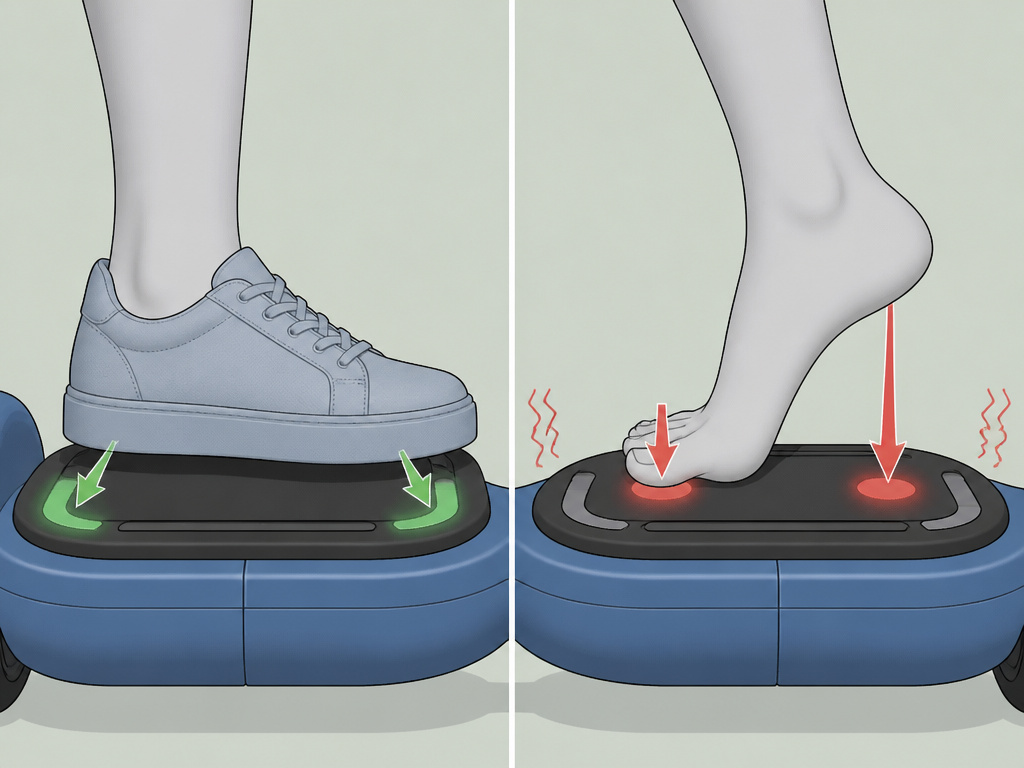
You wouldn’t skate in flip-flops. Don’t hoverboard barefoot. This is the most overlooked fix.
A flat, rigid shoe sole spreads your weight evenly across the entire footpad, ensuring solid contact with all sensors. A bare foot, or a flexible shoe like a running sneaker, arches in the middle. Your weight concentrates on the ball and heel, missing the sensor triggers at the outer edges. When you hit a bump, that contact shifts momentarily, the beam signal flickers, and the board jerks to compensate.
One Reddit user solved his board’s violent shake over bumps by simply putting shoes on. His barefoot posture was the only variable. It’s a physical interface problem, not an electronic one.
When the Board itself is the Problem
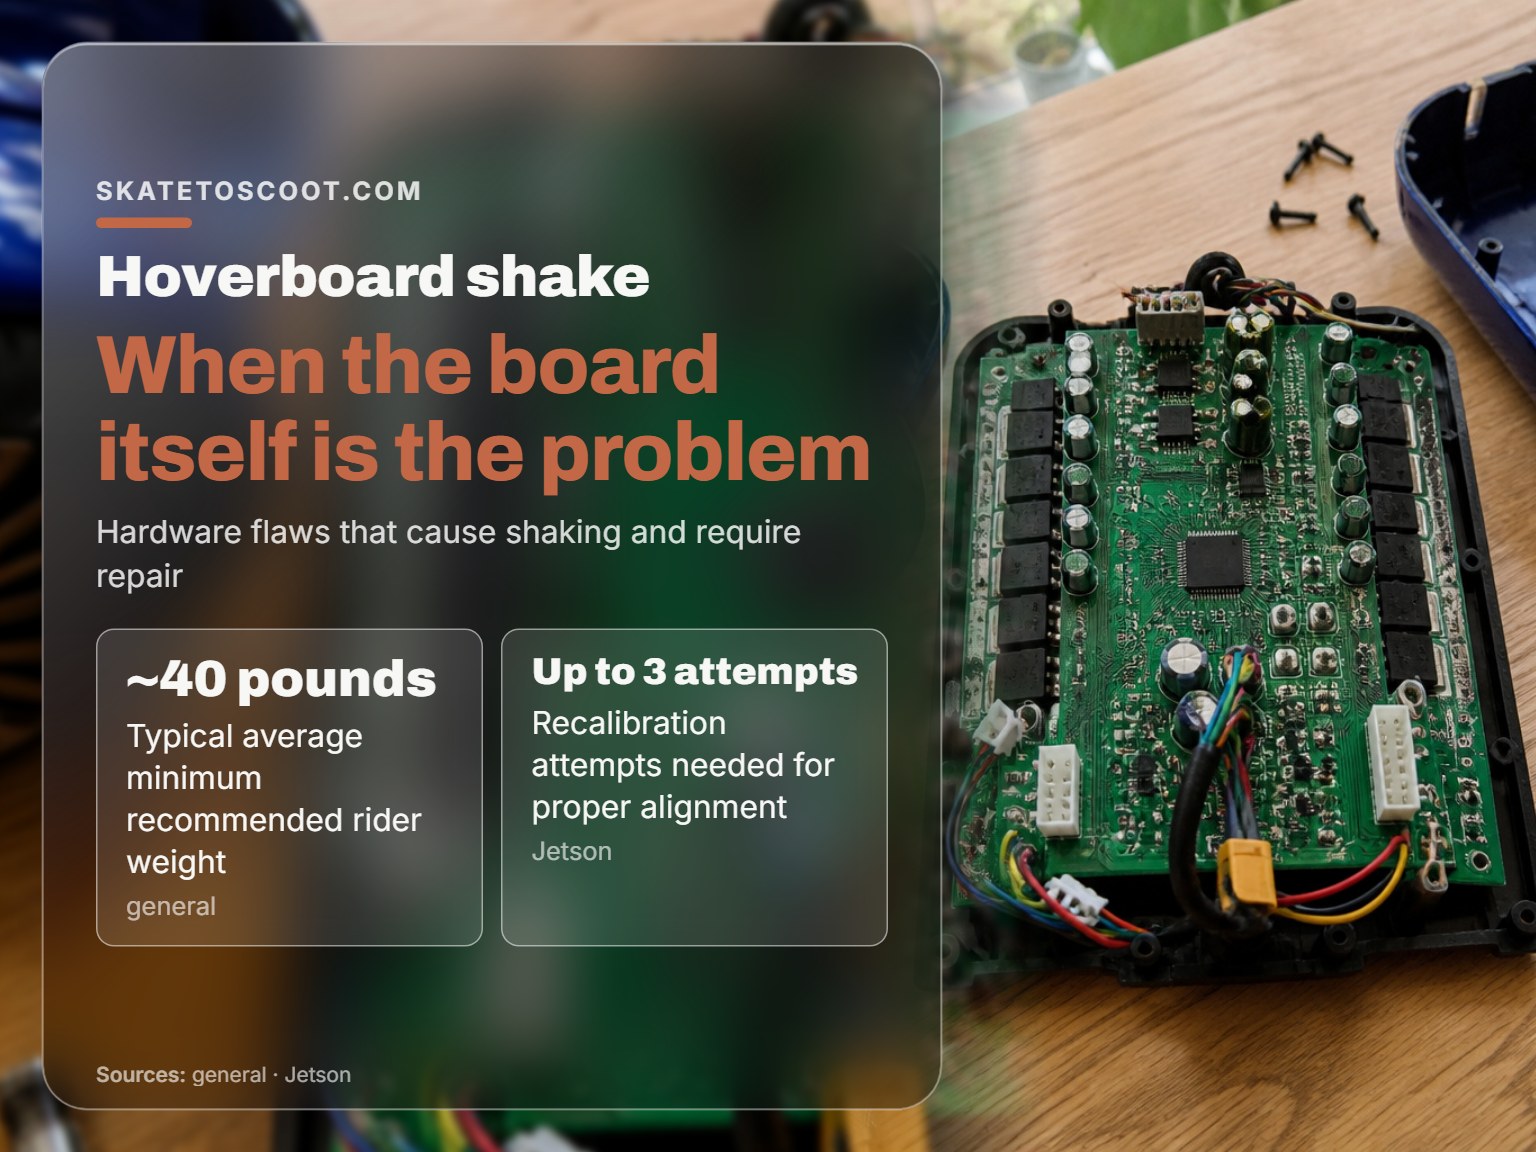
Sometimes the shake is in the machine. The Streetsaw guide points directly at a hardware flaw: “Older models of hoverboard will vibrate… due to a common design flaw in circuit boards dated 2017 and previous.” The fix isn’t calibration; it’s replacing the mainboard.
Other internal failures include:
- Loose Gyro Casing: If the gyroscope module isn’t screwed down tightly, hitting a bump can make it shift, confusing the entire balance system.
- Failing Motor or Bearings: A worn motor or gritty bearing creates a rhythmic grinding vibration you can feel through the deck, distinct from a sensor-induced wobble.
- Weak Battery: A battery that can’t deliver peak current will cause the board to shudder under acceleration, like a car misfiring.
These are the scenarios where general troubleshooting ends and professional repair or part replacement begins. It’s also where good hoverboard maintenance habits could have prevented the issue.
| Symptom | Most Likely Cause | DIY Fix? | Urgency |
|---|---|---|---|
| General wobble when standing still | Failed recalibration / Underweight rider | Yes – Recalibrate / Check weight | Medium |
| Violent shake only over bumps | Improper footwear / Loose internal gyro | Yes – Change shoes / Tighten screws | High (risk of fall) |
| Constant grinding vibration | Failing motor or bearing | No – Professional repair | Medium |
| Shuddering under acceleration | Weak or failing battery | Yes – Test with meter, replace | High (risk of cutoff) |
| Persistent shake on older board | 2017-era circuit board flaw | No – Board replacement | Low (annoyance) |
Why Riding a Shaking Board is a Bad Idea
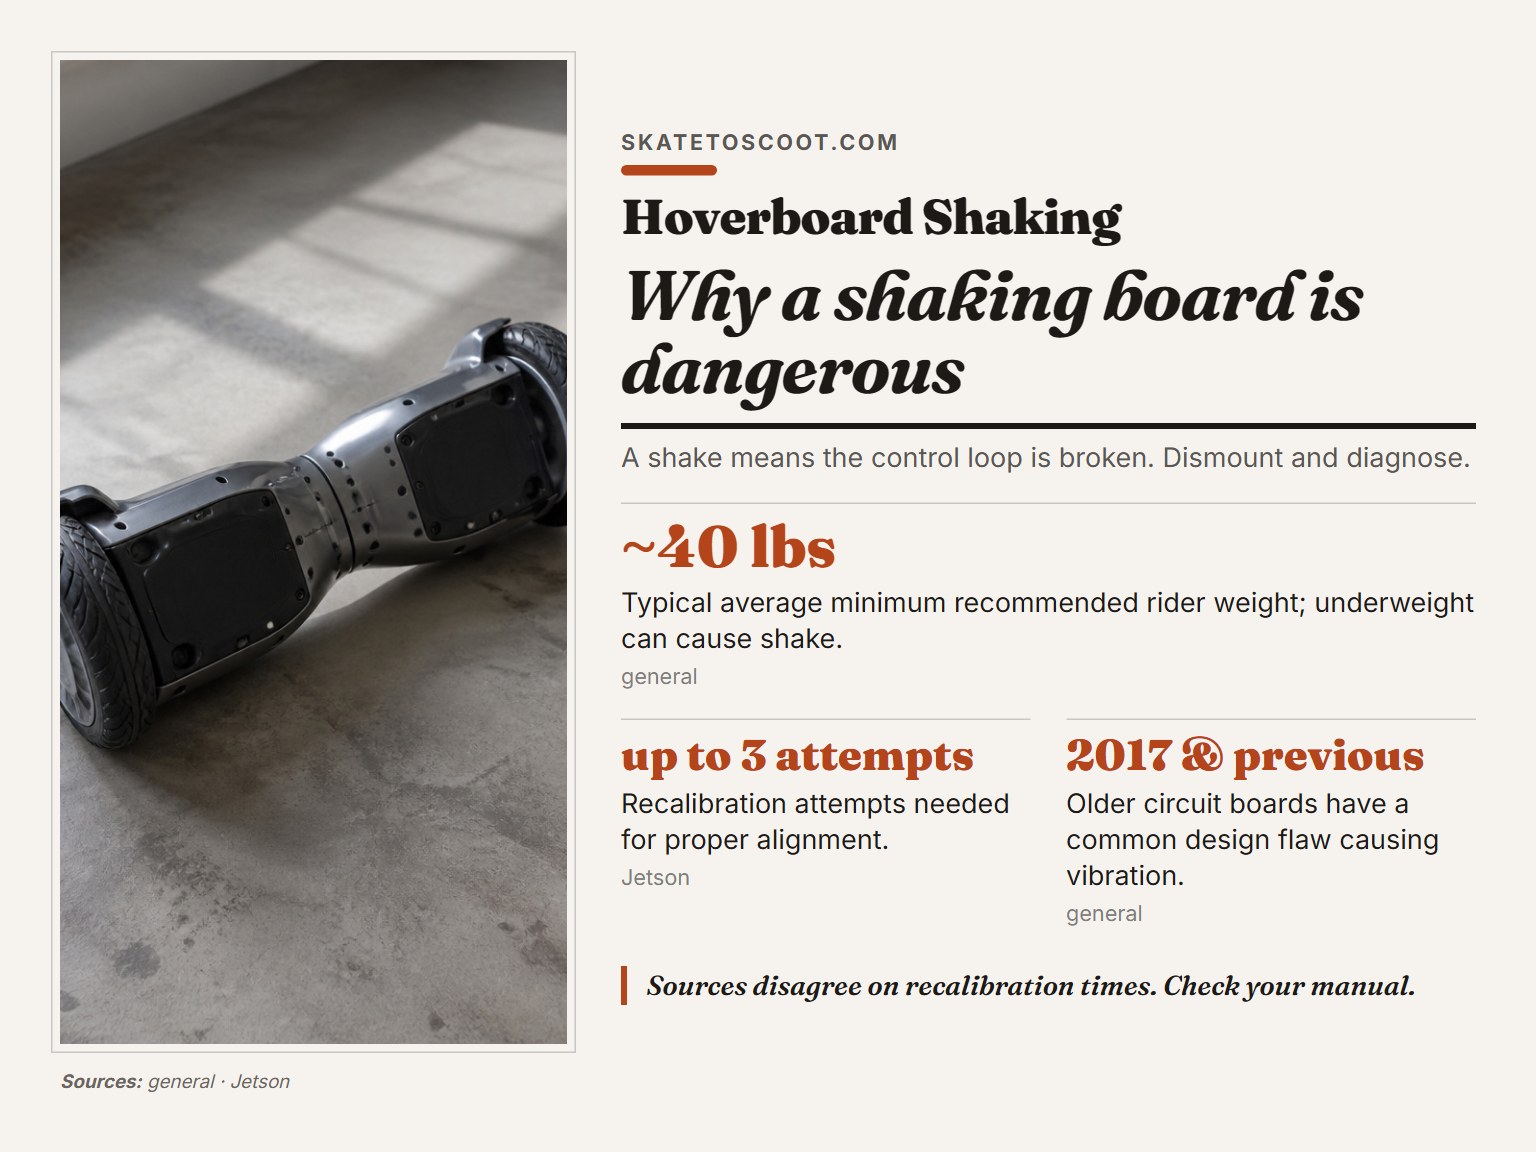
It’s not just uncomfortable. A shake means the control loop is broken. The board is making balance corrections based on bad or late data.
The immediate danger when you compare a why does my hoverboard shake scenario is a sudden, unexpected torque that can throw you off. The mechanical danger is that the motors are working against each other, drawing excessive current and overheating. This can fry the control board or cause a battery thermal event. The Hover-1 MATRIX manual warns that riding outside its specified conditions (like below 40°F) increases mechanical failure risk. A shake is a failure in progress.
If your board vibrates, dismount and diagnose. Don’t “power through.” The ASME DSCC conference paper on hoverboard dynamics modeling shows how quickly a stability envelope can collapse once the feedback is corrupted.
The Step-by-Step Recalibration Guide (By Brand)
Since the button-hold time is critical, here’s a synthesis of the manuals.
- Power down your hoverboard completely.
- Place it on a hard, level surface. Concrete floor is ideal. Carpet can tilt it.
- Ensure no weight is on the footpads. Don’t lean on it.
- Hold the power button for your brand’s duration:
- Jetson (non-Sphere): 3-5 seconds. Listen for beeps/a tune.
- Jetson Sphere / Hover-1 MATRIX: 15 seconds.
- GYROOR F1 (Child Mode Adjust): ~6 seconds until a drip sound.
- Release when you hear the confirmation sound.
- Test ride. If it still shakes, repeat up to two more times (per Jetson). If three attempts fail, the problem is not calibration.
This process is the cornerstone of fixing an off balance hoverboard. If it doesn’t work, you’ve eliminated the simplest variable.
How do I open and inspect my hoverboard for repairs?
Before opening the casing, try a recalibration by holding the power button. The required hold time varies by model, so consult your manual. If shaking persists, power off the board and remove the outer shell screws. Carefully open the casing to inspect the internal components. Look for any loose wires or connections, especially around the gyro sensor and motor housings. Check the condition of the battery terminals for corrosion. Clean any dirty sensors you find with a dry, soft cloth. If you identify a specific loose or damaged part, you may need to replace it. Ensure all connections are secure before reassembling the casing and testing the board.
Frequently Asked Questions
How long do hoverboards usually last?
Lifespan depends heavily on battery quality, riding surface, weight of rider, and adherence to maintenance like keeping tires inflated and sensors clean. Boards with the 2017 circuit board flaw often fail sooner.
What does it mean when your hoverboard vibrates?
It means the gyroscope is receiving inconsistent data from the footpad sensors. This is usually due to a calibration error, an underweight rider, improper foot placement, or dirt on the sensors. It’s the board’s way of saying it doesn’t know how to balance you.
How do you rebalance your hoverboard?
You recalibrate your hoverboard. The term “rebalance” is often used interchangeably with calibration. Follow the brand-specific steps above to reset the gyroscope to its level position.
Why is my hoverboard moving by itself?
Self-movement is a different symptom, usually caused by a stuck pressure sensor or a faulty gyroscope that thinks it’s detecting a lean command. It’s more serious than a shake and often requires opening the casing to check for obstructions on the sensor pads or replacing the gyro module.
Before You Go
Start with the diagnostic flow. Ninety percent of shakes die at step one or two. Recalibrate using your brand’s actual button time, not a generic guess. Put on a pair of flat shoes.
If you’ve done all that and the shake remains, you’re likely looking at a hardware issue, a dirty sensor, a loose gyro, or the legacy 2017 board defect. At that point, the cost-benefit tips. Opening up the board to clean sensors is a manageable DIY task. Replacing a mainboard or motor is a professional job, and for the price of that repair, you might be better off investing in a newer model without the known flaws.
The line is simple: if three proper recalibrations don’t fix it, the problem is physical, not digital. Find the physical cause, or find a technician who can.
