How to Charge Electric Scooter: Step-by-Step
This post contains affiliate links. As an Amazon Associate, we earn from qualifying purchases.
To charge an electric scooter, follow your manufacturer’s instructions for the charging sequence: some (like Jetson and Apollo) say plug the charger into the wall outlet first, then connect it to your scooter, while others (like Fission Cycle) say plug into the scooter first. Let the scooter cool after a ride, charge in a dry area, and unplug it once the indicator light turns green. Never charge below 0°C (32°F) or leave it plugged in overnight.
That’s the baseline, and every manual repeats it. The part they don’t agree on is the first step, whether you plug into the wall or the scooter first, and the exact temperature where charging becomes a fire risk versus just a warranty void. A key part of maintenance is knowing how to charge electric scooter correctly.
This guide walks through the universal steps, flags the three manufacturer disagreements that actually matter on how to charge electric scooter correctly, and gives you the model-specific specs for Lime, Jetson, Hy-Pro, and Apollo scooters so you can match your charger’s output and avoid the errors that brick a battery in two seasons.
Key Takeaways
- Always use the manufacturer-provided charger; a mismatched voltage or amperage can overheat the battery management system.
- Let the scooter cool for 30 minutes after a ride before plugging in, charging a hot battery accelerates cell degradation.
- The charging sequence (wall-first vs. Scooter-first) varies by brand; check your manual to avoid sparking the port.
- Never charge below 0°C (32°F); lithium-ion batteries can plate with metal internally, creating a short-circuit risk.
- For long-term storage, manufacturer advice varies: Hy-Pro says fully charge if idle >30 days, Jetson says fully charge and top up monthly, while the GPad SVAN manual recommends charging to 50–60%.
The Universal Charging Sequence (and Where Brands Disagree)
Plug in the wall, then the scooter. Or is it the scooter, then the wall? This isn’t academic. Get it wrong and you can see a spark at the charging port, a small arc that, over time, degrades the contacts.
The logic for wall-first is grounding. A Reddit user with an Apollo Phantom noted, “If I forgot to plug my charger in before I plug in my Phantom, I get a spark. Keeping it plugged into the outlet means it’s completely grounded so that spark doesn’t happen.” The charger’s capacitors pre-charge from the wall, so when you connect to the scooter, the potential difference is minimal.
Where this goes sideways: Sparking the port. A tiny arc each time you connect wears down the metal contacts. After 50–100 cycles, the connection gets flaky, the charger doesn’t seat properly, and you get intermittent charging failures.
But not every manufacturer agrees. Here’s the split directly from their manuals:
| Brand | Manual Instruction | Why They Say It |
|---|---|---|
| Jetson / Apollo Scooters | Plug charger into wall outlet first, then connect to scooter. | Pre-charges the charger’s circuitry, preventing a voltage spike at the port. |
| Hy-Pro | Plug charger into wall first (charger light green before connecting to scooter). | Ensures charger is ready before connecting. |
| Fission Cycle ST/SO 500 | Plug charger into scooter’s charging port first, then into power outlet. | Avoids exposing the live charger tip while you fumble with the wall plug. |
So which is right? Follow your manual. If you lost it, default to wall-first, it’s the more common instruction and the safer bet for most modern scooters with sealed battery packs. The Fission Cycle method is the outlier, likely for a specific electrical design in their battery management system.
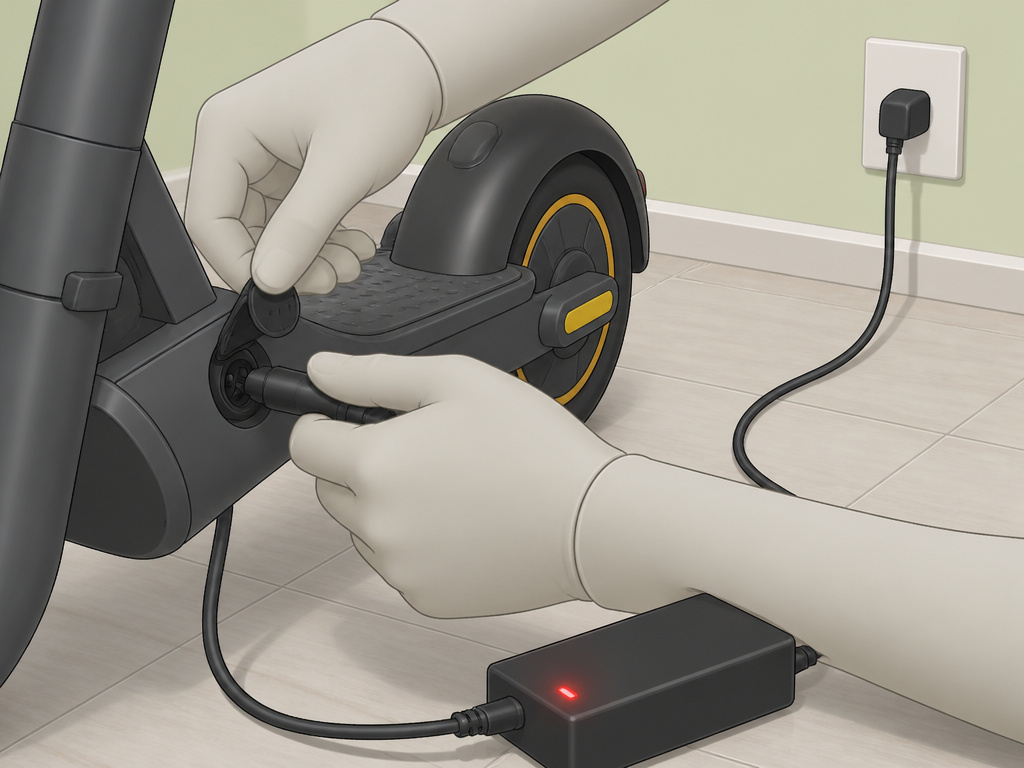
The physical process of how to charge electric scooter is the same either way:
- Locate the charging port. On most models, it’s on the deck. On a Jetson Omega, it’s on the handlebar. On a Jetson Element Pro or Knight, it’s on the handlebar stem.
- Ensure the port is clean and dry.
- Follow your brand’s sequence rule.
- Listen for a faint click. The charger should seat firmly, not loosely.
You’ll know it’s charging when the charger’s indicator light turns red. On a Jetson charger, red means charging, green means complete. On a Lime Gen 2.5, the scooter’s own display will show the percentage climbing, finishing at 99.9% for a full charge.
Let It Cool Down and Watch the Temperature
You just finished a ride. The motor is warm, the battery pack is toasty, and you want to top up. Wait.
Easy to miss: The battery isn’t just “warm.” After a ride, the battery pack can be hot. Pushing a charge into a cell that hot forces lithium ions to move through a more resistant electrolyte, generating extra heat. Do this repeatedly, and you can accelerate the battery’s capacity loss from heat stress.
Give it 30 minutes in a shaded, cool spot. That’s enough time for the internal fans (if it has them) to stop and the heat to dissipate to the outer casing. You can feel the deck near the battery compartment, if it’s still noticeably warm to the touch, wait longer.
Temperature concerns both after a ride and where you charge.
| Condition | Manufacturer Stance | Consequence If Ignored |
|---|---|---|
| Below 0°C (32°F) | Lime & Hy-Pro: Do not charge. | Lithium plating inside the cell, leading to reduced capacity and internal short risk. |
| 0°C to 10°C (32°F to 50°F) | Fission Cycle: Not recommended. | Very slow charging, minimal capacity gain. |
| 10°C – 25°C (50°F – 77°F) | Fission Cycle’s ideal range. | Normal, safe charging rate. |
| Above 40°C (104°F) | All manuals: Avoid. | Battery management system may throttle charge, but heat damage is already occurring. |
The “cold ban” varies by brand. The Lime Gen 2.5 and Hy-Pro manuals warn not to charge below 0°C (32°F), while the Fission Cycle ST/SO 500 specifies an ideal charging range of 10°C – 25°C (50°F – 77°F). Charging a frozen battery can permanently damage it, due to electrochemistry, not just a warranty concern.
Using the Right Charger and Reading the Lights
That charger brick isn’t a generic power supply. Its output label matters.
- Lime Gen 2.5: 42.0V, 2.0A
- Hy-Pro Scooter: 21.6V, 2000 mAh
The voltage must match your scooter’s battery nominal voltage. Using a 42V charger on a 21.6V scooter will fry the battery management system instantly. Using a lower-voltage charger simply won’t charge it. Amperage (A) matters less for compatibility, a 2A charger can charge a battery designed for 1.5A, it will just be slower, but it’s still a sign you’re using the wrong brick.
The part nobody mentions: Some chargers, like certain Jetson models, come in two parts: a power brick and a detachable cable. If you lose the cable, you can’t just use any USB-C. You need the exact cable that came with it, as the brick expects a specific wire gauge and pinout. Using a random cable is a great way to get a green light on the charger but zero charge in the battery.
The lights tell the story:
- Red: Charging in progress.
- Green/Blue: Charge complete.
- Off (when plugged in): Possible fault, unplug and check connections.
- Flashing Red: Error, consult manual (e.g., temperature fault).
For the Lime Gen 2.5, the scooter’s display is your guide. It shows percentage, and an “02E” error code means low battery, just charge it and the code should clear. If other error codes appear (01E, 03E, etc.), don’t ride; contact support.
How Long to Charge and When to Unplug
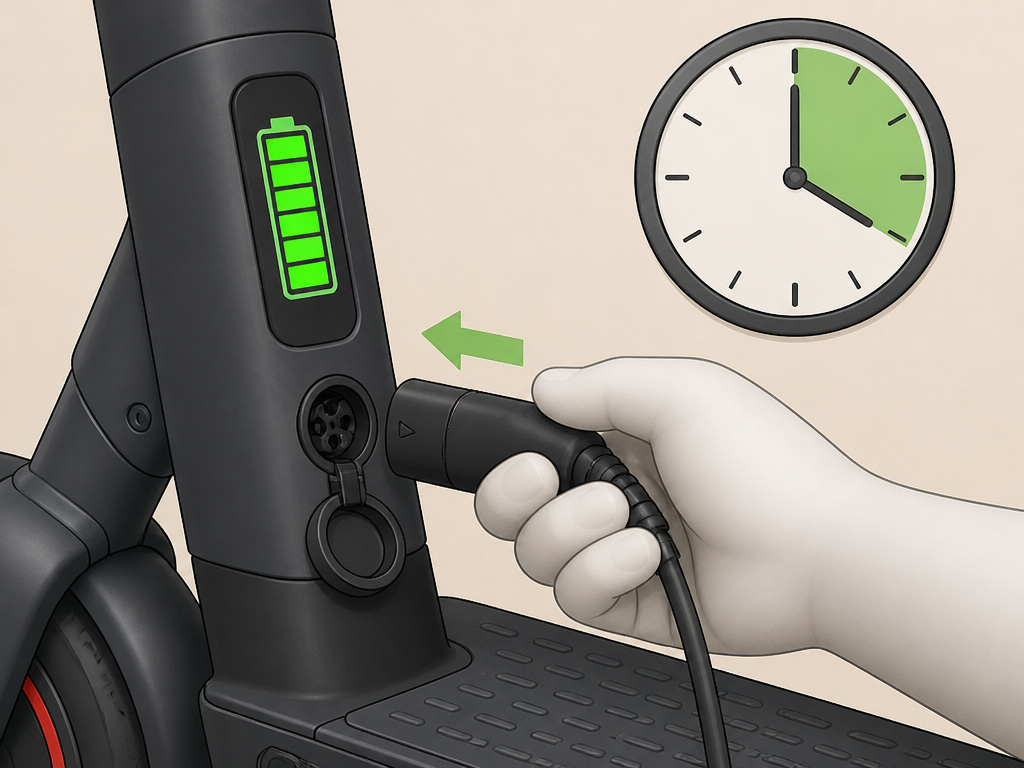
Charging time isn’t “a few hours.” It’s a specific range for your model, and overstaying your welcome at the outlet hurts the battery.
Here’s a breakdown from Jetson’s support article, which has the most detailed public list:
| Charging Time | Jetson Models |
|---|---|
| Up to 3 hours | Beam, Bio, Knight, Ora Pro |
| Up to 4 hours | Element, Element Pro, Frozen Folding, Globe, Glow, Highline |
| Up to 5 hours | Eris, Omega, Racer, Ryder, Shield, Tempo |
| Up to 6 hours | Buzz, Canyon, Echo, Frozen, Quest, Rhythm |
| Up to 7 hours | Copperhead |
| Up to 8 hours | Echo X |
Other brands:
- Lime Gen 2.5: Up to 6 hours.
- Hy-Pro Scooter: At least 3 hours for the first charge.
These are maximums from empty. A partial top-up from 50% will take roughly half the time.
Do not leave your scooter charging overnight or for extended periods of time. That’s a direct quote from Jetson. Apollo Scooters adds: “Unplugging the charger once your scooter is fully charged.” The reason is the battery management system’s trickle charge. Once the battery hits 100%, the BMS stops the main charge but may apply a tiny trickle to compensate for self-discharge. Keeping it plugged in for days keeps the cells at 100% stress, which slightly accelerates capacity loss. Unplug when the light turns green.
Where to Charge and How to Store It
Charge indoors, on a non-flammable surface. A Reddit thread on charging fears captured the consensus: “I never leave my scooter charging unless I’m in the same room.” Have a clear path to unplug it quickly. Don’t block an exit.
| Brand | Storage Charge Advice | Rationale |
|---|---|---|
| Hy-Pro Scooter | Fully charge if idle >30 days. | Ensures battery doesn’t self-discharge below safe voltage during long dormancy. |
| Jetson | Fully charge, then top up monthly. | Maintains a high voltage guardrail, monthly top-up counters self-discharge. |
| GPad SVAN | Charge to 50–60%. | Minimizes stress on cells at max voltage during long-term inactivity. |
| Apollo Scooters | Do not leave below 40% for extended periods. | Prevents deep discharge, which can permanently damage cells. |
The common ground? Never store it empty. The low-voltage cutoff in the BMS will eventually drain the battery to a point where it won’t accept a charge again. If you’re storing for a season, follow your manufacturer’s storage advice. Check it monthly and give it a top-up if needed.
What about charging on the go? If you commute, carrying your charger is straightforward. Some riders with removable batteries, like the Jetson Knight, bring just the battery inside to charge. For others, scout for outlets at cafes or libraries, ask politely. Public charging stations are rare for scooters, but some EV stations have standard 120V outlets you can use with your charger.
Troubleshooting Common Charging Problems
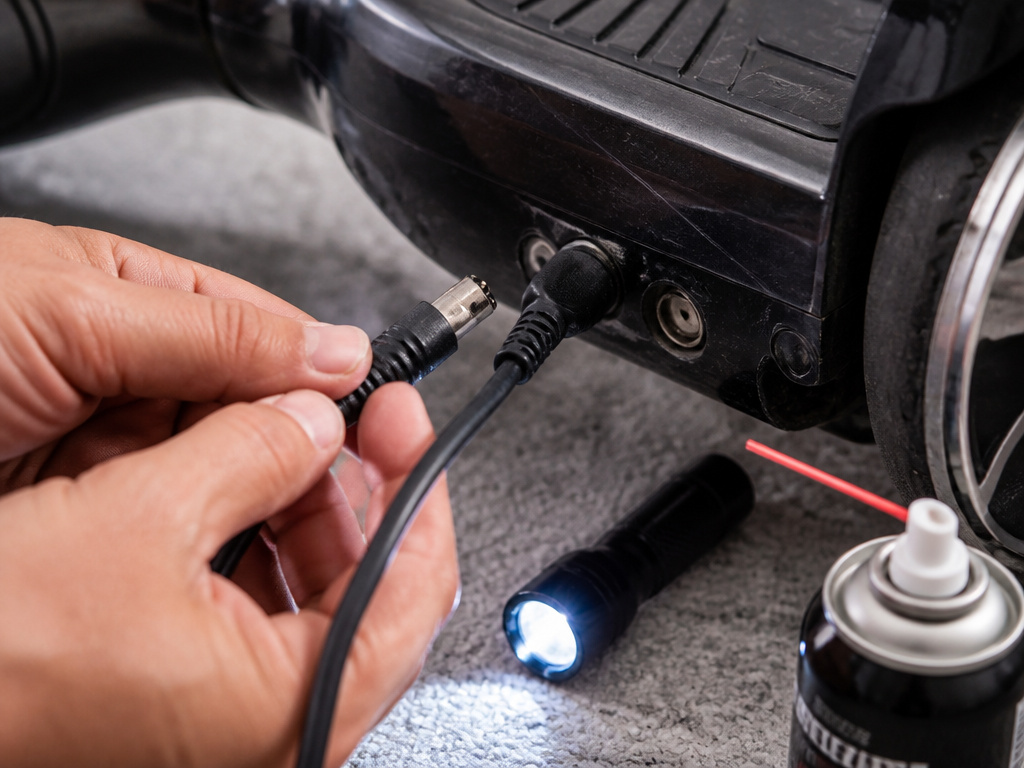
The charger is plugged in, the light is green, but the scooter won’t turn on. Or the light won’t turn red at all.
First, check the basics:
- Is the wall outlet live? Try a lamp.
- Is the charger firmly seated in the scooter’s port? Wiggle it.
- Is the charging port clean and dry? Look for debris.
If the charger light stays green immediately, it often means the charger isn’t communicating with the battery. This could be a broken wire in the cable, a faulty charger, or a problem with the scooter’s charging port or BMS. For a deeper dive on this specific issue, see our guide on why your electric scooter charger stays green.
If there’s no light at all on the charger, the charger itself might be dead. Before you buy a new one, check our article on how to fix an electric scooter charger.
If the scooter shows an error code (like Lime’s 02E), charge it fully. If the code persists after a full charge, or if other codes appear, contact the manufacturer. Don’t try to bypass it.
For more general power issues, you might need to troubleshoot battery problems beyond simple charging.
What type of battery does my scooter use?
Most modern electric scooters use lithium-ion (Li-ion) batteries, which are lighter and more energy-dense than older lead-acid types. The specific voltage and charging requirements for your scooter depend entirely on its battery type and model. Always use the charger provided by the manufacturer, as it is designed to match your scooter’s specific battery voltage and chemistry. Using an incorrect charger can damage the battery or create a safety hazard. Check your scooter’s manual to confirm its battery type and follow the corresponding charging instructions.
Frequently Asked Questions
How do you charge an electric scooter at home?
You charge it at home using the manufacturer’s charger, plugged into a standard wall outlet. Ensure the area is dry, the scooter is cool, and you follow the correct plug-in sequence (usually wall-outlet first). For a detailed walkthrough of home setups, see our home charging guide.
How long does an electric scooter battery last per charge?
Run time varies wildly by model and riding style. Manufacturer range estimates are best-case scenarios. Real-world range is typically 50–70% of the claimed figure. A scooter advertised for 20 miles might deliver 10–14 miles at full speed with stops and starts.
Do I leave my e-scooter on while charging?
No. Turn the scooter off before charging. The battery management system and charging circuit operate independently of the main power switch, but having the scooter on during a charge can cause confusion with the display and is an unnecessary drain on auxiliary systems.
Do electric scooters self-charge?
No. Regenerative braking on some models can recover a tiny amount of energy, usually 1–5% of the battery’s capacity, by using the motor as a generator when braking. It’s not a charging method; it’s a slight range extender that adds wear to the motor.
The Bottom Line
Charging an electric scooter is simple until you miss one of the hard rules. The sequence argument matters less than the temperature rule: never charge below 0°C (32°F). That’s the line where chemistry overrides convenience.
For daily use, plug in when you get home, unplug when the light turns green, and store it somewhere dry. If you’re parking it for more than a month, charge it to about 60% and check on it every 30 days. The brands disagree on storage voltage, but they all agree that a bone-dry battery is a dead battery.
If your scooter is a specific brand like a Razor scooter or a Gotrax scooter, their manuals will have voltage specs that override the general advice here. And if you ever find yourself without the original charger, our guide on alternative charging methods explains the risks, because using the wrong charger can break the charger or cause worse damage.
